To set up a virtual infrastructure, you will require open source software, such as Oracle VirtualBox and Vagrant, to automate virtual machine creation for you. Make sure you have the software installed and working correctly on your host machine. The installation processes of the software are beyond the scope of this book; you can follow their respective documentation in order to get them installed and working correctly.
Setting up a virtual infrastructure
Getting ready
You will need the following software to get started:
- Oracle VirtualBox: This is an open source virtualization software package for host machines based on x86 and AMD64/Intel64. It supports Microsoft Windows, Linux, and Apple macOS X host operating systems. Make sure it's installed and working correctly. More information can be found at https://www.virtualbox.org.
Once you have installed VirtualBox, run the following command to ensure the installation was successful:
# VBoxManage --version

- Vagrant: This is software meant for creating virtual development environments. It works as a wrapper around virtualization software, such as VirtualBox, VMware, KVM, and so on. It supports the Microsoft Windows, Linux, and Apple macOS X host operating systems. Make sure it's installed and working correctly. More information can be found at https://www.vagrantup.com/. Once you have installed Vagrant, run the following command to ensure the installation was successful:
# vagrant --version

- Git: This is a distributed revision control system and the most popular and widely adopted version control system for software development. It supports Microsoft Windows, Linux, and Apple macOS X operating systems. Make sure it's installed
and working correctly. More information can be found at http://git-scm.com/.
Once you have installed Git, run the following command to ensure the installation was successful:
# git --version

How to do it...
Once you have installed the mentioned software, we will proceed with virtual machine creation:
- git clone ceph-cookbook repositories to your VirtualBox host machine:
$ git clone https://github.com/PacktPublishing/Ceph-Cookbook-Second-Edition

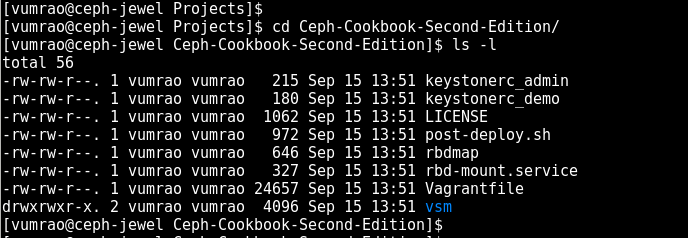
- Under the cloned directory, you will find vagrantfile, which is our Vagrant configuration file that basically instructs VirtualBox to launch the VMs that we require at different stages of this book. Vagrant will automate the VM's creation, installation, and configuration for you; it makes the initial environment easy to set up:
$ cd Ceph-Cookbook-Second-Edition ; ls -l

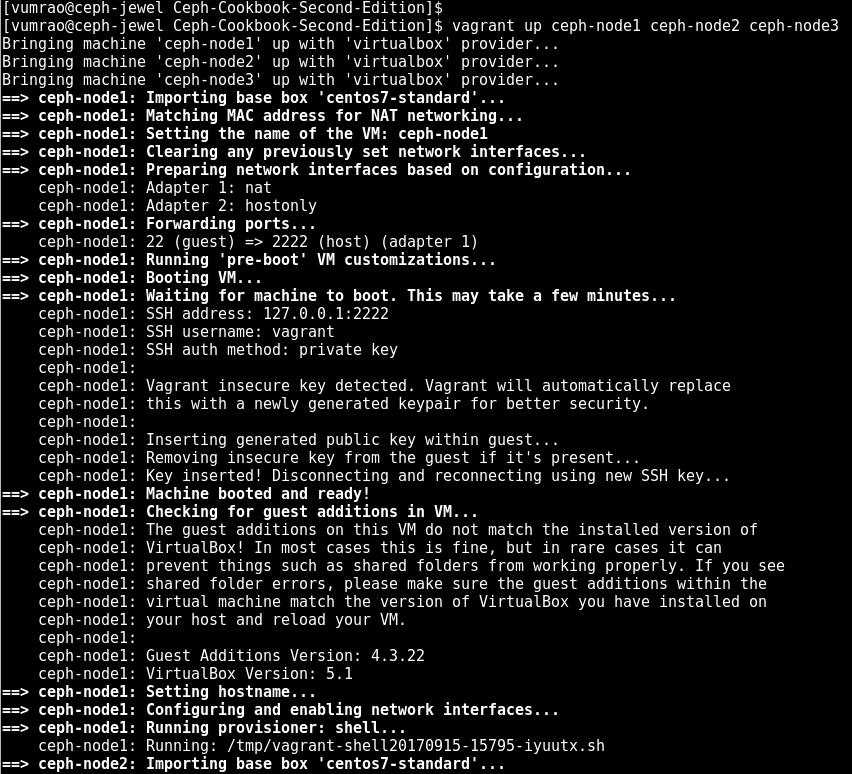
- Next, we will launch three VMs using Vagrant; they are required throughout this chapter:
$ vagrant up ceph-node1 ceph-node2 ceph-node3
If the default Vagrant provider is not set to VirtualBox, set it to VirtualBox. To make it permanent, it can be added to user .bashrc file:
# export VAGRANT_DEFAULT_PROVIDER=virtualbox
# echo $VAGRANT_DEFAULT_PROVIDER
# export VAGRANT_DEFAULT_PROVIDER=virtualbox
# echo $VAGRANT_DEFAULT_PROVIDER

- Run vagrant up ceph-node1 ceph-node2 ceph-node3:

- Check the status of your virtual machines:
$ vagrant status ceph-node1 ceph-node2 ceph-node3

The username and password that Vagrant uses to configure virtual machine is vagrant, and Vagrant has sudo rights. The default password for the root user is vagrant.
- Vagrant will, by default, set up hostnames as ceph-node<node_number> and IP address subnet as 192.168.1.X and will create three additional disks that will be used as OSDs by the Ceph cluster. Log in to each of these machines one by one and check whether the hostname, networking, and additional disks have been set up correctly by Vagrant:
      $ vagrant ssh ceph-node1
      $ ip addr show
      $ sudo fdisk -l
      $ exit
- Vagrant is configured to update hosts file on the VMs. For convenience, update the /etc/hosts file on your host machine with the following content:
      192.168.1.101 ceph-node1
      192.168.1.102 ceph-node2
      192.168.1.103 ceph-node3

- Update all the three VM's to the latest CentOS release and reboot to the latest kernel:

- Generate root SSH keys for ceph-node1 and copy the keys to ceph-node2 and ceph-node3. The password for the root user on these VMs is vagrant. Enter the root user password when asked by the ssh-copy-id command and proceed with the default settings:
      $ vagrant ssh ceph-node1
      $ sudo su -
      # ssh-keygen
      # ssh-copy-id root@ceph-node1
      # ssh-copy-id root@ceph-node2
      # ssh-copy-id root@ceph-node3

- Once the SSH keys are copied to ceph-node2 and ceph-node3, the root user from ceph-node1 can do an ssh login to VMs without entering the password:
      # ssh ceph-node2 hostname
      # ssh ceph-node3 hostname

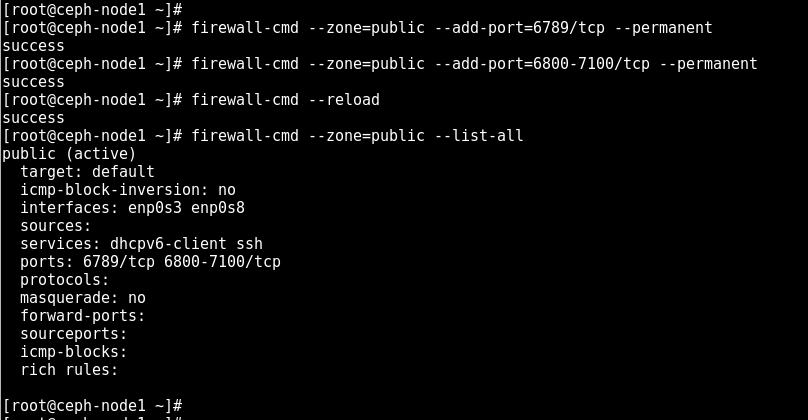
- Enable ports that are required by the Ceph MON, OSD, and MDS on the operating system's firewall. Execute the following commands on all VMs:
      # firewall-cmd --zone=public --add-port=6789/tcp --permanent
      # firewall-cmd --zone=public --add-port=6800-7100/tcp --permanent
      # firewall-cmd --reload
      # firewall-cmd --zone=public --list-all

- Install and configure NTP on all VMs:
      # yum install ntp ntpdate -y
      # ntpdate pool.ntp.org
      # systemctl restart ntpdate.service
      # systemctl restart ntpd.service
      # systemctl enable ntpd.service
      # systemctl enable ntpdate.service


