Setting up Storyblok
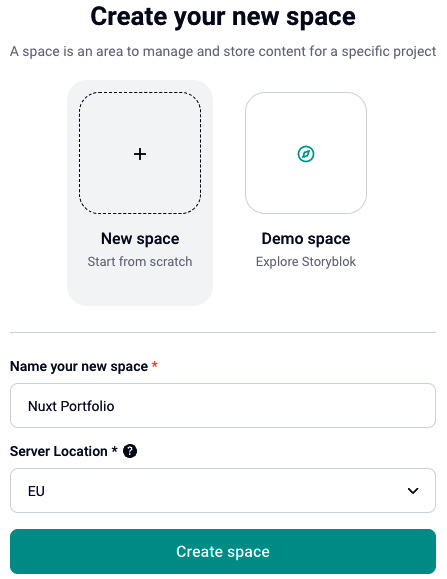
Registering on the Storyblok website is pretty self-explanatory. After the initial registration, you will end up in a demo space. We will skip the demo (you can always revisit this as part of Spaces) and choose to Create a new space, where we will choose the appropriate name and server location:

Figure 10.1 – Creating a new Storyblok space for our portfolio
After creation, you may encounter a modal referring to a trial period. You can select the free community plan directly or after the 14-day trial period.
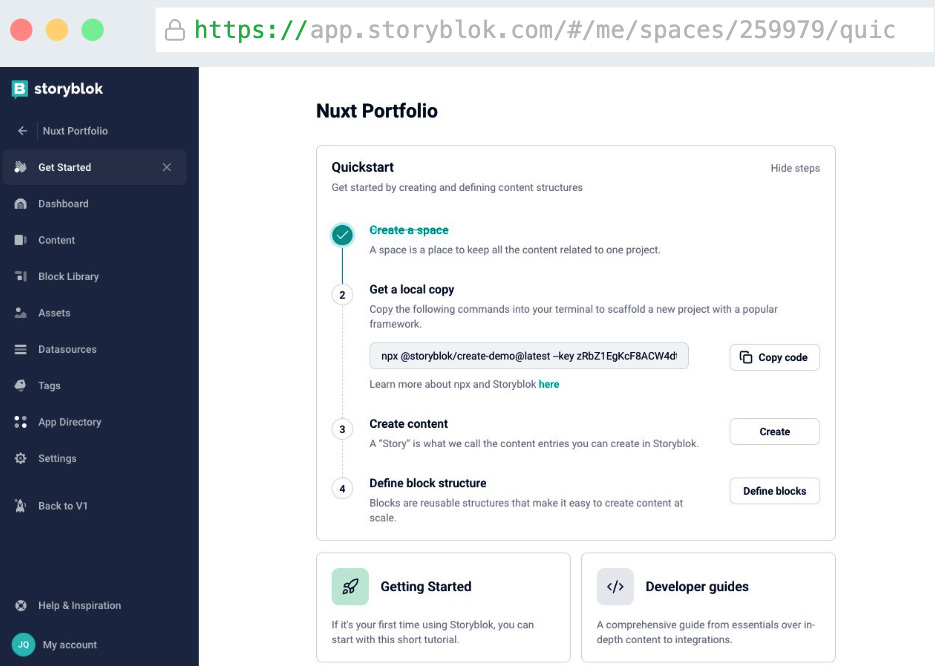
The welcome screen will look like this:

Figure 10.2 – The Storyblok dashboard
For the sake of our portfolio, we can close and ignore the Get Started section. We’ll mainly focus on the Settings, Content, Block Library, and Assets sections.
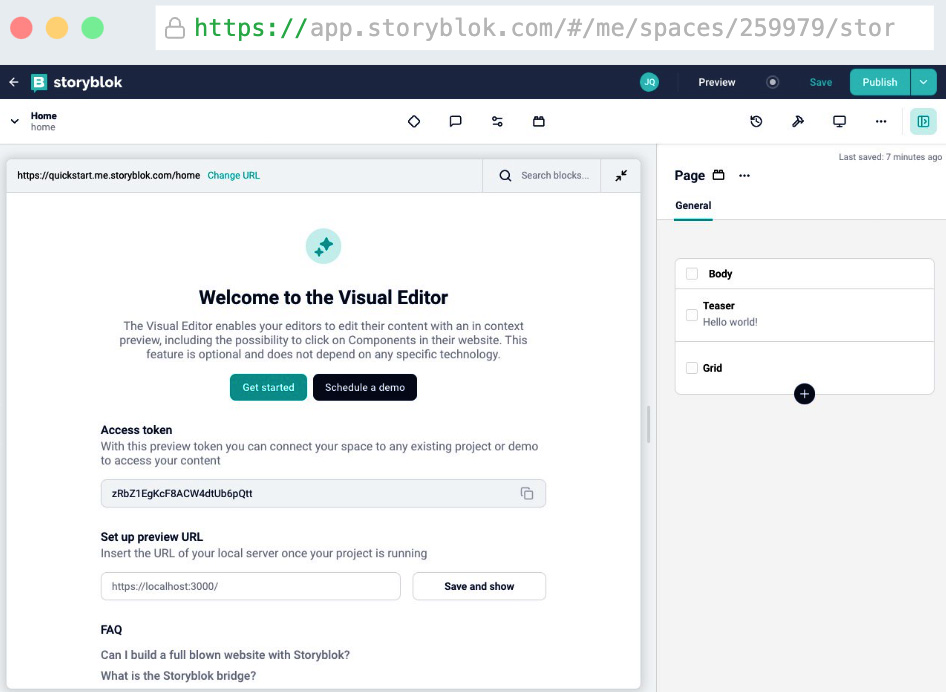
If we open the Content section, we’ll see an entry titled Home. Let’s open it and take a look:


