Jupyter requires Python to be installed (it is based on the Python language, after all). There are a couple of tools that will automate the installation of Jupyter (and optionally Python) from a GUI. In this case, we are showing you how to install Jupyter using Anaconda, which is a Python tool for distributing software.
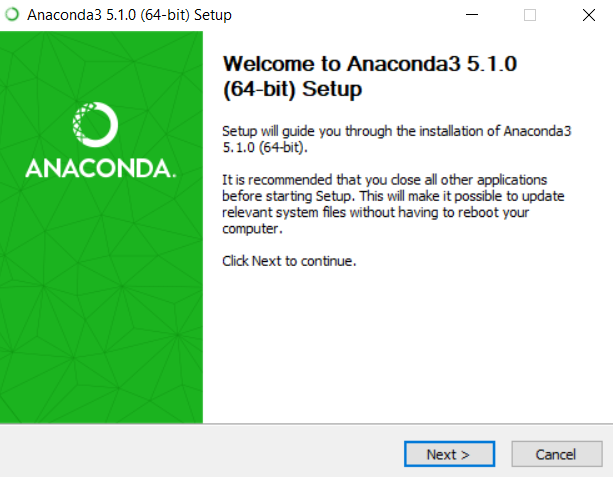
First of all, you have to install Anaconda. It is available on Windows and macOS environments. Download the executable from https://www.continuum.io/ (the company that produces Anaconda) and run it to install Anaconda. Be sure to select the version of Anaconda using Python 3.x versus Python 2.x. The software provides a regular installation setup process, as shown in the following screenshot:
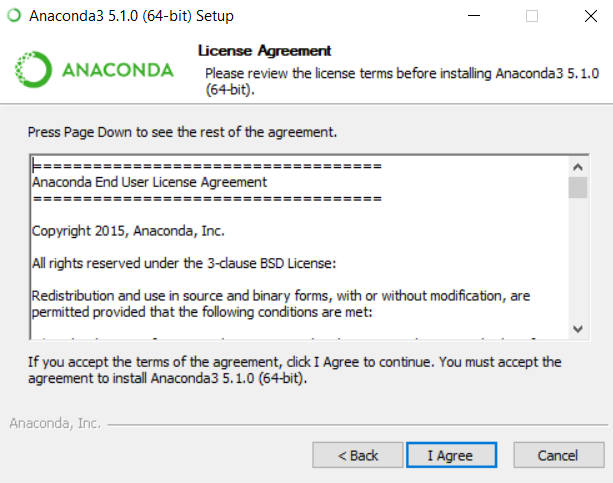
The installation process goes through the regular steps of making you agree to the distribution rights license:
The standard Windows installation allows you to decide whether all users on the machine can run the new software or not. If you are sharing a machine with different levels of users, then you can decide upon the appropriate action:

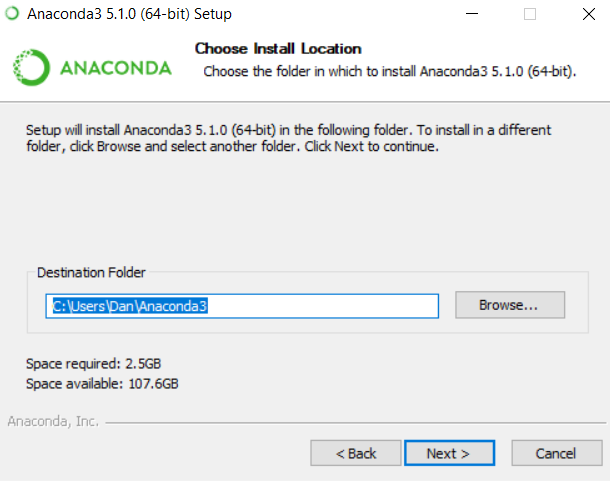
After clicking on Next, it will ask for a destination for the software to reside (I almost always keep the default paths):
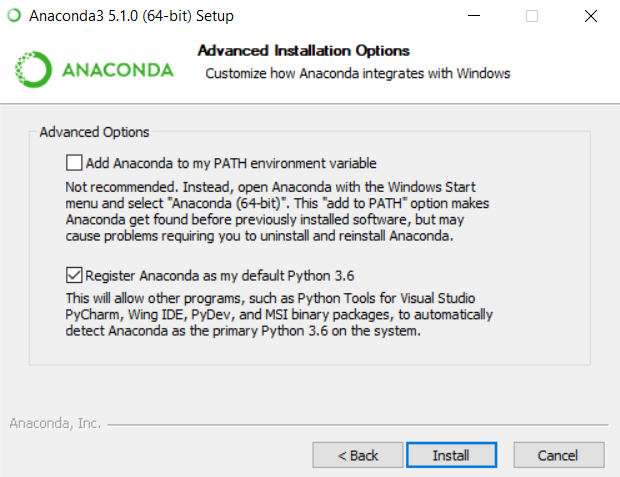
Anaconda will also adjust your file paths to make Anaconda accessible at all points on your machine via the next dialog box, as follows:
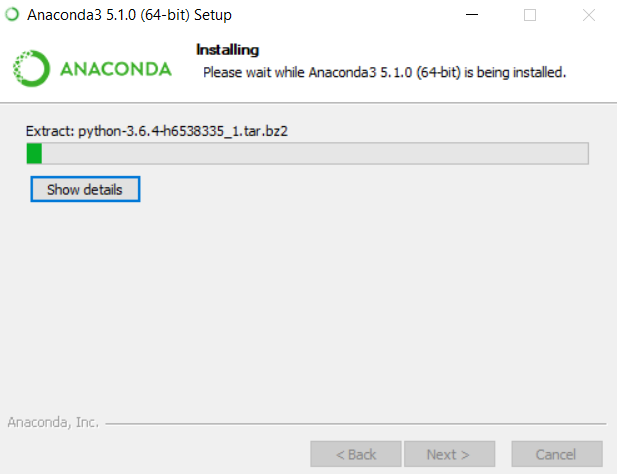
The installation will then begin. This may take a while, depending on your machine configuration and network access:
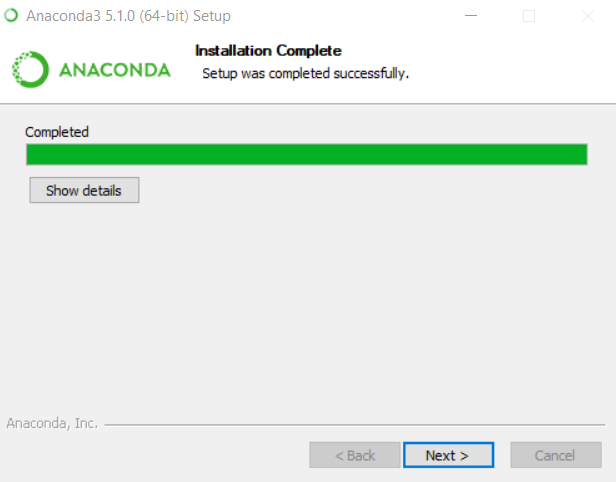
You will eventually get to the Installation Complete screen, as follows:
On Windows, Anaconda takes advantage of the semi built-in aspects of the Visual Development Environment to access Windows services natively. It asks for permission to do so with the following dialog:

And now we have truly installed Jupyter:

Anaconda will start. Anaconda is a great wrapper program that holds the distribution for a number of tools. The tool of importance to us is Jupyter. The Anaconda display shows the available tools, whether they need to be installed, and a starting place for each.
You can get to Jupyter directly by using the > jupyter notebook command from a Terminal window.
If we select Jupyter from the Anaconda screen, we will start Jupyter in a new browser window:

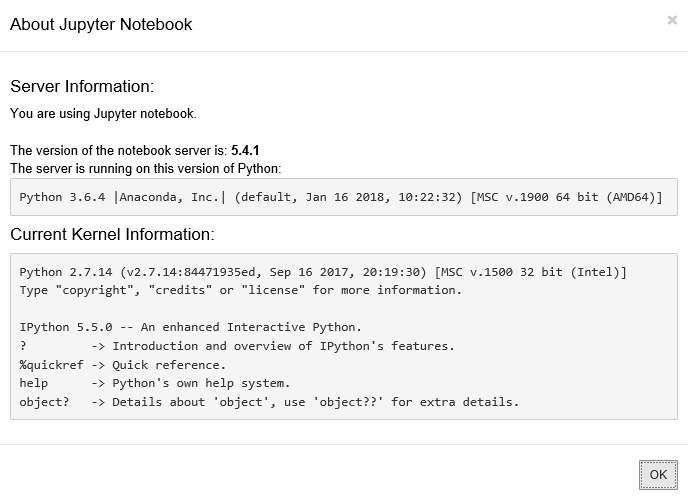
When Jupyter is running, we can get some details on the installation by using the File | About menu, which will provide a dialog box like this one, which is showing some details on the Jupyter installation, as follows:
If you start Jupyter from the command line directly, Jupyter will open in a new browser window and you will see some of the logging entries that will display on your Terminal window, noting the progress being made in your use:

Note that the last line of the log is the instruction you must use to stop the server (press Ctrl + C in the command-line window where the server is running).
If you press Ctrl + C in that window, the Jupyter server will shut down gracefully:
[W 17:26:36.688 NotebookApp] 404 GET /favicon.ico (::1) 62.00ms referer=None
[W 17:26:36.750 NotebookApp] 404 GET /favicon.ico (::1) 0.00ms referer=None
[I 17:28:24.891 NotebookApp] Interrupted...
[I 17:28:24.891 NotebookApp] Shutting down kernels
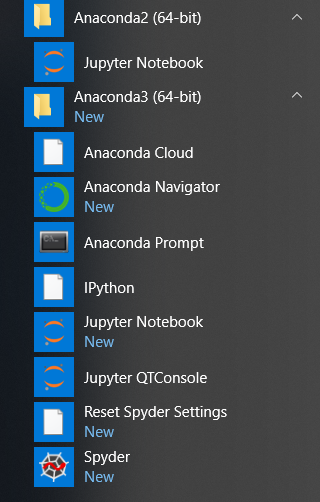
You will notice that the Anaconda package has been installed on your application menu for further use: