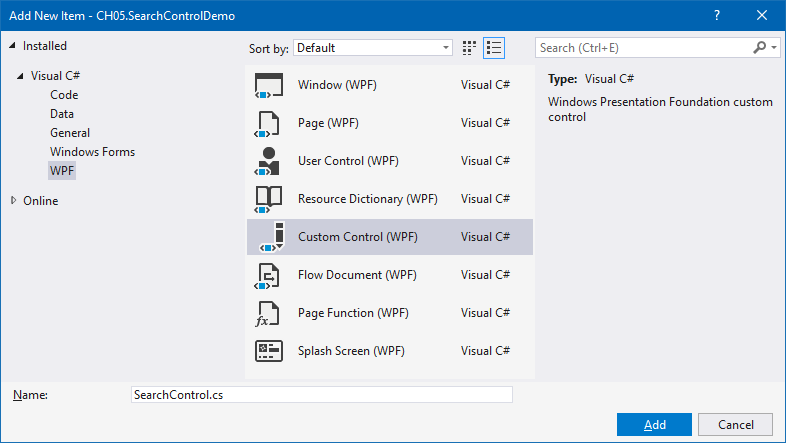
Perform the following steps to create your first custom control, which will contain a text input box and a button to build a search control. At the end, we will add it to the application window:
- Once the project has been created, right-click on the project, from Solution Explorer, and follow Add | New Item... from the context menu entries. A new dialog window will pop up on the screen.
- Inside the Add New Item dialog window, expand the Installed | Visual C# | WPF tree item, from the left navigation panel, and select Custom Control (WPF) from the right screen:

- Give the custom control a name (let's say, SearchControl.cs) and click Add to create it. This will create the class file named SearchControl.cs inside the project, and a folder (named Themes) containing a Generic.xaml file.
- Open the Generic.xaml file, which will contain a Style for the custom control that we created. This gets generated automatically by the Visual Studio IDE, while creating the custom...


