Creating an extended profile
Now that we have made all of the necessary adjustments to the profile, we are ready to have users populate their profiles.
Users can fill out their profiles by navigating to their profile page, either by clicking on the My account link or by navigating to http://example.edu/user when they are logged in. Clicking on the
Edit tab will direct the user to the edit page for their profile.

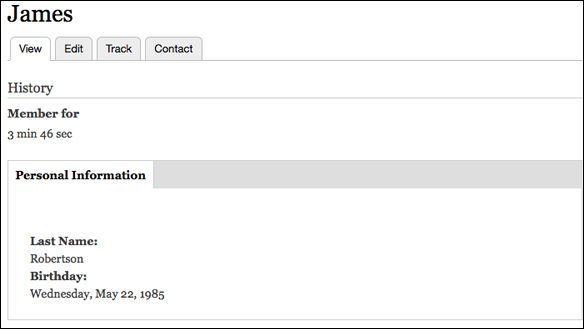
This screenshot is taken from the perspective of the profile owner; that is, this profile is owned by user James, and this screenshot was taken while the user was logged in as James.
As shown in the preceding screenshot, the Last name and Birthday fields we created earlier in this chapter are visible.
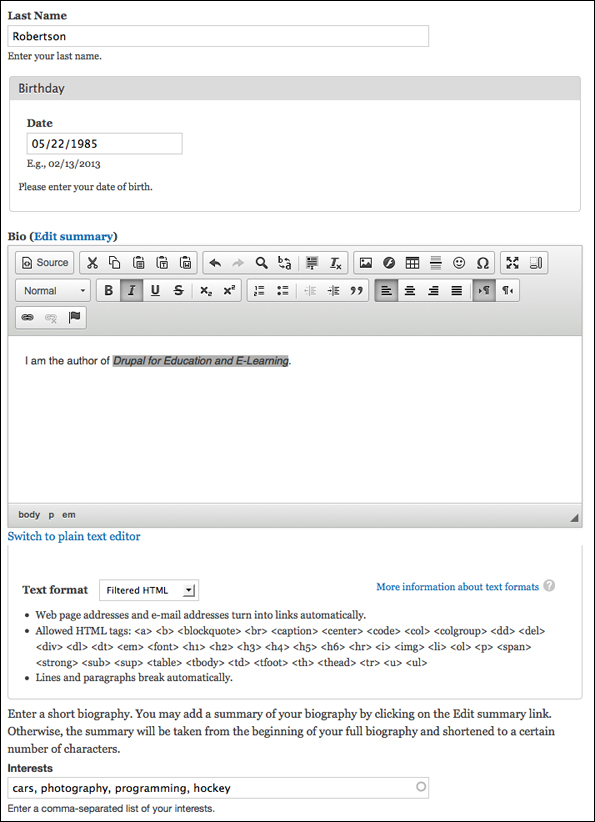
In the following screenshot, you can see our profile contains text areas for the Bio (Edit Summary) section , as well as a vocabulary for Interests:

When you have entered the appropriate values, click on the Save button to create the extended profile.


