There are multiple ways of managing and running Kotlin code. We will mainly focus on Android Studio and Kotlin Playground.
Dealing with Kotlin code
Kotlin Playground
The fastest way to try Kotlin code without the need to install any software is Kotlin Playground (https://try.kotlinlang.org). We can run Kotlin code there using JavaScript or JVM Kotlin implementations and easily switch between different Kotlin versions. All the code examples from the book that does not require Android framework dependencies and can be executed using Kotlin Playground.

The main function is the entry point of every Kotlin application. This function is called when any application starts, so we must place code from the book examples in the body of this method. We can place code directly or just place a call to another function containing more Kotlin code:
    fun main(args: Array<String>) {
        println("Hello, world!")
    }
Android Studio
All Android Studio's existing tools work with Kotlin code. We can easily use debugging, lint checks, have proper code assistance, refactoring, and more. Most of the things work the same way as for Java, so the biggest noticeable change is the Kotlin language syntax. All we need to do is to configure Kotlin in the project.
Android applications have multiple entry points (different intents can start different components in the application) and require Android framework dependencies. To run the book examples, we need to extend the Activity class and place code there.
Configuring Kotlin for the project
Starting from Android Studio 3.0, full tooling support for Kotlin was added. Installation of the Kotlin plugin is not required and Kotlin is integrated even deeper into the Android development process.
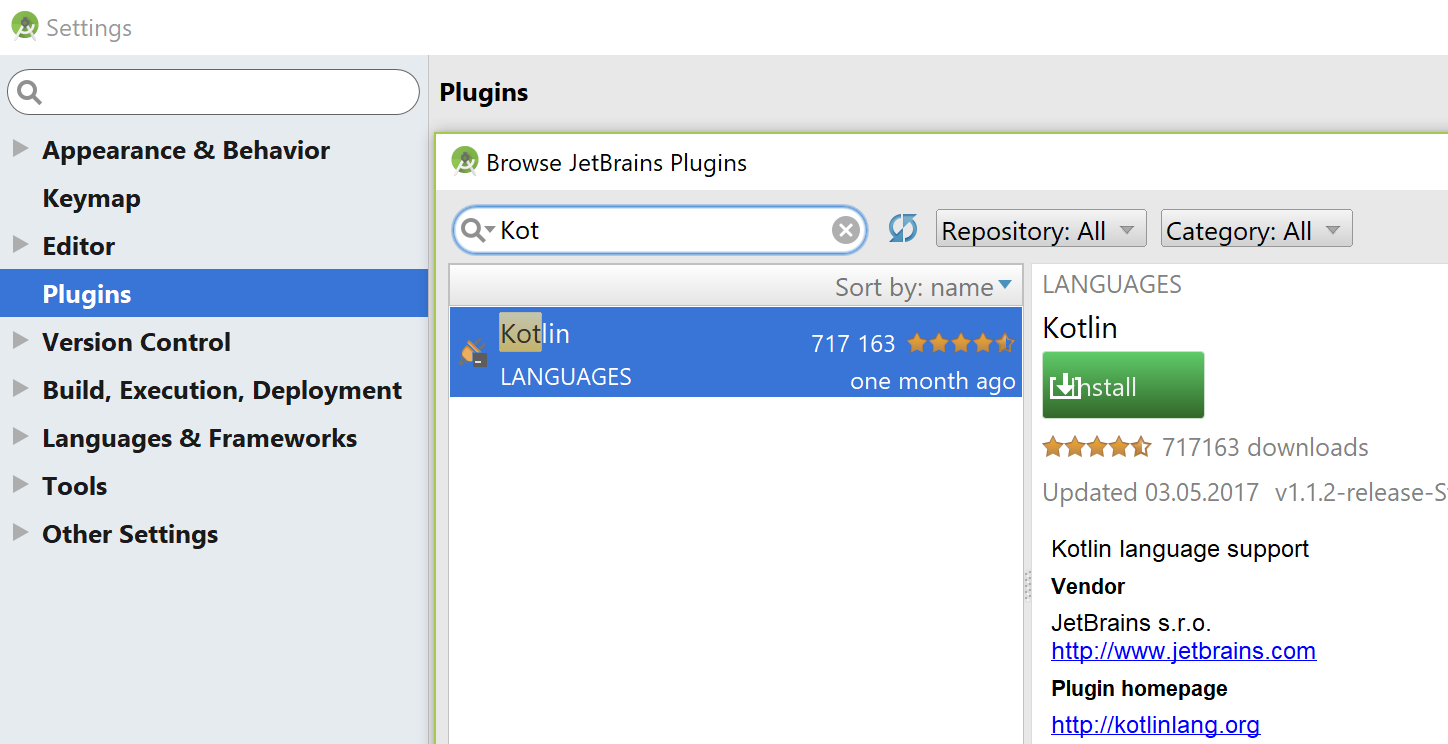
To use Kotlin with Android Studio 2.x, we must manually install the Kotlin plugin. To install it, we need to go to Android Studio | File | Settings | Plugins | Install JetBrains plugin... | Kotlin and press the Install button:
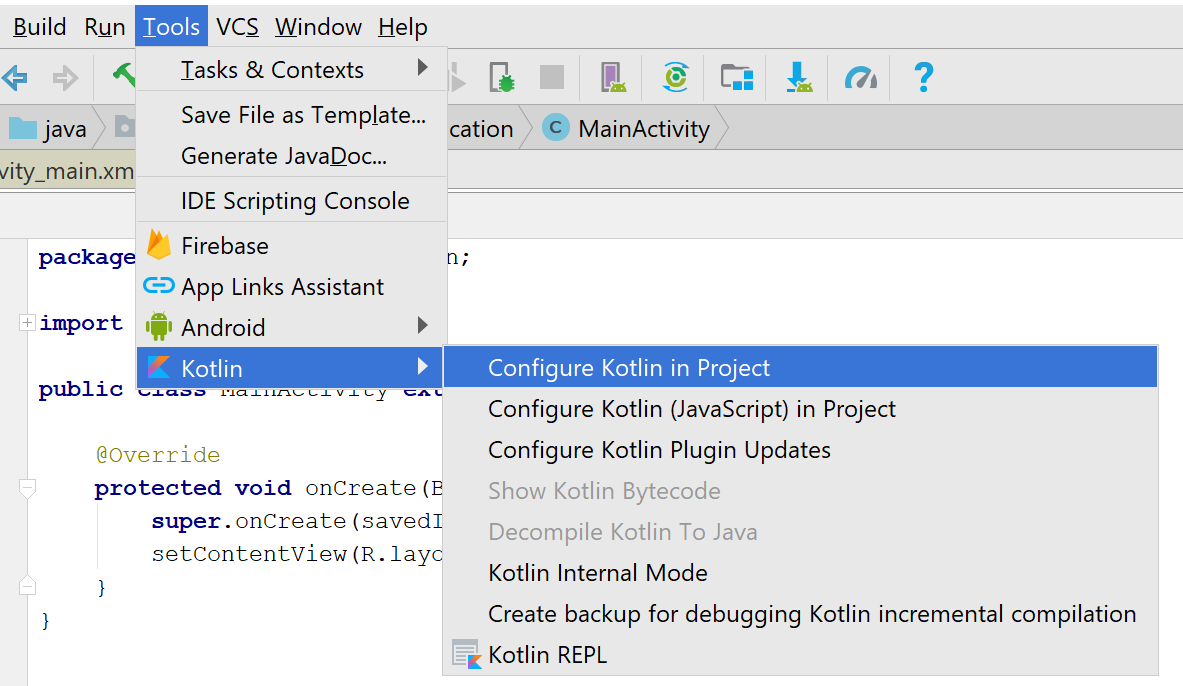
To be able to use Kotlin, we need to configure Kotlin in our project. For existing Java projects, we need to run the Configure Kotlin in project action (the shortcut in Windows is Ctrl+Shift+A, and in macOS, it is command + shift + A) or use the corresponding Tools | Kotlin | Configure Kotlin in Project menu item:
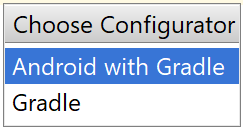
Then, select Android with Gradle:
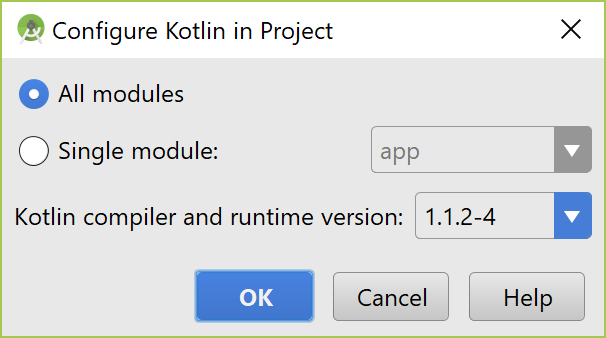
Finally, we need to select the required modules and the proper Kotlin version:
The preceding configuration scenario also applies to all existing Android projects that were initially created in Java. Starting from Android Studio 3.0, we can also check the Include Kotlin support checkbox while creating a new project:
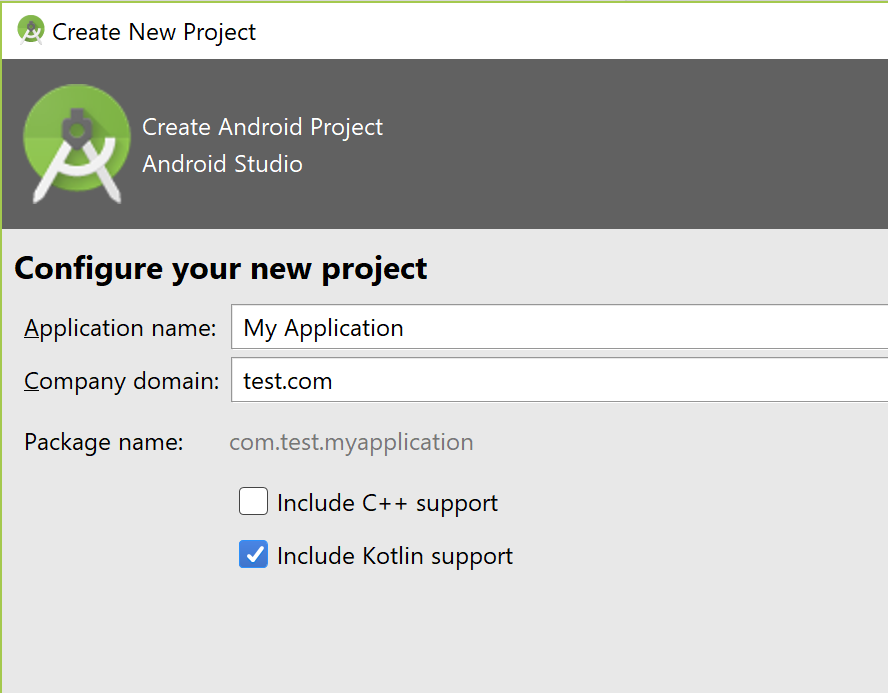
In both scenarios, the Configure Kotlin in project command updates the root build.gradle file and the build.gradle files corresponding to the module(s) by adding Kotlin dependencies. It also adds the Kotlin plugin to the Android module. At the time of writing this book release version of Android Studio 3 is not yet available, but we can review the build script from the pre-release version:
//build.gradle file in project root folder
buildscript {
    ext.kotlin_version = '1.1'

    repositories {
        google()
        jcenter()
    }
    dependencies {
       classpath 'com.android.tools.build:gradle:3.0.0-alpha9'
       classpath "org.jetbrains.kotlin:kotlin-gradle-
             plugin:$kotlin_version"
    }
}

...
//build.gradle file in the selected modules
apply plugin: 'com.android.application'
apply plugin: 'kotlin-android'
apply plugin: 'kotlin-android-extensions'
...
dependencies {
    ...
    implementation 'com.android.support.constraint:constraint-
          layout:1.0.2'

}
...
To update the Kotlin version (let us say in the future), we need to change the value of the kotlin_version variable in the build.gradle file (project root folder). Changes in Gradle files mean that the project must be synchronized, so Gradle can update its configuration and download all the required dependencies:

Using Kotlin in a new Android project
For new Kotlin projects created in Android Studio 3.x, the main activity will be already defined in Kotlin, so that we can start writing Kotlin code right away:
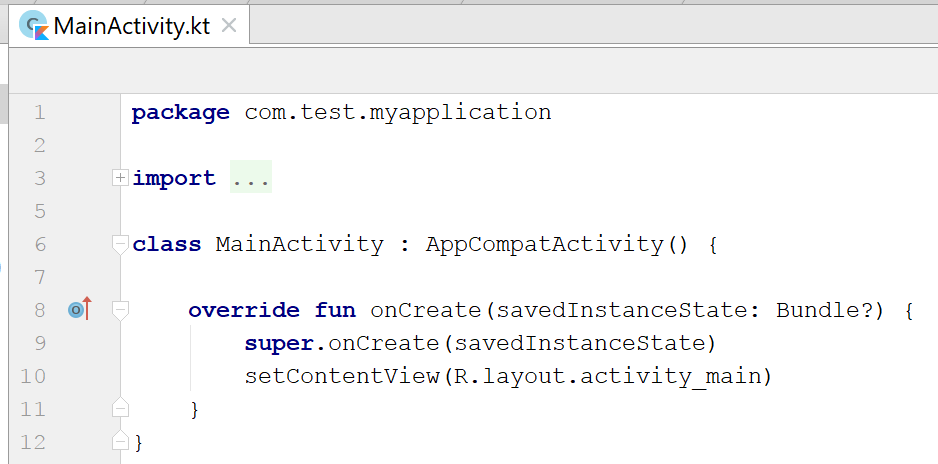
Adding a new Kotlin file is similar to adding a Java file. Simply right-click on a package and select new | Kotlin File/Class:

Notice that Kotlin source files can be located inside the java source folder. We can create a new source folder for Kotlin, but it is not required:
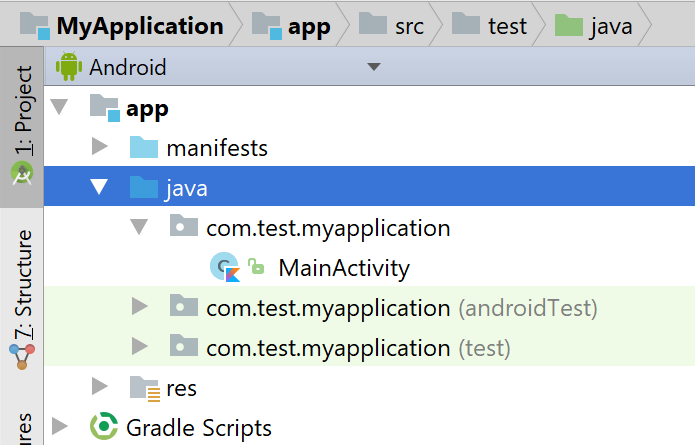
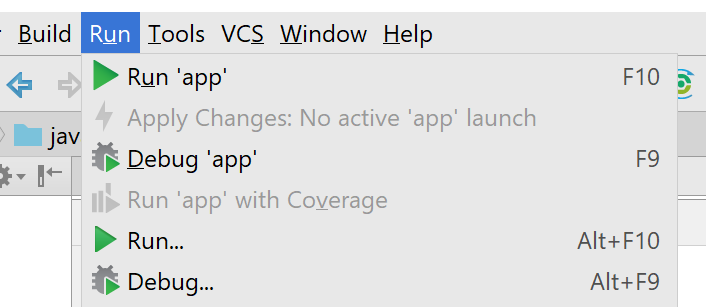
Running and debugging a project is exactly the same as in Java and does not require any additional steps besides configuring Kotlin in the project:
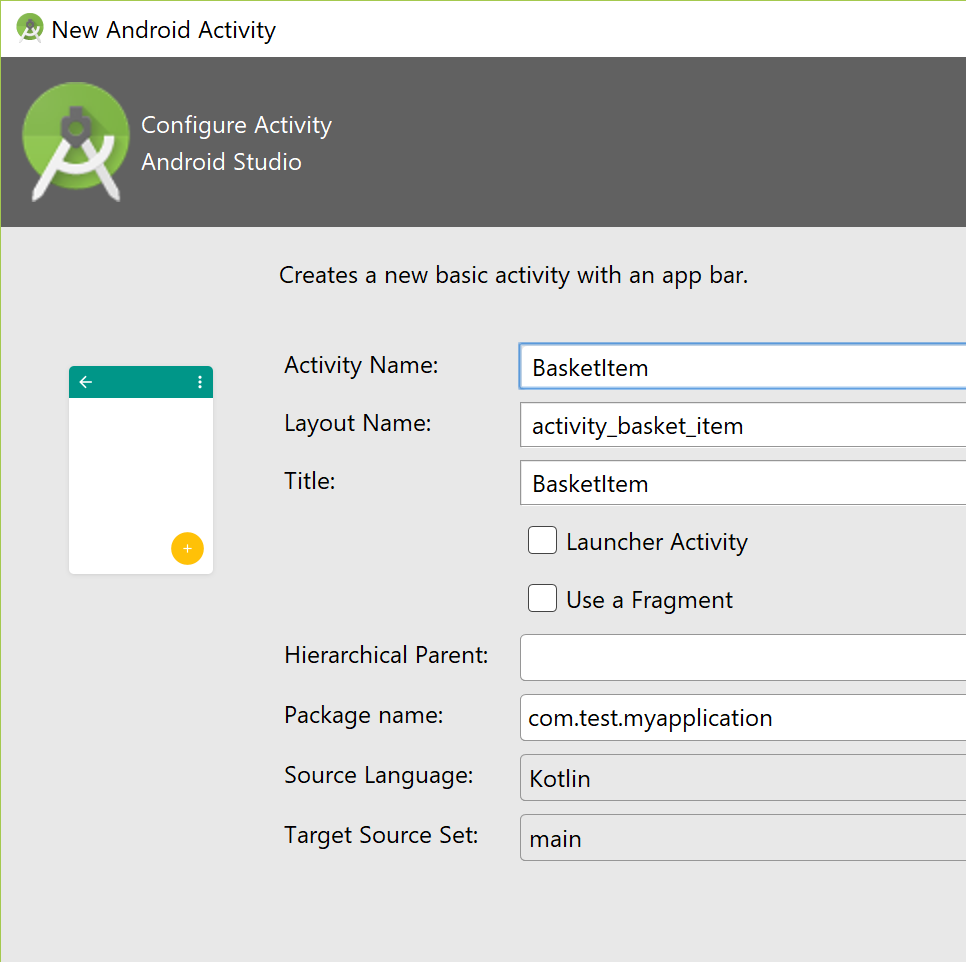
Starting from Android Studio 3.0, various Android templates will also allow us to select a language. This is the new Configure Activity wizard:
Java to Kotlin converter (J2K)
Migration of existing Java projects is also quite easy, because we can use Java and Kotlin side by side in the same project. There are also ways to convert existing Java code into Kotlin code by using the Java to Kotlin converter (J2K).
The first way is to convert whole Java files into Kotlin files using the convert Java File to Kotlin command (the keyboard shortcut in Windows is Alt + Shift + Ctrl + K and in macOS is option + shift + command + K), and this works very well. The second way is to paste Java code into an existing Kotlin file and the code will also be converted (a dialog window will appear with a conversion proposition). This may be very helpful when learning Kotlin.
If we don't know how to write a particular piece of code in Kotlin, we can write it in Java, then simply copy to the clipboard and paste it into the Kotlin file. Converted code will not be the most idiomatic version of Kotlin, but it will work. The IDE will display various intentions to convert the code even more and improve its quality. Before conversion, we need to make sure that the Java code is valid, because conversion tools are very sensitive and the process will fail even if a single semicolon is missing. The J2K converter combined with Java interoperability allows Kotlin be introduced gradually into the existing project (for example, to convert a single class at a time).
Alternative ways to run Kotlin code
Android Studio offers an alternative way of running Kotlin code without the need to run the Android application. This is useful when you want to quickly test some Kotlin code separately from the long Android compilation and deployment process.
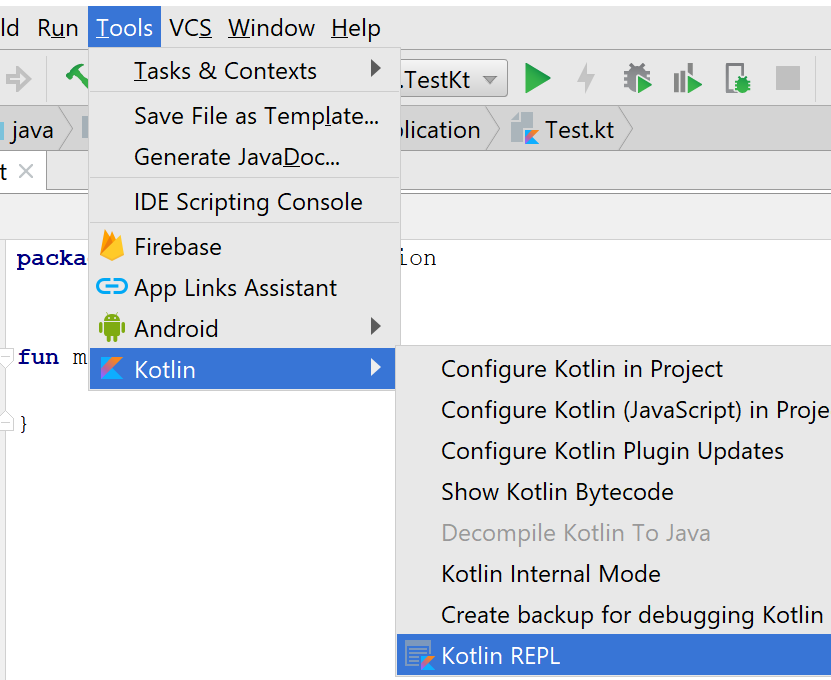
The way to run Kotlin code is to use the Kotlin Read Eval Print Loop (REPL). REPL is a simple language shell that reads single user input, evaluates it, and prints the result:
REPL looks like the command-line, but it will provide us with all the required code hints and will give us access to various structures defined inside the project (classes, interfaces, top-level functions, and so on):
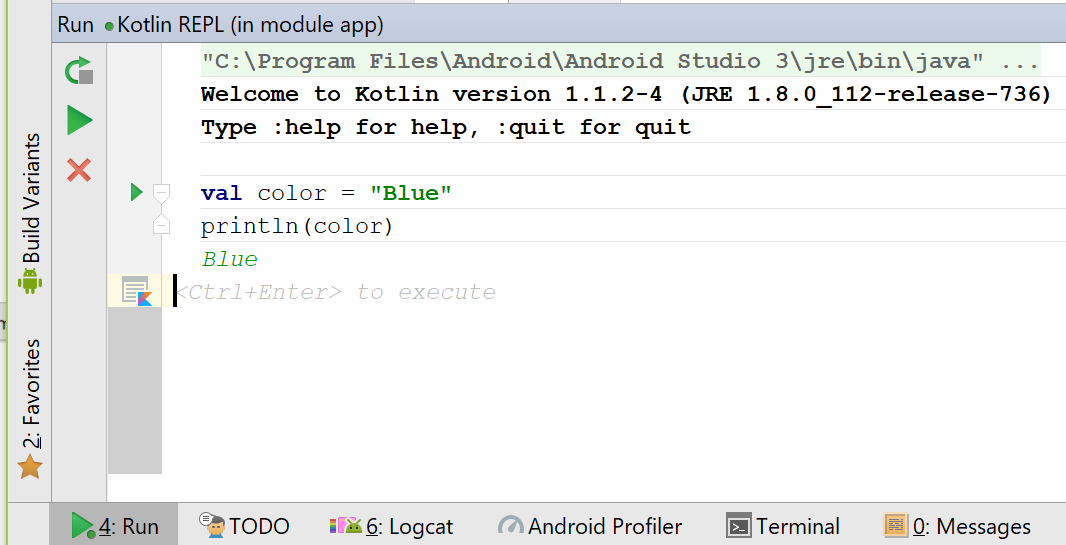
The biggest advantage of REPL is its speed. We can test Kotlin code really quickly.


