Installation
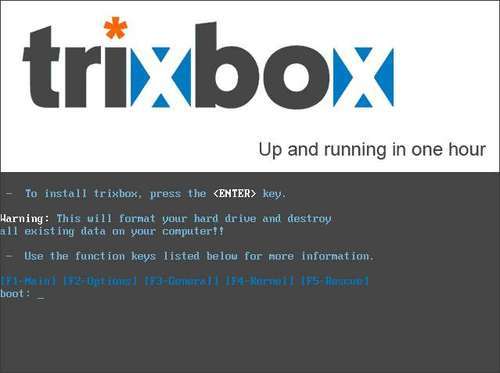
We start by putting the CD into the CD-ROM drive of the computer we will be installing TrixBox on, and then boot the computer ensuring that we have configured it to boot from CD-ROM. We will be presented with a start-up screen with several options:

The advanced options that we can access here can be skipped for most installations. However, it is often good to do a media check beforehand as this checks the CD for errors and helps us to ensure that the system will install without errors. Advanced options can be accessed by pressing the following buttons:
F1 brings us to the main screen (the one shown in the previous screenshot).
F2 takes us to the options menu that allows us to run a media check and a memory test.
F3 gives us some more information and options for modifying the screen resolution as the system boots. This can usually be ignored.
F4 gives information on additional kernel parameters that we can pass to the kernel, if we are having problems while booting.
F5 shows...


