- Log in to AWS. If you don't have an account, create one:
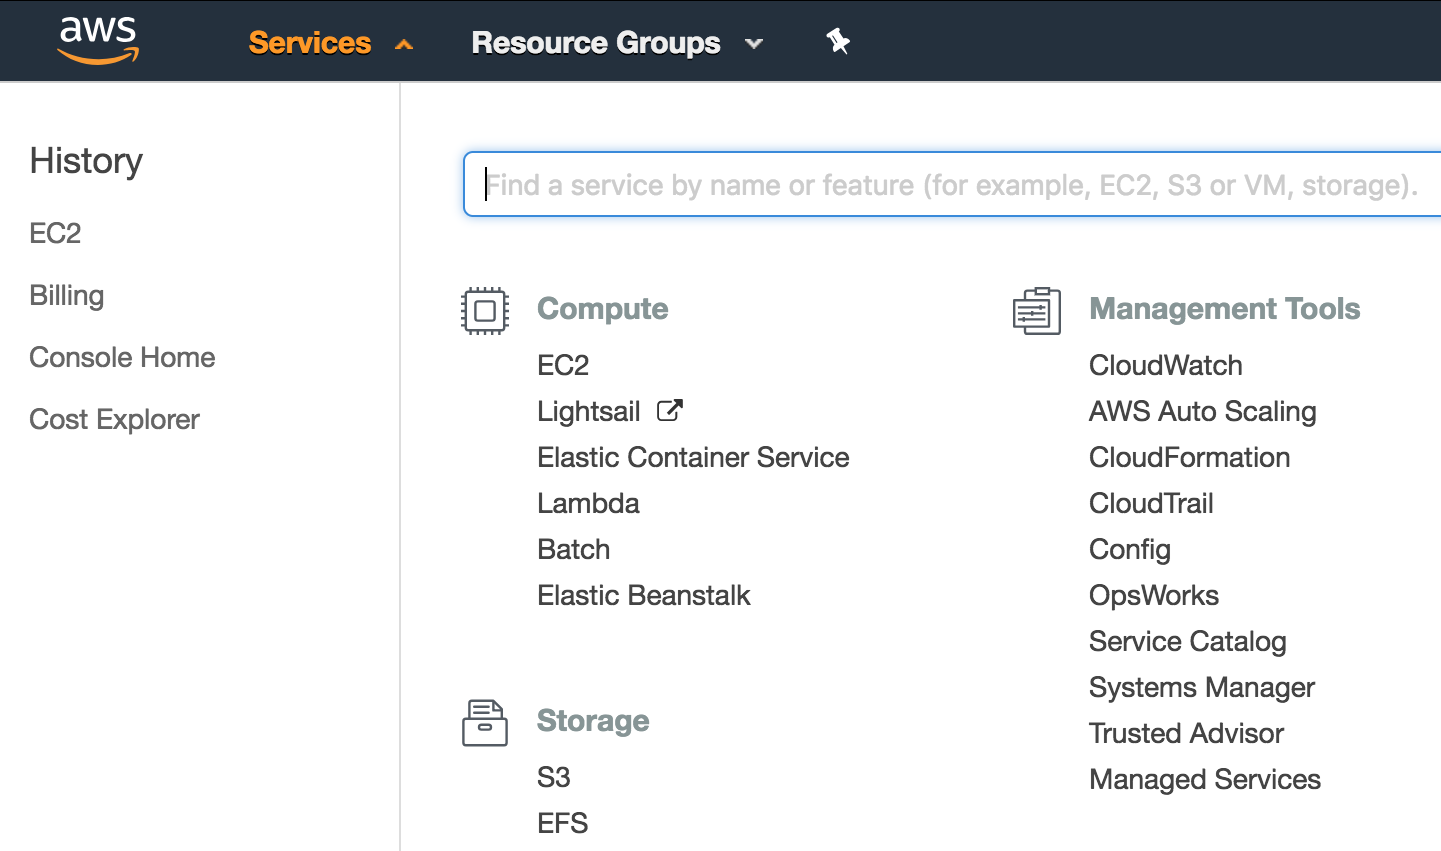
![](https://static.packt-cdn.com/products/9781788993357/graphics/assets/fa6d4e79-b597-418d-8ecc-c8c3e8dbec9d.png)
- Select EC2.
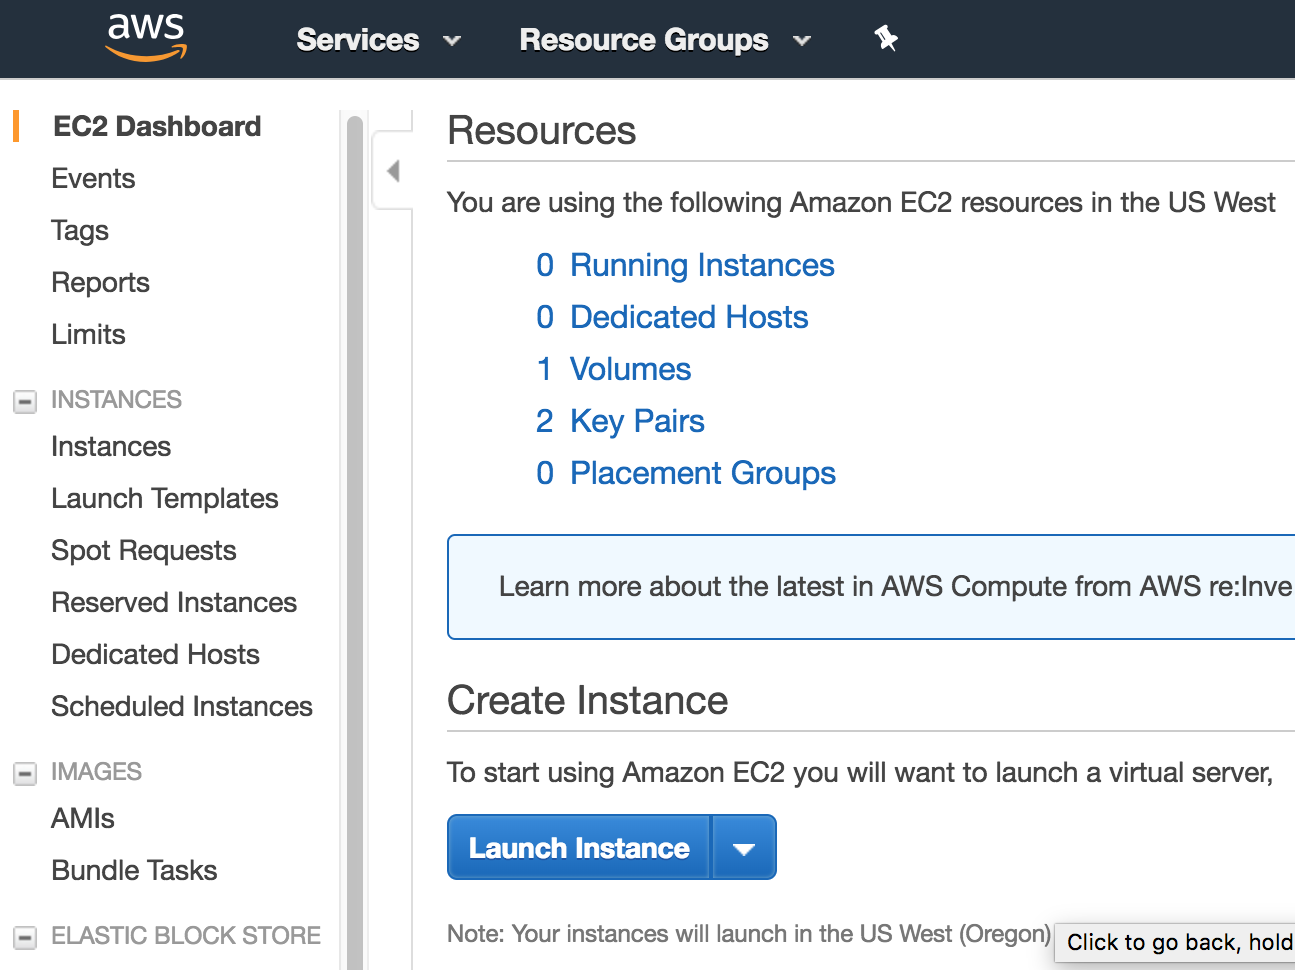
- Click Launch Instance:
![](https://static.packt-cdn.com/products/9781788993357/graphics/assets/dfeff87d-2771-46bd-bd75-c53c73d0ce97.png)
- Select Ubuntu Server 16.04 LTS (HVM), SSD Volume Type - ami-db710fa3:
![](https://static.packt-cdn.com/products/9781788993357/graphics/assets/b4cda929-039a-4c1c-973e-666143148257.png)
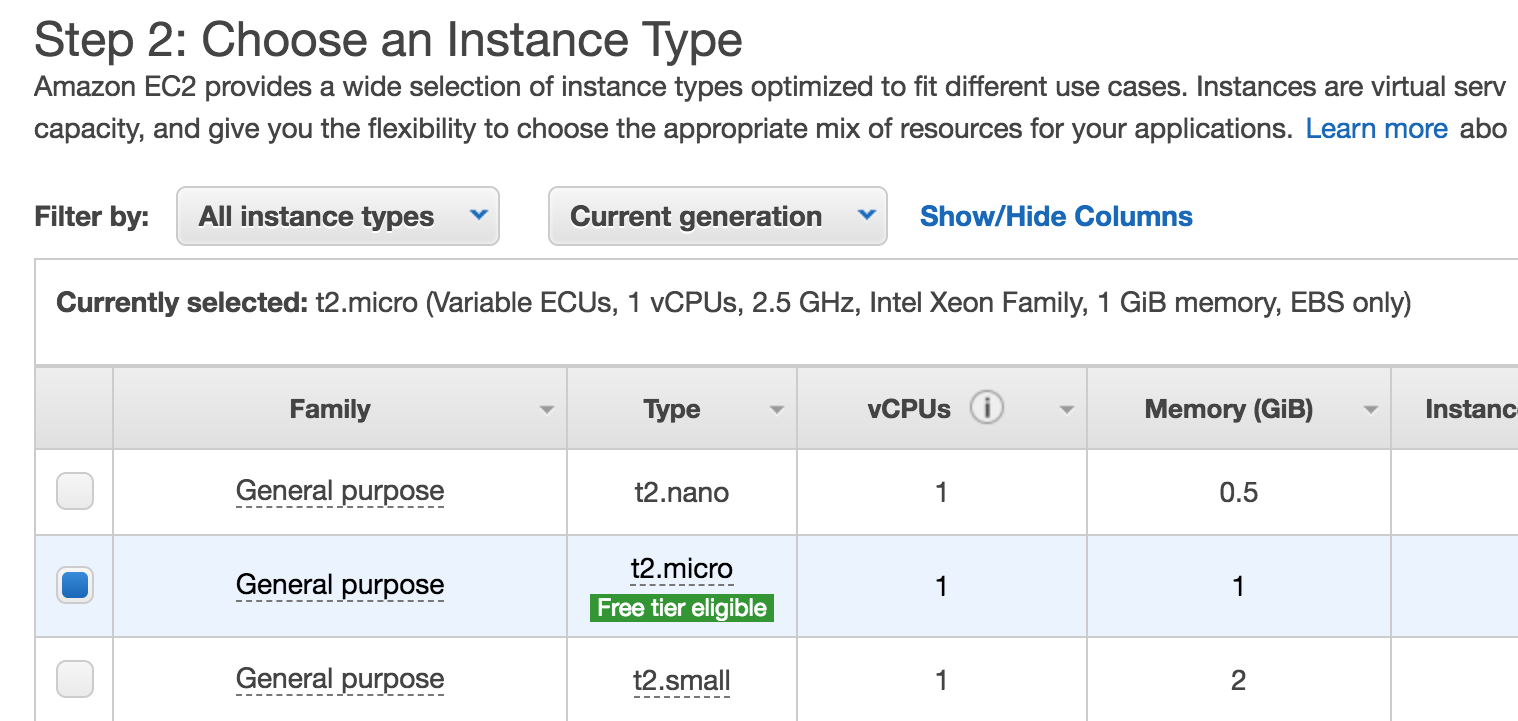
- Select the t2.micro instance type:
![](https://static.packt-cdn.com/products/9781788993357/graphics/assets/33e941fa-99d4-43e7-b93b-373f7cb00455.png)
- Click Review and Launch:
![](https://static.packt-cdn.com/products/9781788993357/graphics/assets/151e7c10-aef3-40da-923a-b7f7171dbbf5.png)
- Click Launch.
- Select Create a new key pair:
![](https://static.packt-cdn.com/products/9781788993357/graphics/assets/dc5df025-8ebf-4109-a0d9-5fc104043bc6.png)
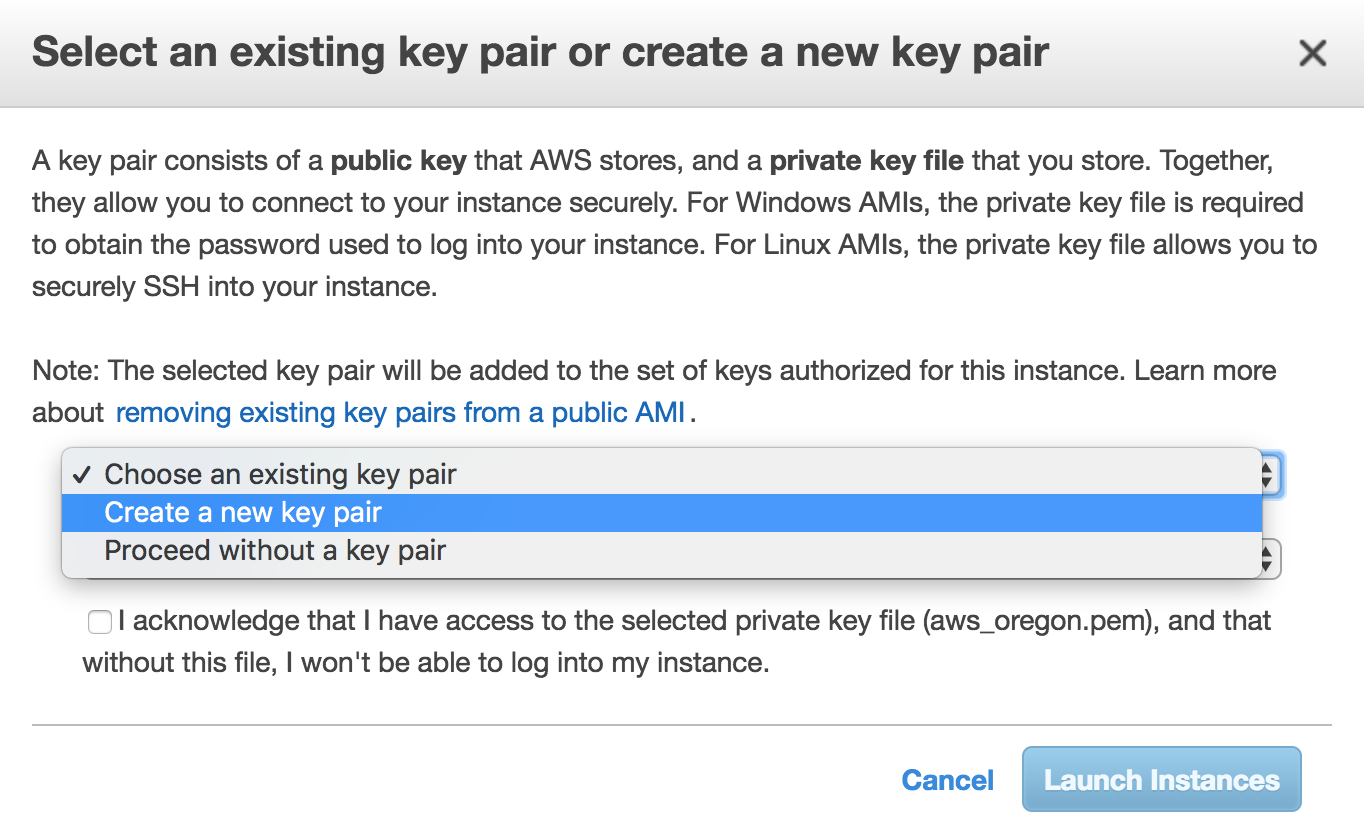
- Give it a name and click Launch Instances. It will take a while for it to run:
![](https://static.packt-cdn.com/products/9781788993357/graphics/assets/41e72212-d346-45d0-bf0d-6d42645393da.png)
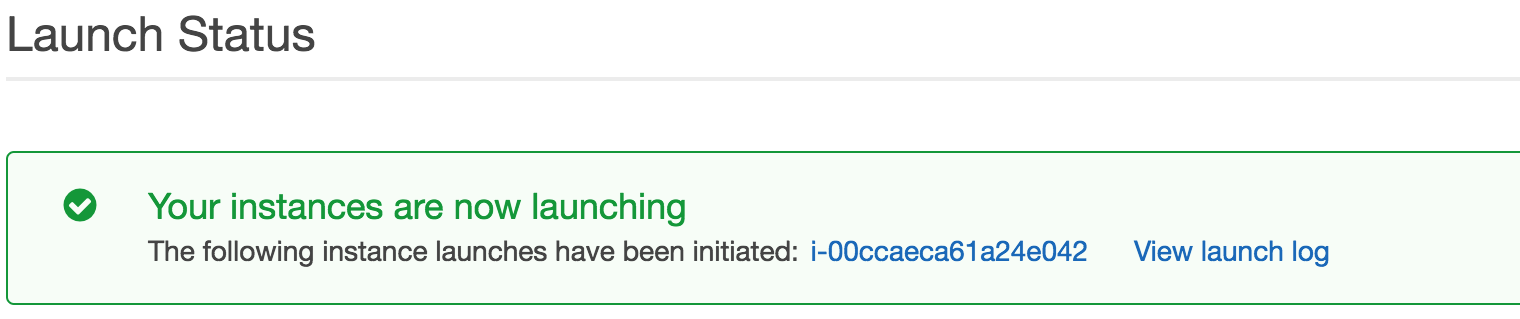
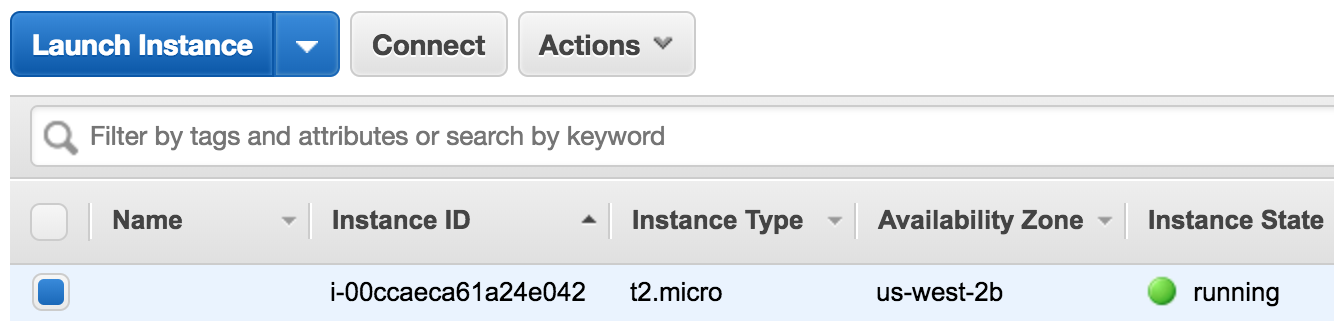
- Once its status is running, click the Instance ID, which in this case is i-00ccaeca61a24e042. Then select the instance and click Connect:
![](https://static.packt-cdn.com/products/9781788993357/graphics/assets/d207b825-c27d-4e72-817c-e7256a846d7e.png)
- It will then show you the following window with some useful information:
![](https://static.packt-cdn.com/products/9781788993357/graphics/assets/70613b58-c8f1-4488-a96e-a852ccf32900.png)
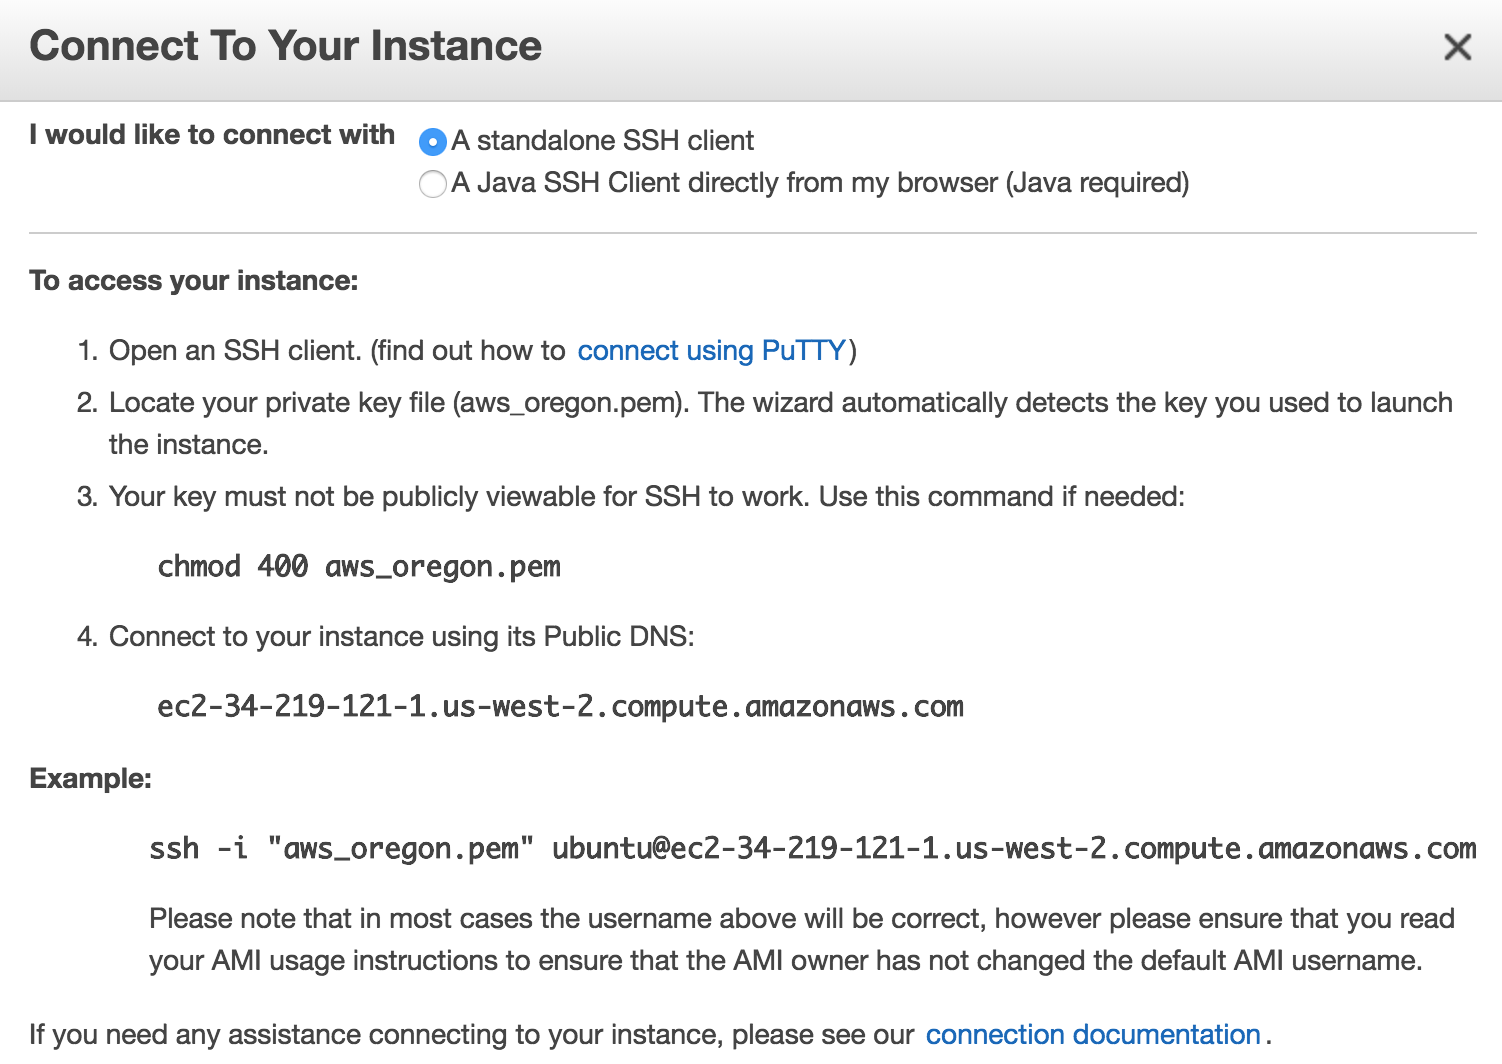
- Open your terminal and navigate to the folder where you saved your generated key. The key name in this example is aws_oregon. Run the following command:
$ chmod 400 aws_oregon.pem
- Then, copy the line in the example section of the previous...