It is no surprise that we commonly face repetitive and time-consuming tasks. For example, you might want to create multiple storage accounts. You would have to follow the previous guide multiple times to get your job done. This is why Microsoft supports its Azure services with multiple ways of automating most of the tasks that can be implemented in Azure. Throughout this book, two of the automation methods that Azure supports will be used.
Automating your tasks
Azure PowerShell
PowerShell is commonly used with most Microsoft products, and Azure is no less important than these products.
Mainly, you can use Azure PowerShell cmdlets to manage your Azure Storage, however, you should be aware that Microsoft Azure has two types of cmdlets: one for the classic portal, and another for the portal we are using.
The main difference between the cmdlets of the classic portal and the current portal is there will be an RM added to the cmdlet of the current portal.
For example, if you want to create a storage account in the classic portal, you would use the following cmdlet:
New-AzureStorageAccount
But for the current portal, you would use:
New-AzureRMStorageAccount
By default, you can use Azure PowerShell cmdlets in Windows PowerShell; you will have to install its module first.
Installing the Azure PowerShell module
There are two ways to install the Azure PowerShell module:
- Download and install the module from the following link: https://www.microsoft.com/web/downloads/platform.aspx
- Install the module from the PowerShell Gallery
Installing the Azure PowerShell module from the PowerShell Gallery
- Open PowerShell in elevated mode.
- To install the Azure PowerShell module for the current portal, run the Install-Module AzureRM cmdlet. If your PowerShell requires the NuGet provider, you will be asked to agree to install it and you will have to agree to the installation policy modification, as the repository is not available on your environment, as shown in the following screenshot:

Creating a storage account in the Azure portal using PowerShell
- Log in to your Azure account using the Login-AzureRmAccount cmdlet. You will be prompted to enter your account credentials:

- Create another storage account with the same properties as we used for the portal, but with a different name:
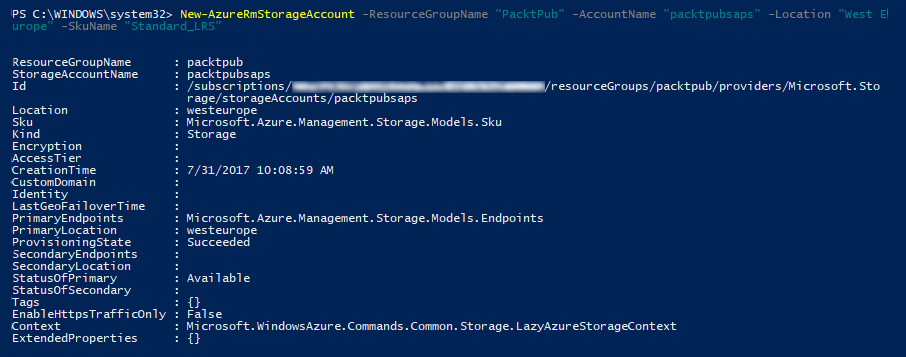
- Congratulations! You have created a storage account using PowerShell.
Azure command-line interface
The Azure command-line interface (CLI) is open source, cross-platform, and supports implementing all the tasks you can do in the Azure portal with commands.
Azure CLI comes in two flavors:
- Azure CLI 2.0, which only supports the current Azure portal
- Azure CLI 1.0, which supports both portals
Throughout the book, we will be using Azure CLI 2.0. So, let’s get started with its installation.
Installing the Azure CLI 2.0
To understand what the Azure CLI 2.0 is capable of, we need to install it. Let's do so by following these steps:
- Download Azure CLI 2.0 from the following link: https://azurecliprod.blob.core.windows.net/msi/azure-cli-2.0.12.msi.
- Once downloaded, you can start the installation by following the screenshots shown here:
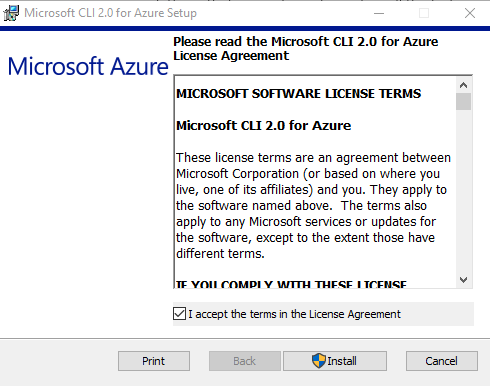
- Run the executable files as administrator, and once the wizard opens, click on Install:
-
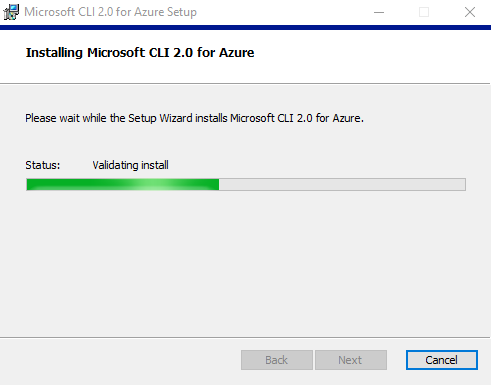
- Once you click on Install, it will start to validate your environment to check whether it is compatible with it or not, then it starts the installation:
-
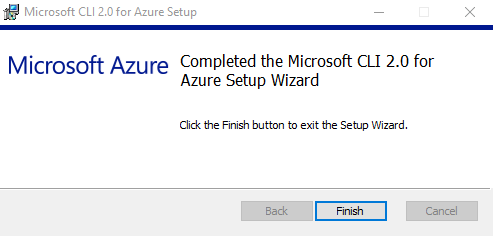
- Once the installation completes, you can click on Finish, and you are good to go:
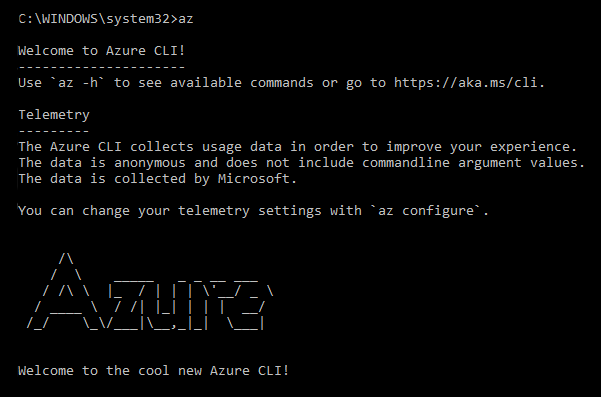
- Once done, you can open the cmd and type az to access Azure CLI commands, as shown in the following diagram:
Creating a Storage account using the Azure CLI 2.0
Let's get our hands dirty with the Azure CLI 2.0 to create an Azure Storage account:
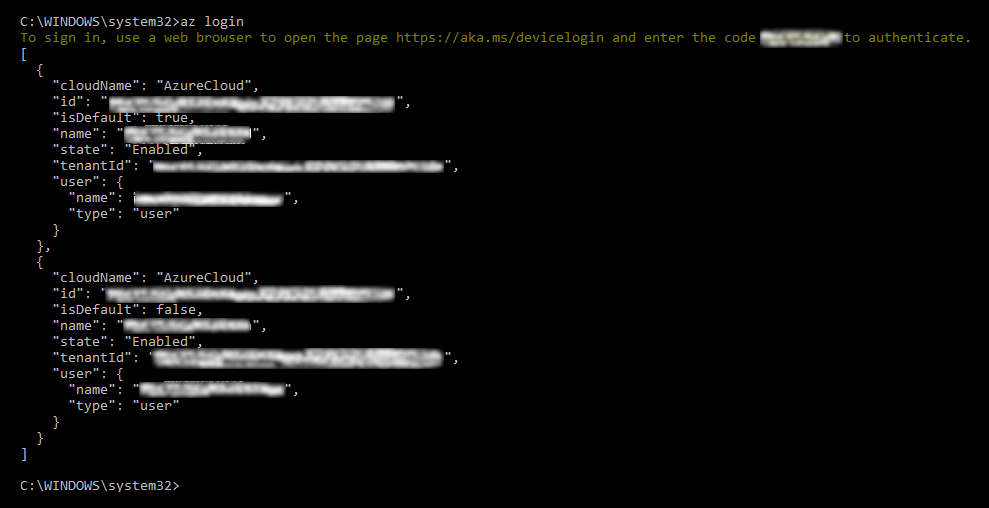
- Log in to your Azure account using the az login command. You have to open the URL that pops up on the CLI and enter the code, as shown in the following screenshot:
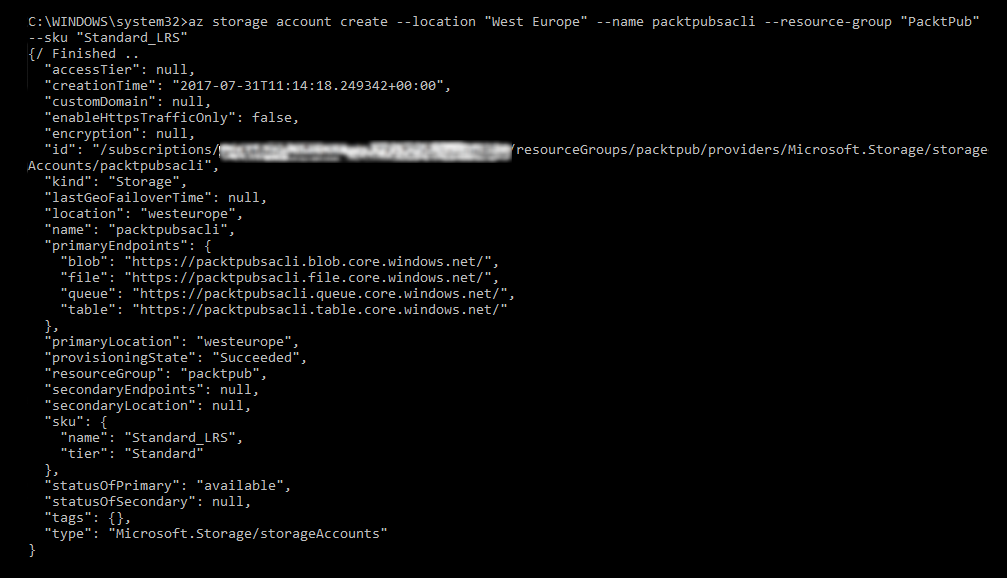
- Create another storage account with the same properties as we used for the portal, but with a different name, as shown in the following screenshot:
