In the following section, we will take a look at the Jenkins Manage Nodes page:
- From the Jenkins dashboard, click on Manage Jenkins | Manage Nodes.
- On the left-hand side, you will see a menu; the options are as explained in the following screenshot:
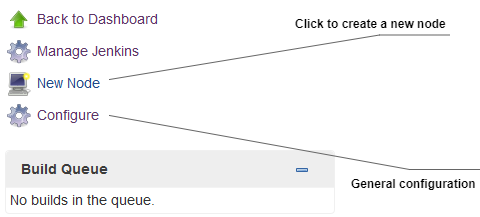
Jenkins Manage Nodes page
- On the right-hand side, you will also see a table showing the list of available Jenkins slaves, as shown in the following screenshot:

List of available nodes
- Since we haven't configured any Jenkins slaves yet, the list (as shown in the preceding screenshot) contains only one entry: that is, master.
- Along with the node's Name, the table also displays other useful information about the node, such as its Architecture, the amount of Free Disk Space, and the Response Time.
- To enable/disable the amount of information being displayed about each node...