MultiPolylines and MultiPolygons
In the previous examples, you created each polyline and polygon as its own layer. When you start creating real data, you will find that you want multiple polylines or polygons on a single layer. For starters, it is more realistic, and it also makes it possible to deal with similar features as a single entity. If you want to map parks and bike trails on a single map, it makes sense to add the parks as MultiPolygon and the bike trails as MultiPolyline. Then, you can provide the user with the option of turning either layer on or off.
Tip
Bracketing for MultiPolylines and MultiPolygons can get confusing. You need brackets to hold the MultiPolyline or MultiPolygon, brackets for each polyline or polygon, and brackets for each latitude and longitude.
MultiPolylines
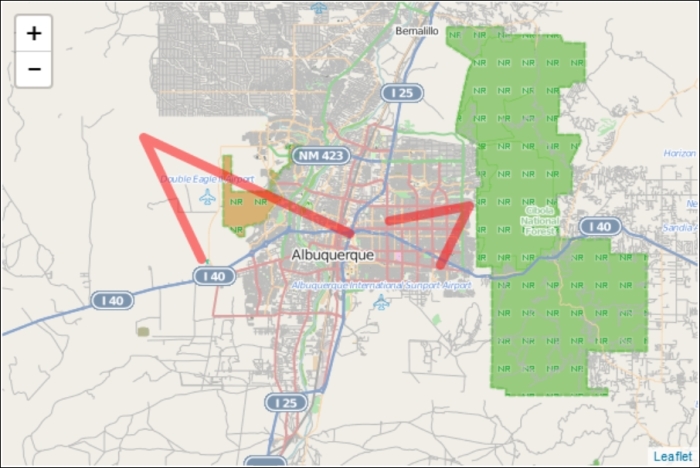
Creating a MultiPolyline is functionally the same as a single polyline, except that you pass multiple longitudes and latitudes; a set for each polygon. This is shown in the following code:
var multipolyline = L.multiPolyline([[[35.10418, -106.62987],[35.19738, -106.875],[35.07946, -106.80634]],[[35.11654, -106.58318],[35.13142, -106.48876],[35.07384, -106.52412]]],{color: 'red',weight:8}).addTo(map);In the preceding code, the first polyline is the same as the polyline example. A second polyline is added, and the options are also the same as the first polyline example. The following screenshot shows the MultiPolyline added to the map:

MultiPolygons
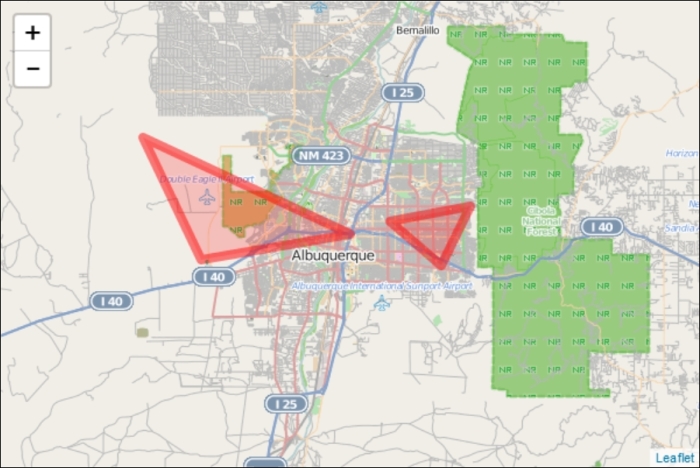
Creating a MultiPolygon is the same as creating a MultiPolyline. Since Leaflet will automatically close the polyline, as long as our polylines have three or more points, we can use them. This is shown in the following code:
var multipolygon = L.multiPolygon([[[35.10418, -106.62987],[35.19738, -106.875],[35.07946, -106.80634]],[[35.11654, -106.58318],[35.13142, -106.48876],[35.07384, -106.52412]]],{color: 'red',weight:8}).addTo(map).bindPopup("We are the same layer");In the preceding code, you can see that the parameters used are identical to those used in the MultiPolyline example earlier. When we create a MultiPolygon or MultiPolyline, the options will apply to every polygon or polyline in the collection. This means that they all have to be the same color, weight, opacity, and so on. There is a new method in the preceding code: .bindPopup("We are the same layer"). MultiPolygons and MultiPolylines also share the same pop up. Pop ups will be discussed later in this chapter. Also, note the use of method chaining in the line L.multiPolygon().addTo().bindPopup(). The following screenshot shows the MultiPolygon added to the map:


