Installing and configuring Jira
We will start by installing Jira as a standalone deployment. We will perform our installation on a Windows platform and use PostgreSQL for the database. If you are planning on using a different platform or database, refer to the vendor documentation on installing the required software for your platform.
In this section, you will do the following:
- Install a fresh instance of Jira Software
- Connect Jira to a PostgreSQL database
- Configure the Jira instance to work in a cluster environment
We will continue to use this Jira deployment in subsequent chapters and exercises as we build our help desk implementation.
For our deployment, we will use the following:
- Jira Software 8.21.0
- PostgreSQL 12.9
- Apache web server
- Microsoft Windows
Let’s begin by installing Jira!
Installing Jira
Before we install Jira, here are two important directories we need to mention:
JIRA_INSTALL: This is the directory where the Jira application will be installedJIRA_HOME: This is the directory that Jira will use to store some of its important configuration and data files
We will be referring to those two directories throughout this book. Now, on to the installation. There are generally two steps involved:
- Downloading and installing the Jira application
- Running through the Jira setup wizard
Let’s get started.
Obtaining and installing Jira
The first step is to download the latest stable release of Jira. You can download Atlassian Jira from https://www.atlassian.com/software/jira/update.
The Atlassian website will detect the operating system you are using and automatically suggest an installation package for you to download. If you intend to install Jira on a different operating system from the one you are currently on, make sure that you select the correct operating system package.
As we mentioned earlier, with Windows, there is a Windows installer package and a self-extracting archive package. For this exercise, we will use the installer package (Windows 64-bit Installer):
- Double-click on the downloaded installation file to start the installation wizard and click on the Next button to continue:
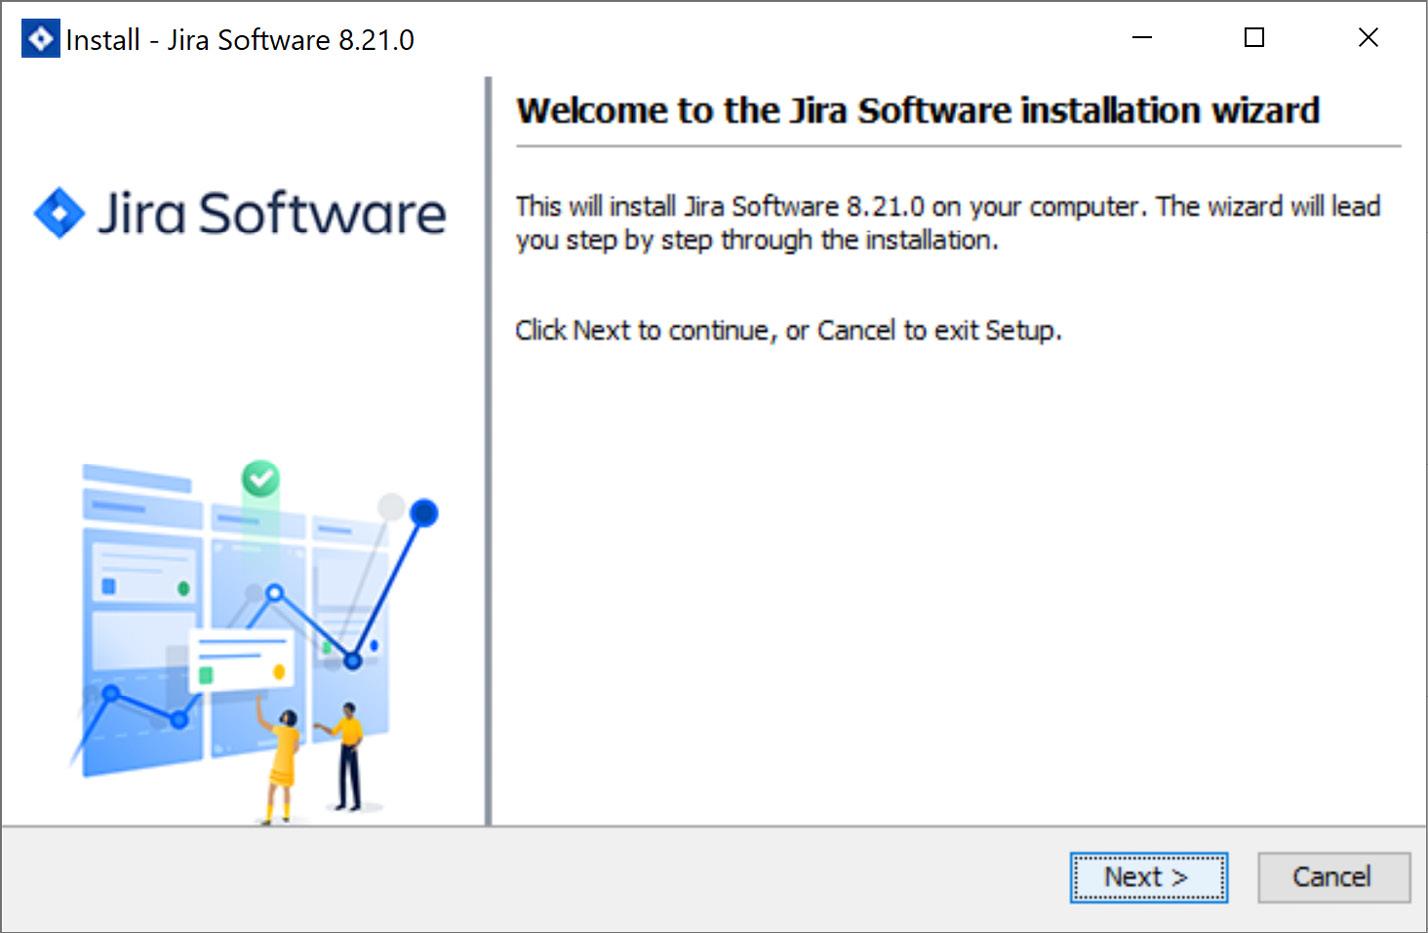
Figure 1.4 – Jira installation step 1
- Select the Custom Install (recommended for advanced users) option and click on the Next button to continue. Using the custom installation will let us decide where to install Jira and will also provide numerous configuration options, as shown in the following screenshot:
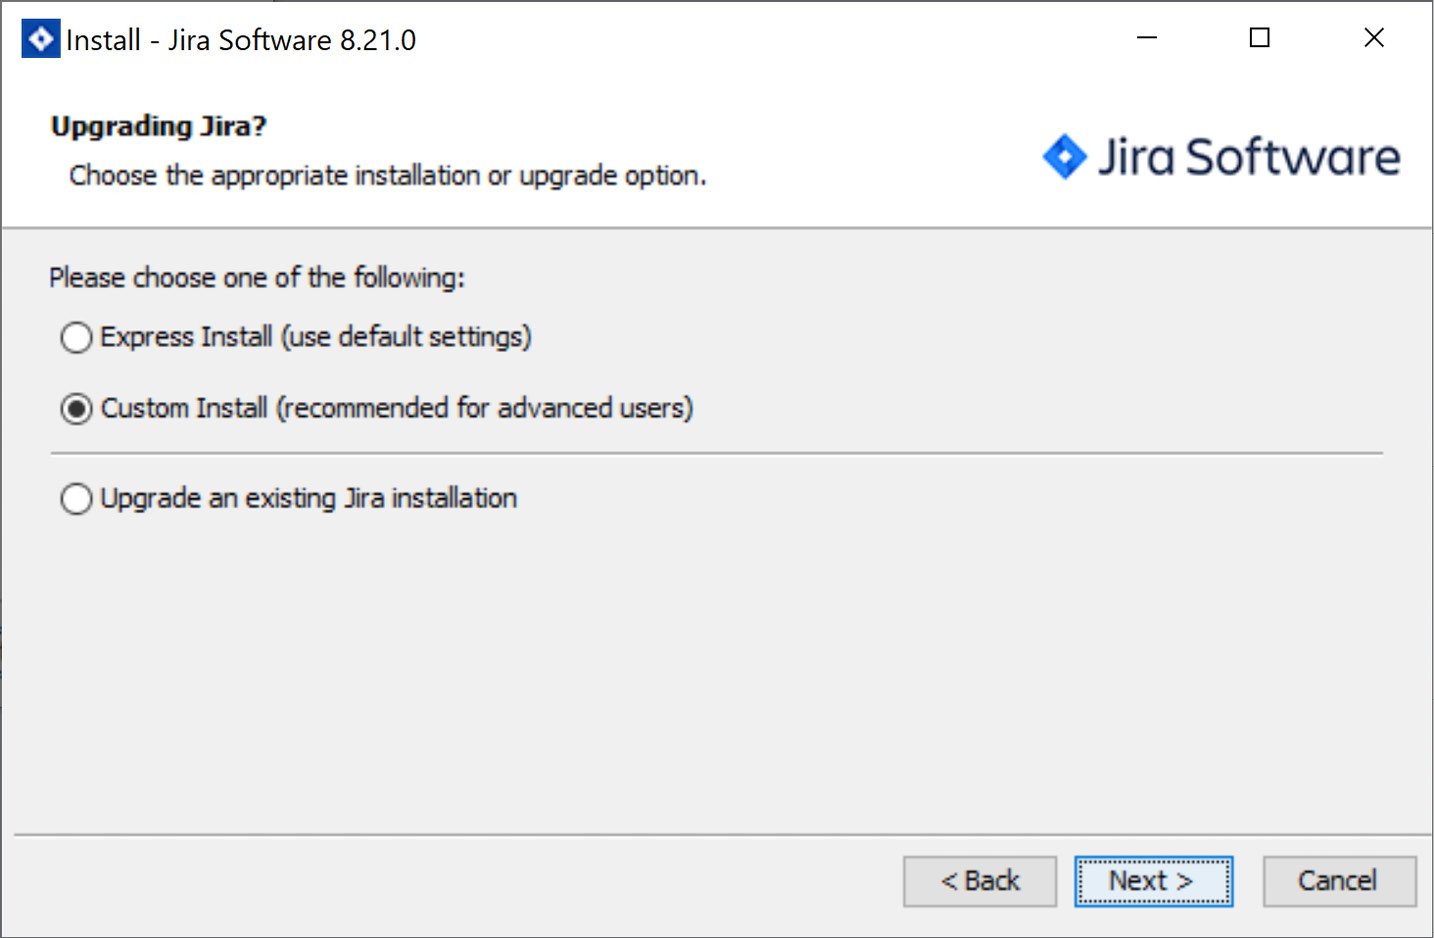
Figure 1.5 – Jira installation step 2
- Select the directory where Jira will be installed. This will become the
JIRA_INSTALLdirectory. Click on the Next button to continue:
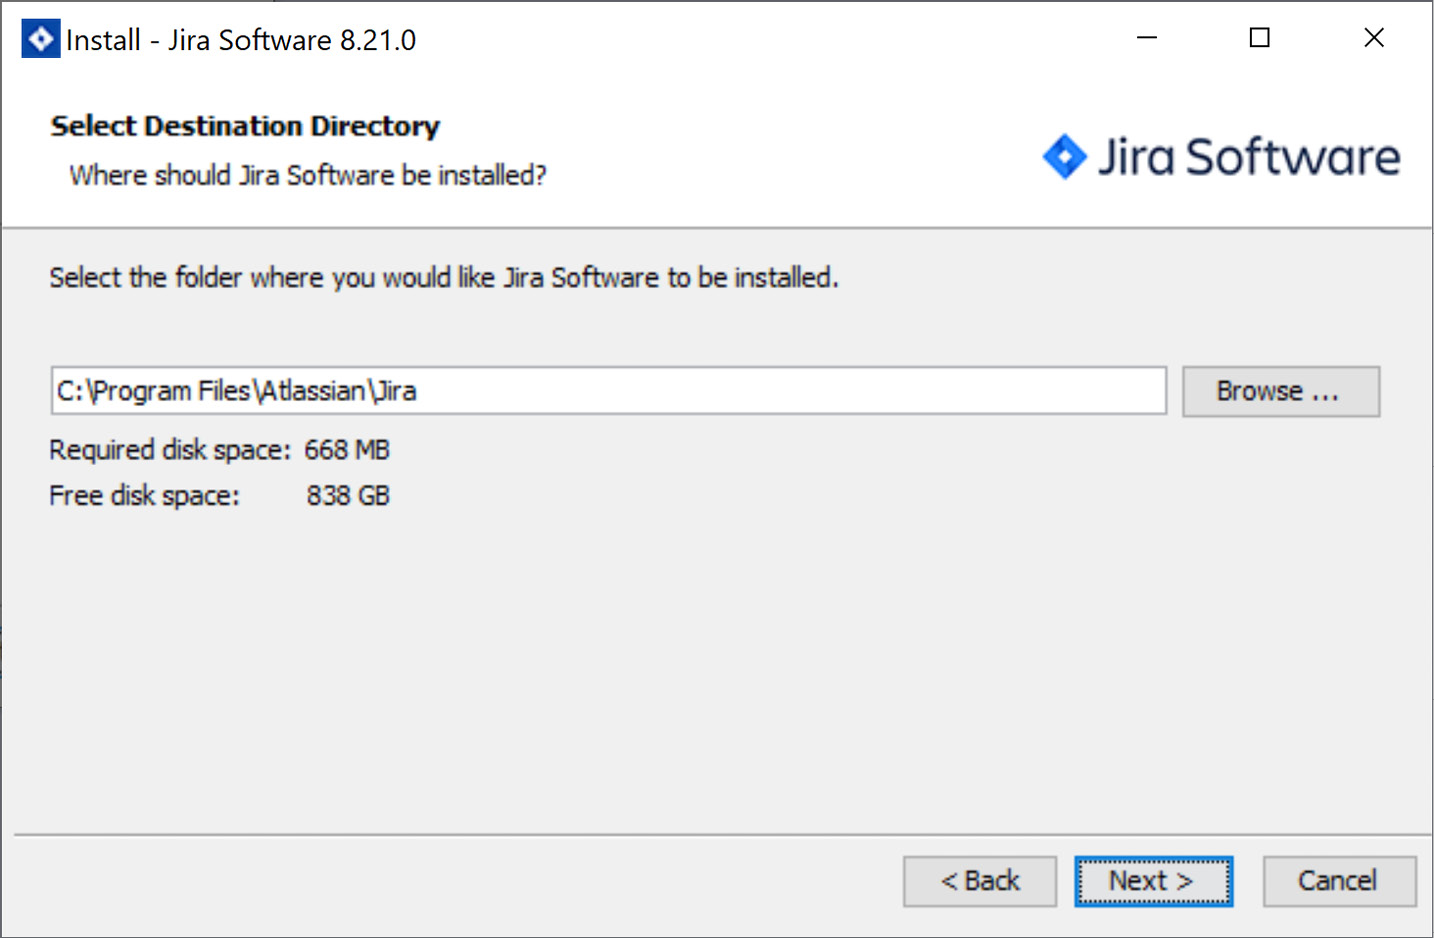
Figure 1.6 – Jira installation step 3
- Select where Jira will store its data files, such as attachments and log files. This will become the
JIRA_HOMEdirectory. Click on the Next button to continue:
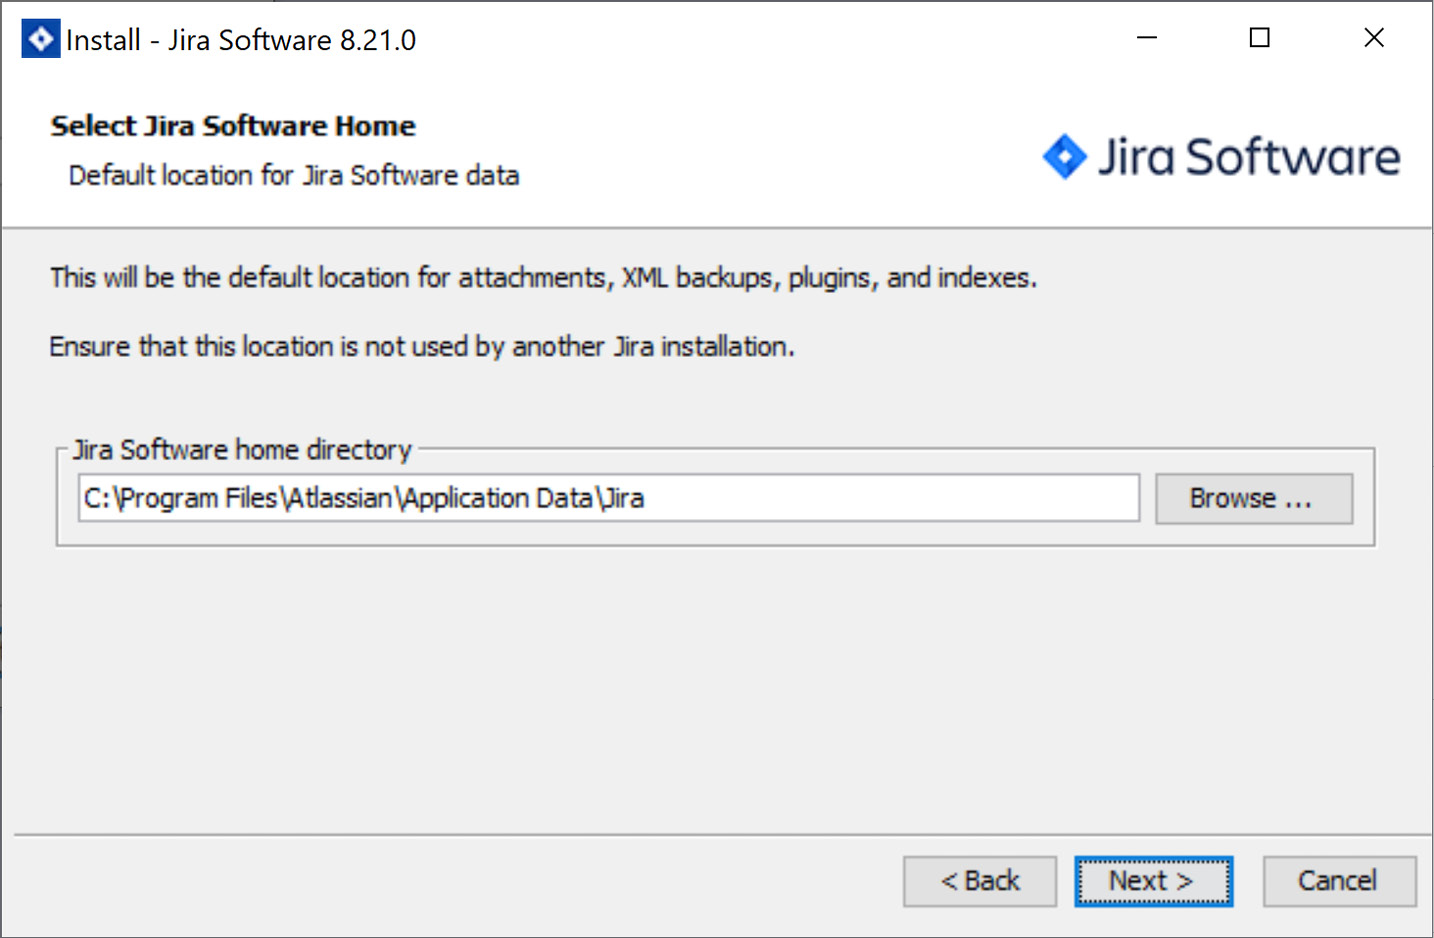
Figure 1.7 – Jira installation step 4
- Select where you would like to create shortcuts to the Start menu and click on the Next button to continue.
- In the Configure TCP Ports step, we need to select the port that Jira will be listening on for incoming connections. By default, Jira will run on port
8080. If8080has already been taken by another application, or if you want Jira to run on a different port such as port80, select the Set custom value for HTTP and Control ports option and specify the port numbers you want to use. Click on the Next button to continue:
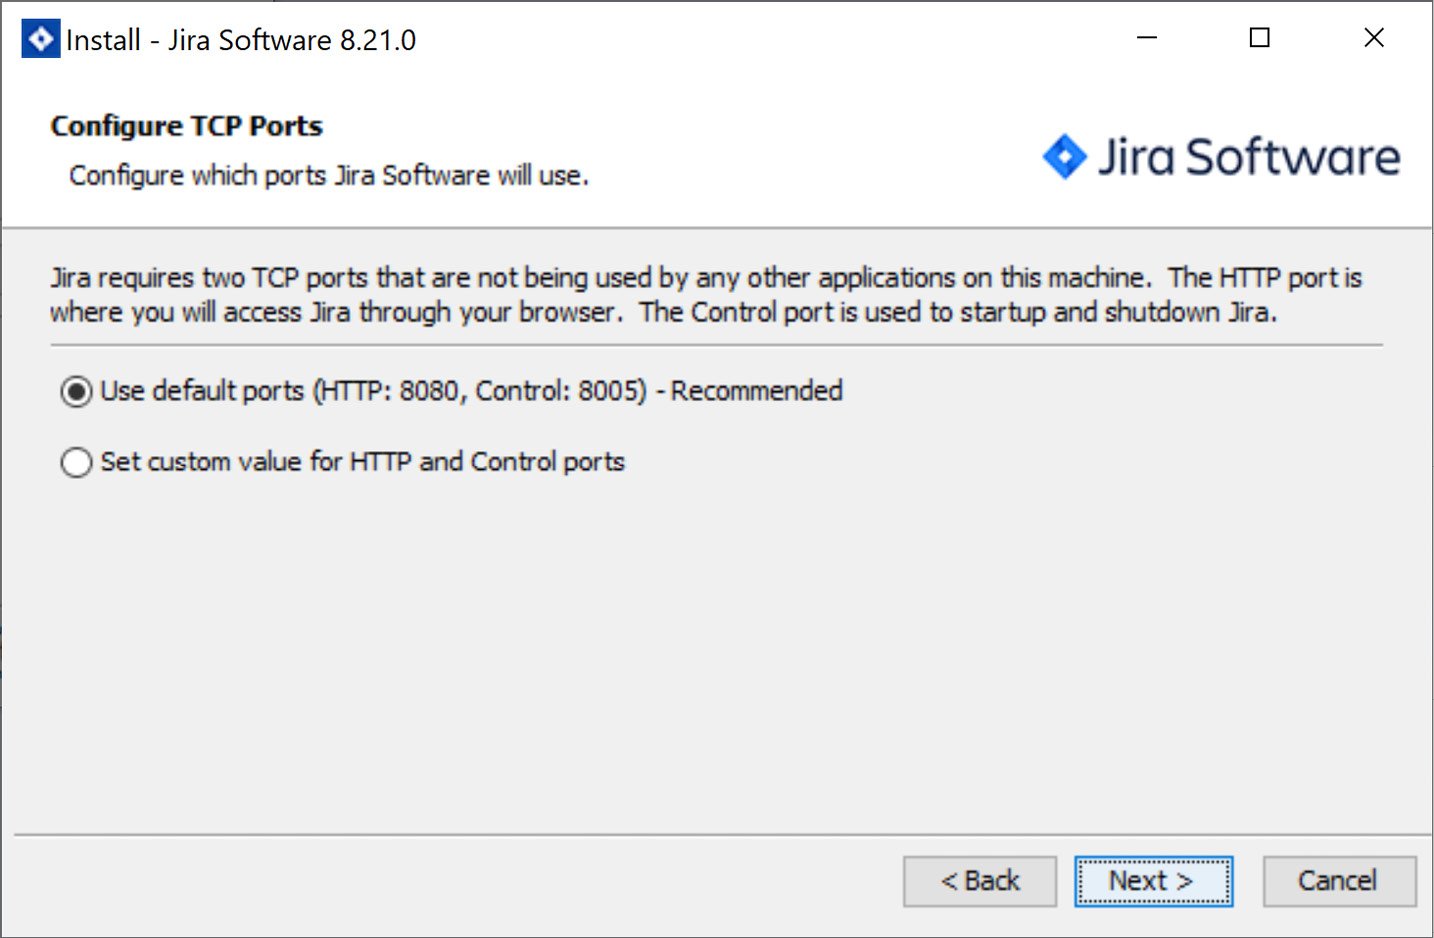
Figure 1.8 – Jira installation step 6
- Select whether you would like Jira to run as a service. If you enable this option, Jira will be installed as a system service and can be configured to start automatically with the server; refer to the Starting and stopping Jira section for more details:
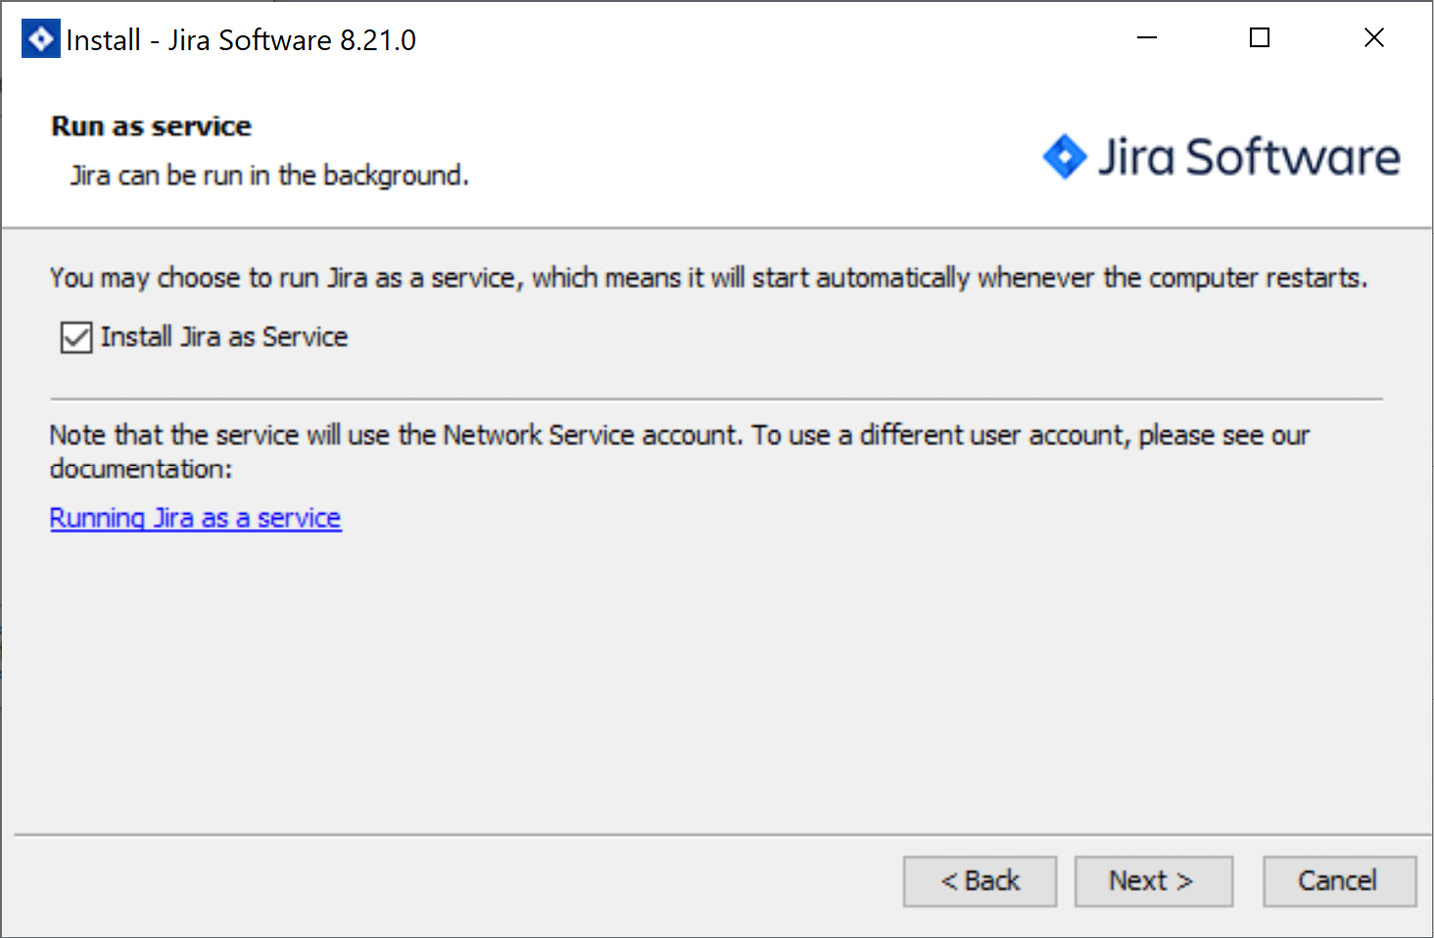
Figure 1.9 – Jira installation step 7
- For the final step, review all the installation options and click on the Install button to start the installation:
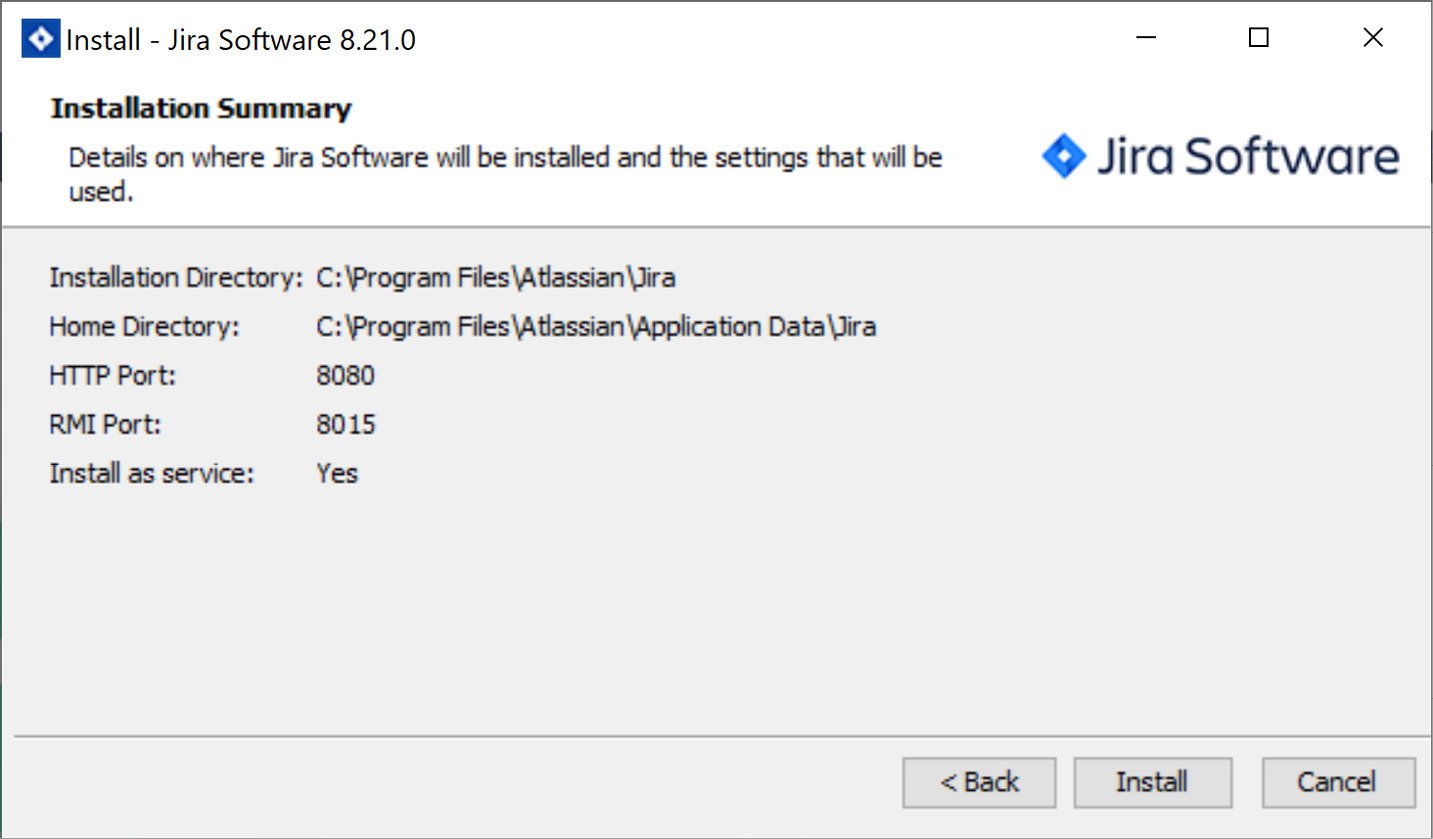
Figure 1.10 – Jira installation step 8
- Once the installation is complete, check the Launch Jira Software in browser option and click on Finish. This will close the installation wizard and open your web browser so that you can access Jira. This may take a few minutes to load as Jira starts up for the first time:
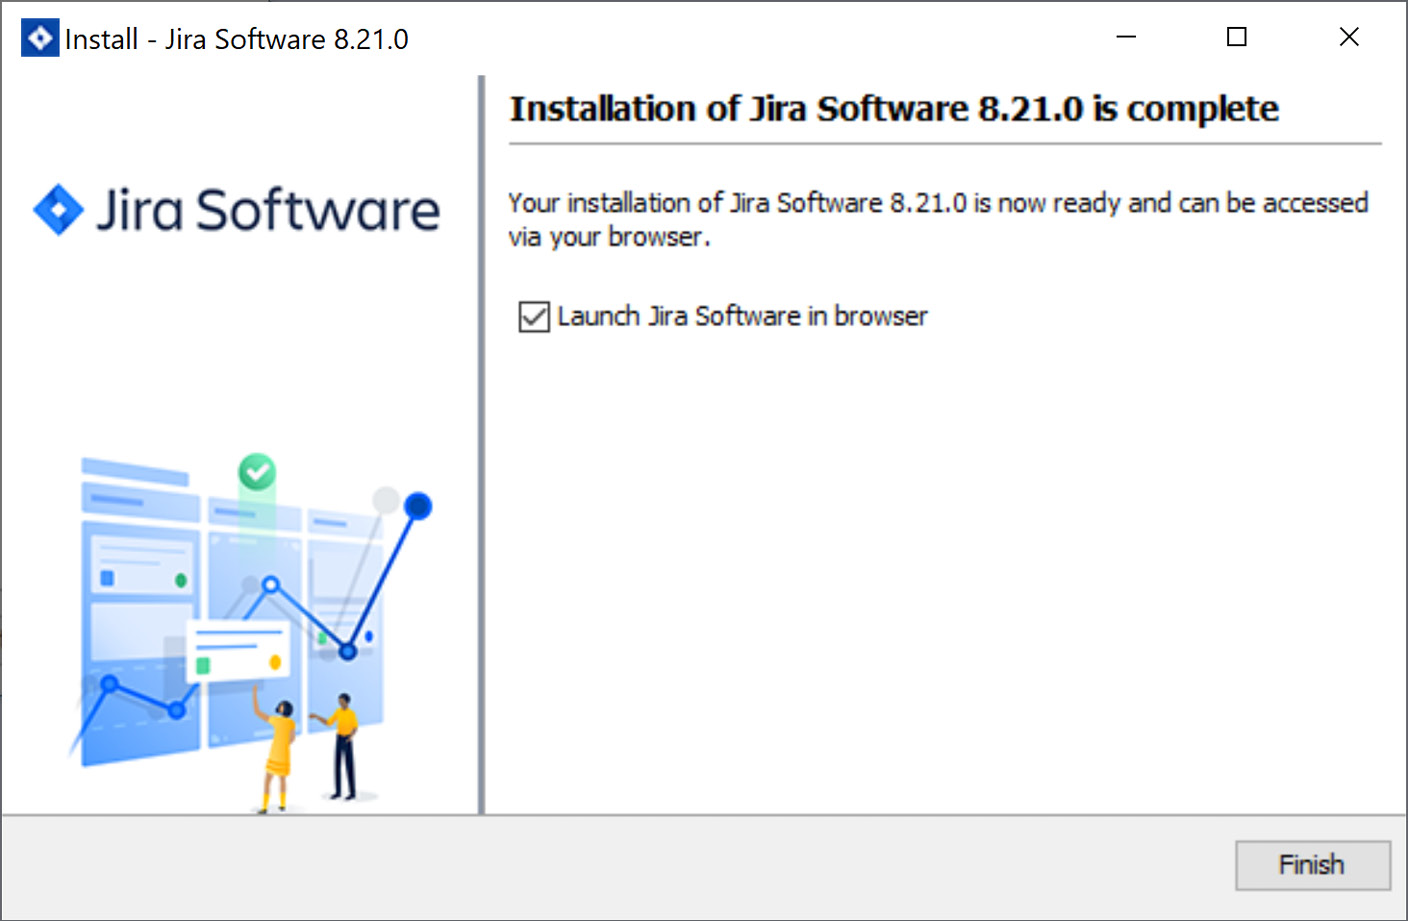
Figure 1.11 – Jira installation step 9
That’s it! Congratulations, your Jira is installed and running. Now, let’s learn how to configure it.
The Jira setup wizard
If you chose the Launch Jira Software in browser option in the last step of the installation wizard, you should see the Jira setup wizard in your browser window. If not, you can browse to http://localhost:<port number> in your browser, where <port number> is the number you assigned to Jira in Step 6 of the installation process.
The easy-to-use setup wizard that comes with Jira will walk you through the process of completing your Jira setup. Here, you will be able to configure the database connections, default language, and much more.
The steps for this are as follows:
- In the first step of the wizard, we need to select how we want Jira to be set up. Since we are installing Jira for production use, we will select the I’ll set it up myself option, as shown in the following screenshot:
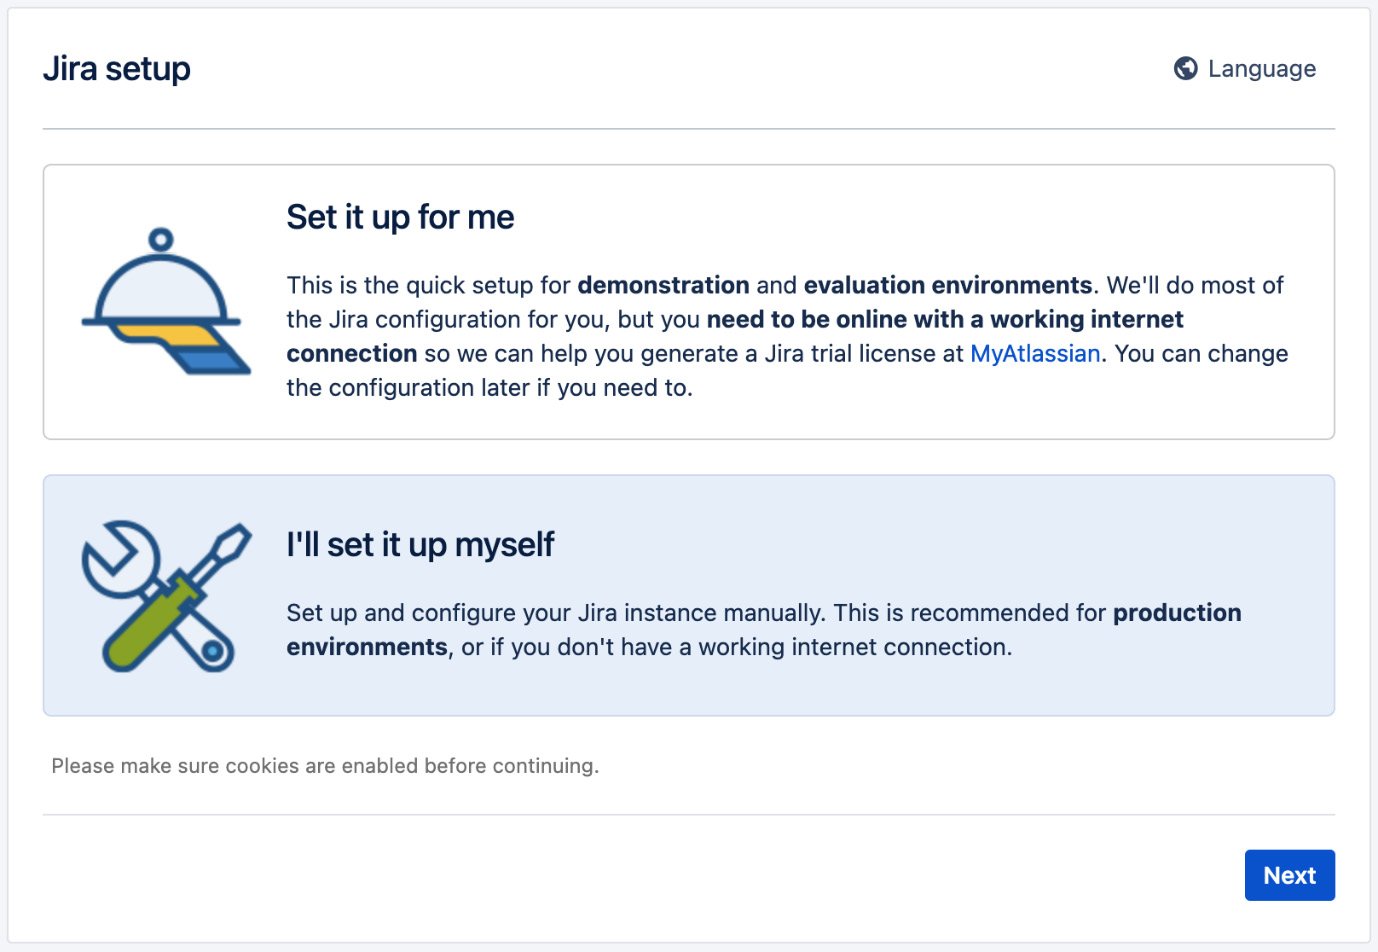
Figure 1.12 – Jira configuration step 1
- For the second step, we will need to select the database we want to use. This is where we configure Jira to use PostgreSQL as its database. If you select the Built In option, Jira will use its bundled in-memory H2 database, which is good for evaluation purposes. If you want to use a proper database, such as in our case, you should select the My Own Database option:
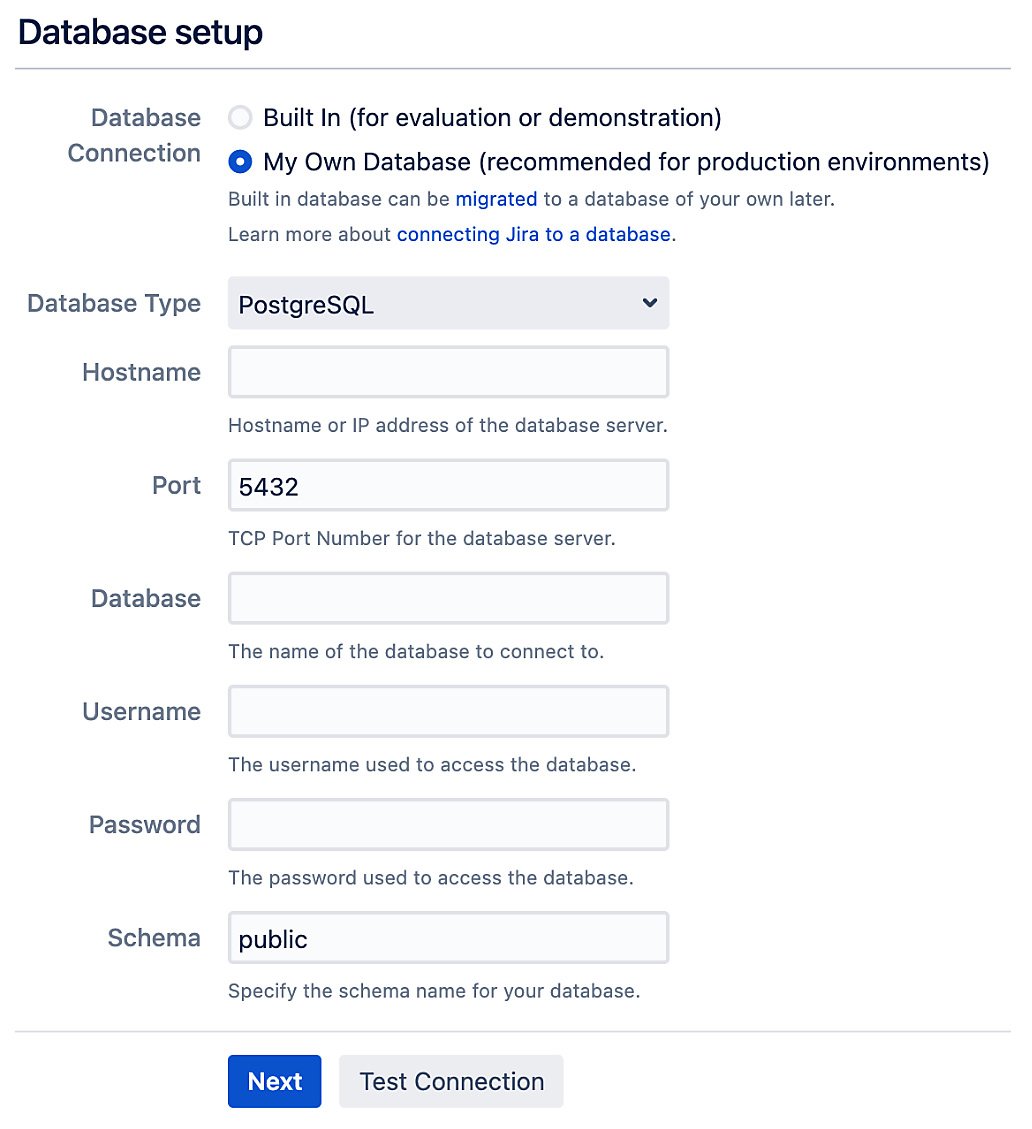
Figure 1.13 – Jira configuration step 2
Note
The Built In option is great for getting Jira up and running quickly for evaluation purposes.
After you have selected the My Own Database option, the wizard will expand for you to provide the database connection details. If you do not have the necessary database driver installed, Jira will prompt you for it.
Once you have filled in the details for your database, it’s a good idea to click on the Test Connection button to verify that Jira can connect to the database. If everything has been set up correctly, Jira will report a success message. You should be able to move on to the next step by clicking on the Next button. This may take a few minutes as Jira will now create all the necessary database objects. Once this is done, you will be taken to the next step of the wizard.
- In the third step, you will need to provide some basic details about this Jira instance. Once you have filled in the requisite fields, click on Next to move on to the next step of the wizard:
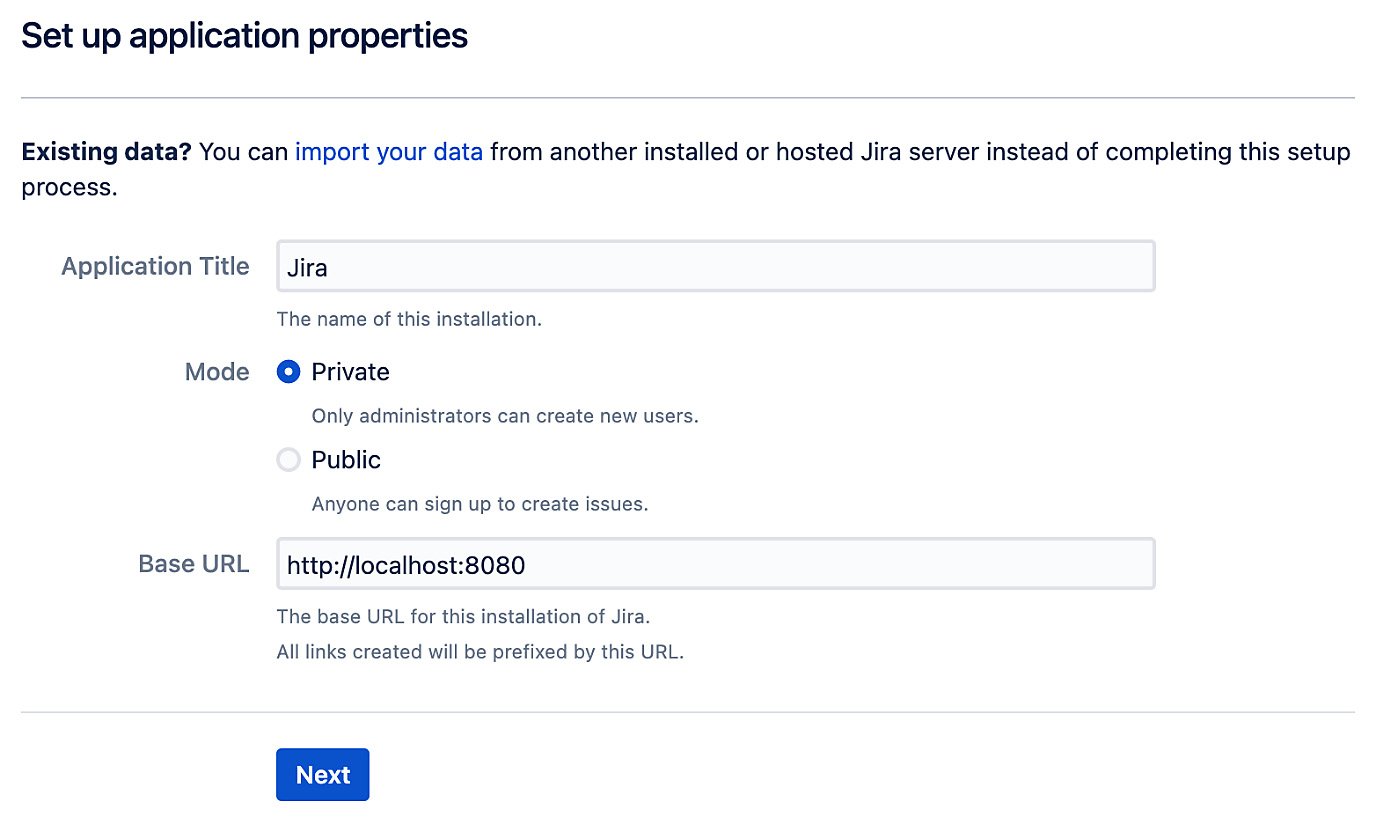
Figure 1.14 – Jira configuration step 3
- In this step, we need to provide a license key for Jira. If you have already obtained a license from Atlassian, you can paste it into the Your License Key textbox. If you do not have a license, you can generate an evaluation license by clicking on the generate a Jira trial license link. The evaluation license will grant you access to Jira’s full set of features for 1 month. After the evaluation period ends, you will lose the ability to create new issues, but you can still access your data:
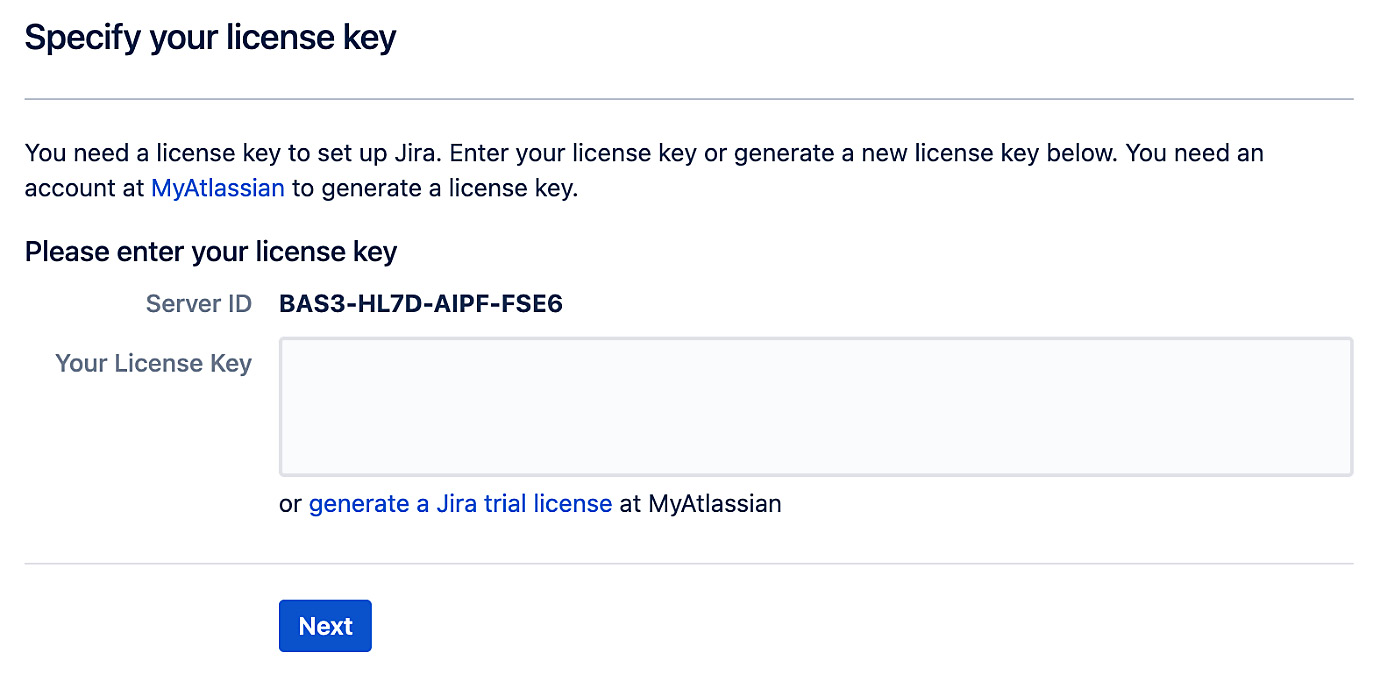
Figure 1.15 – Jira configuration step 4
- Now, you must set up the administrator account for Jira. It is important that you keep the account details somewhere safe and do not lose the password. Since Jira only stores the hashed value of the password instead of the actual password itself, you will not be able to retrieve it. Fill in the administrator account details and click on Next:
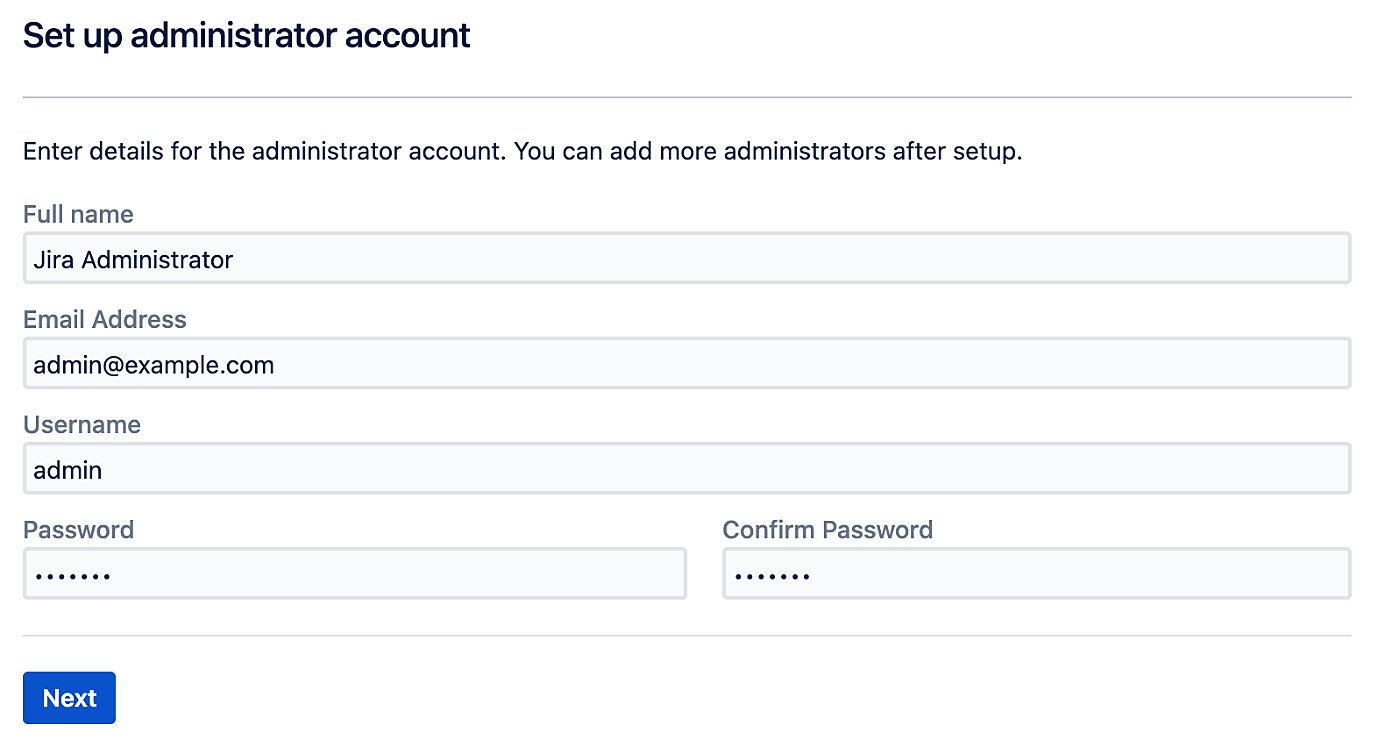
Figure 1.16 – Jira configuration step 5
Important note
This account is important, and it can help you troubleshoot and fix problems later on. Do not lose it!
- Next, you must set up your email server details. Jira will use the information configured here to send out notification emails. Notifications are a very powerful feature in Jira and one of the primary ways Jira communicates with users. If you do not have your email server information handy, you can skip this step for now by selecting the Later option and clicking on Finish. You can configure your email server settings later, as you will see in Chapter 8, Emails and Notifications:
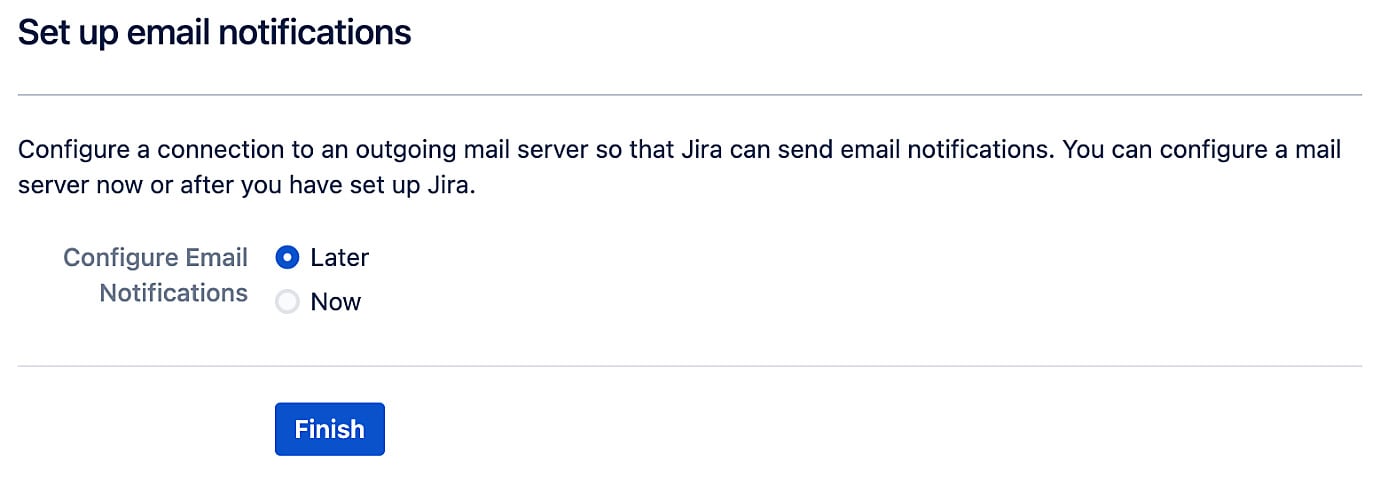
Figure 1.17 – Jira configuration step 6
Congratulations! You have completed your Jira setup. You should now see the welcome page, and be automatically logged in as the administrator user you created in Step 5. On the welcome page, you will need to set up a few user preferences, such as the default language and profile picture. Follow the onscreen prompts to set up the account. Once you are done, you should be presented with the options to create a sample project, a new project from scratch, or import project data from other sources, as shown in the following screenshot:

Figure 1.18 – Jira welcome page
With that, Jira is fully configured. We will cover the various features and things you can do with it later in this book, but for now, we will look at some additional management and configuration options for Jira, starting with how to start and stop Jira as a service.
Starting and stopping Jira
Since we used Windows Installer, Jira is installed as a Windows service. Therefore, you can start, stop, and restart it via the Windows Services console. In the Services console, look for Atlassian Jira. Here, you will be able to stop and start the application, as shown in the following screenshot:
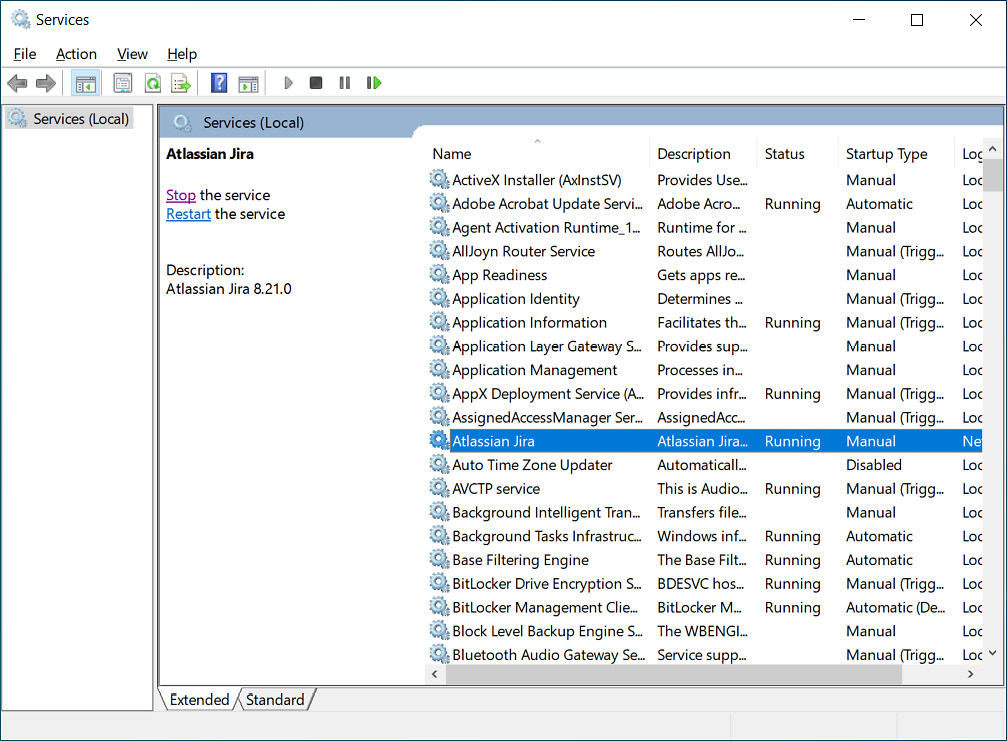
Figure 1.19 – Windows Services
If you installed Jira using the archive options, you can start and stop Jira using the scripts provided in the JIRA_INSTALL\bin directory, which are start-jira.sh and stop-jira.sh for Linux, and start-jira.bat and stop-jira.bat for Windows.
Now that we know how to start and stop Jira, let’s look at some of the additional configurations, such as allocating memory.


