Adding more vertices to enhance a mesh’s geometry
There are a few ways to add more vertices to a mesh. The one used most frequently later on in this book is extrusion. You can extrude a selection of a mesh by pressing E and moving the mouse to the desired extrusion point.
Figure 1.12 shows one vertex being extruded, although you can extrude faces, edges, and a bigger selection as well.
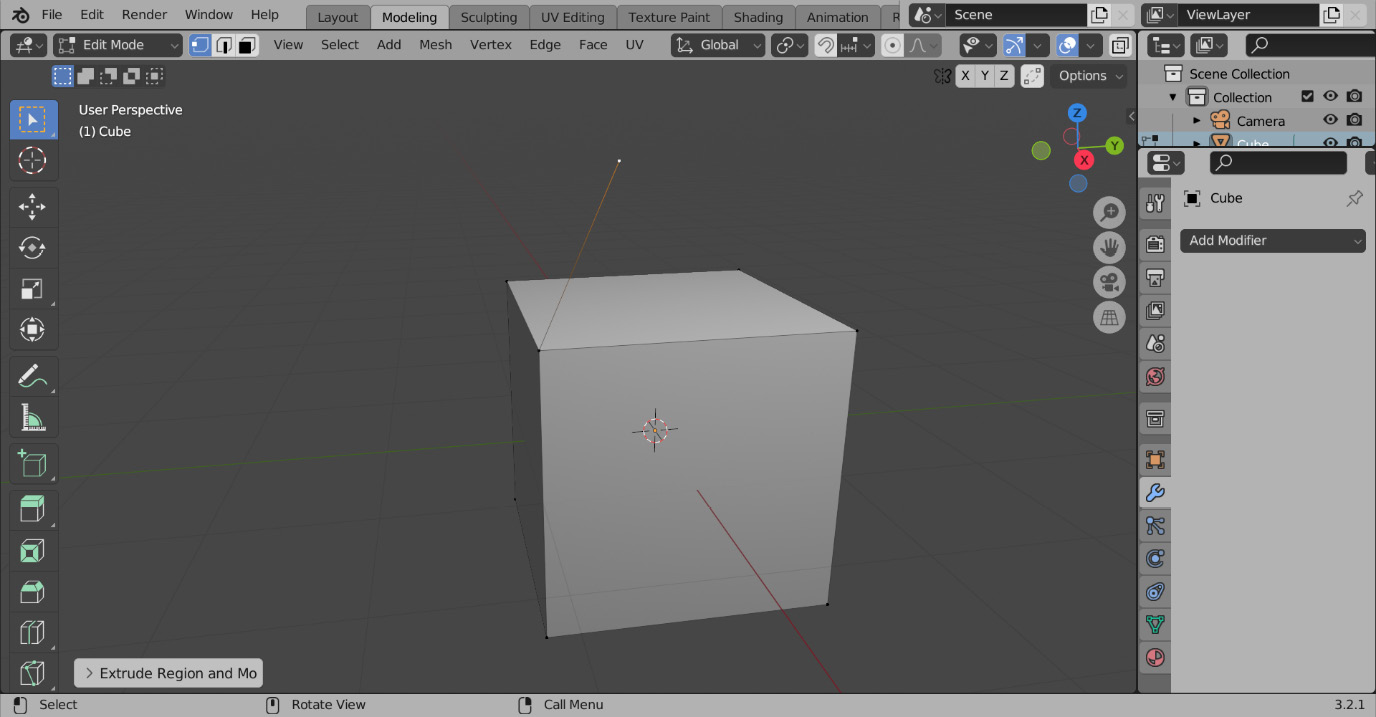
Figure 1.12 – An extruded vertex
Another way to create more geometry is to duplicate a mesh. To duplicate a mesh, just select the parts you want to duplicate and press Shift + D. This is usually the method used to start a new section of geometry. Just like the transforms listed earlier, to finalize the action, press the LMB, and to cancel it, press the RMB. Be careful when doing these operations, as right-clicking will just reset the location of the operation and will not delete the new geometry. Figure 1.13 shows a face being duplicated.
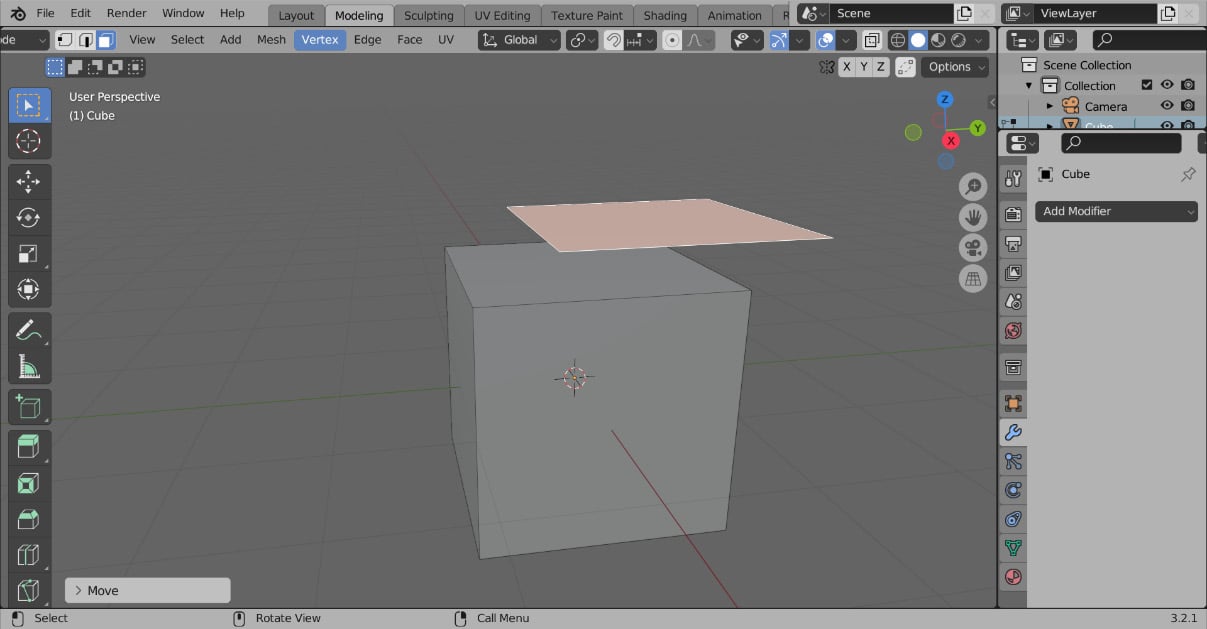
Figure 1.13 – A duplicated face
Once you have created a string of edges, as shown in Figure 1.14, you might want to create a face connecting them.
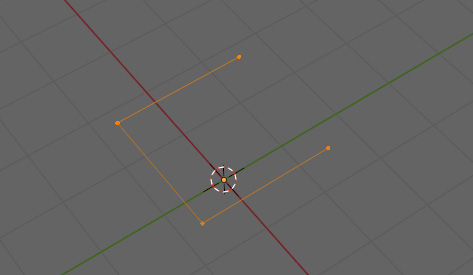
Figure 1.14 – Edges to make a face
To do this, you either need to select at least three vertices or two edges and press F. Figure 1.15 shows the face that was created.
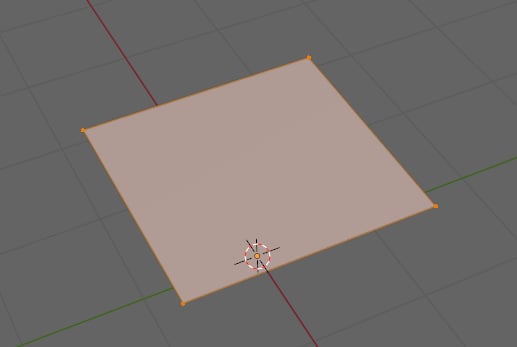
Figure 1.15 – A face made from the selected edges
We can also add geometry by subdividing the mesh. Subdividing the mesh divides the faces of a model into more small faces. To subdivide, select the faces that you want to subdivide and press the RMB. This will bring up the Vertex Context Menu options, as shown in Figure 1.16, with Subdivide at the top of the menu.
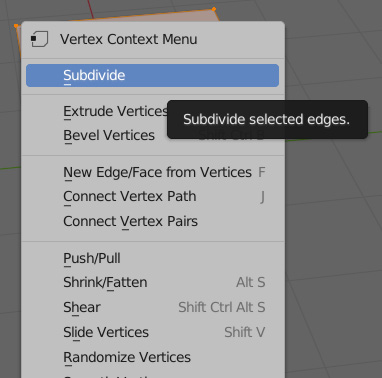
Figure 1.16 – Vertex Context Menu
After selecting Subdivide, your mesh will subdivide, and a new tab to control the subdivision will pop up in the bottom left. Both the mesh and the tab can be seen in Figure 1.17.
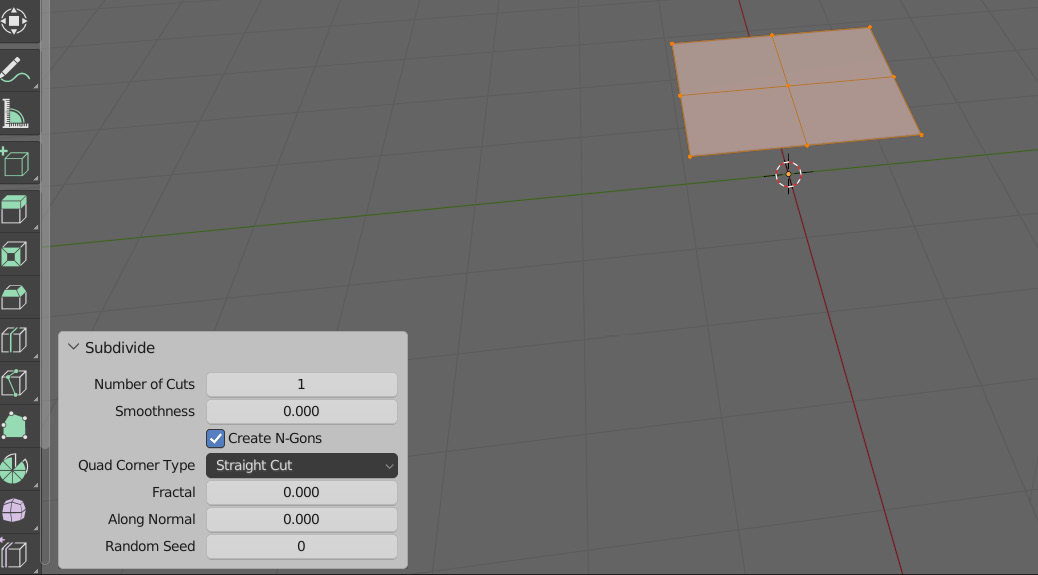
Figure 1.17 – The subdivided mesh and subdivision settings
You can also add any number of primitive objects to your scene. A primitive object is a basic shape such as a cube or sphere that you can add to your scene as a starting point for your model. To add a primitive in object mode, simply press Shift + A and hover your mouse over the mesh tab at the top, as shown in Figure 1.18.
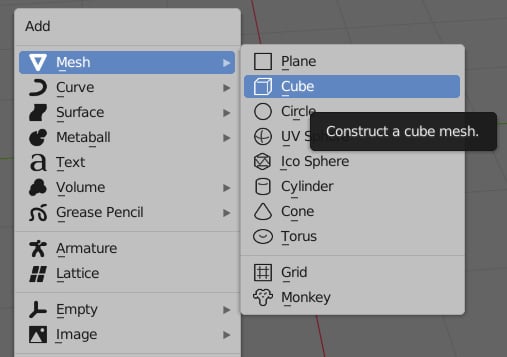
Figure 1.18 – The Add menu
Now that we know how to add geometry, we need to learn how to remove it as well. After selecting the desired areas for removal, press X. This will pull up a dropdown with a lot of options in the form of the Delete menu, as shown in Figure 1.19.
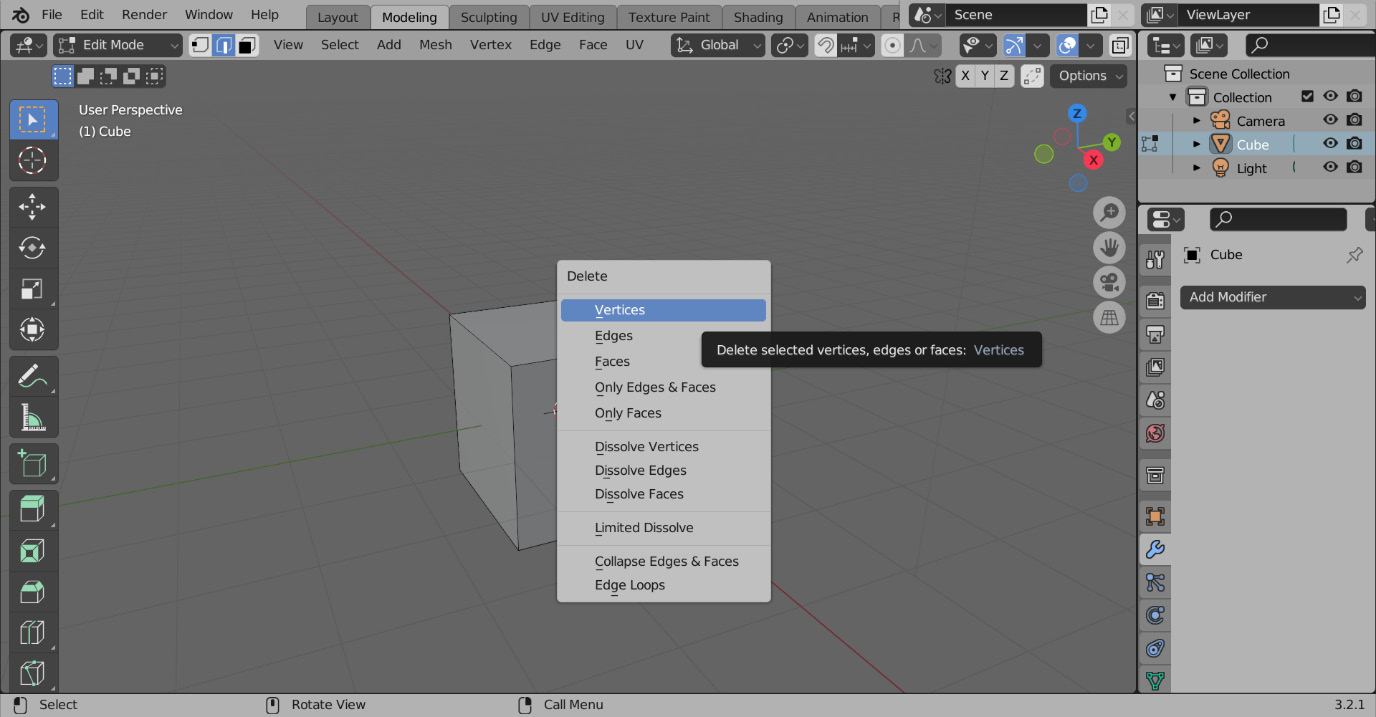
Figure 1.19 – The Delete menu
Let us understand the Delete menu in detail:
- Deleting Vertices will remove everything you have selected
- Deleting Edges will delete the edges you have selected and any faces connected to them
- Deleting Faces will delete faces and any edges that do not have any other faces connected to them to prevent floating edges
- Deleting Only Edges & Faces will delete faces and selected edges
- Deleting Only Faces will only delete faces without deleting any edges
- Dissolve will remove the selected geometry and create a face to prevent any holes
To undo a transform, press Ctrl + Z. To redo a transform that you undid, press Ctrl + Shift + Z.
In this section, we managed to add geometry while interacting directly with the mesh. There are also ways to change the mesh indirectly.


