Search icon CANCEL
Subscription
0
Cart icon
Your Cart (0 item)
Close icon
You have no products in your basket yet
Arrow left icon
Explore Products
Best Sellers
New Releases
Books
Videos
Audiobooks
Learning Hub
Free Learning
Arrow right icon
Low Poly 3D Modeling in Blender

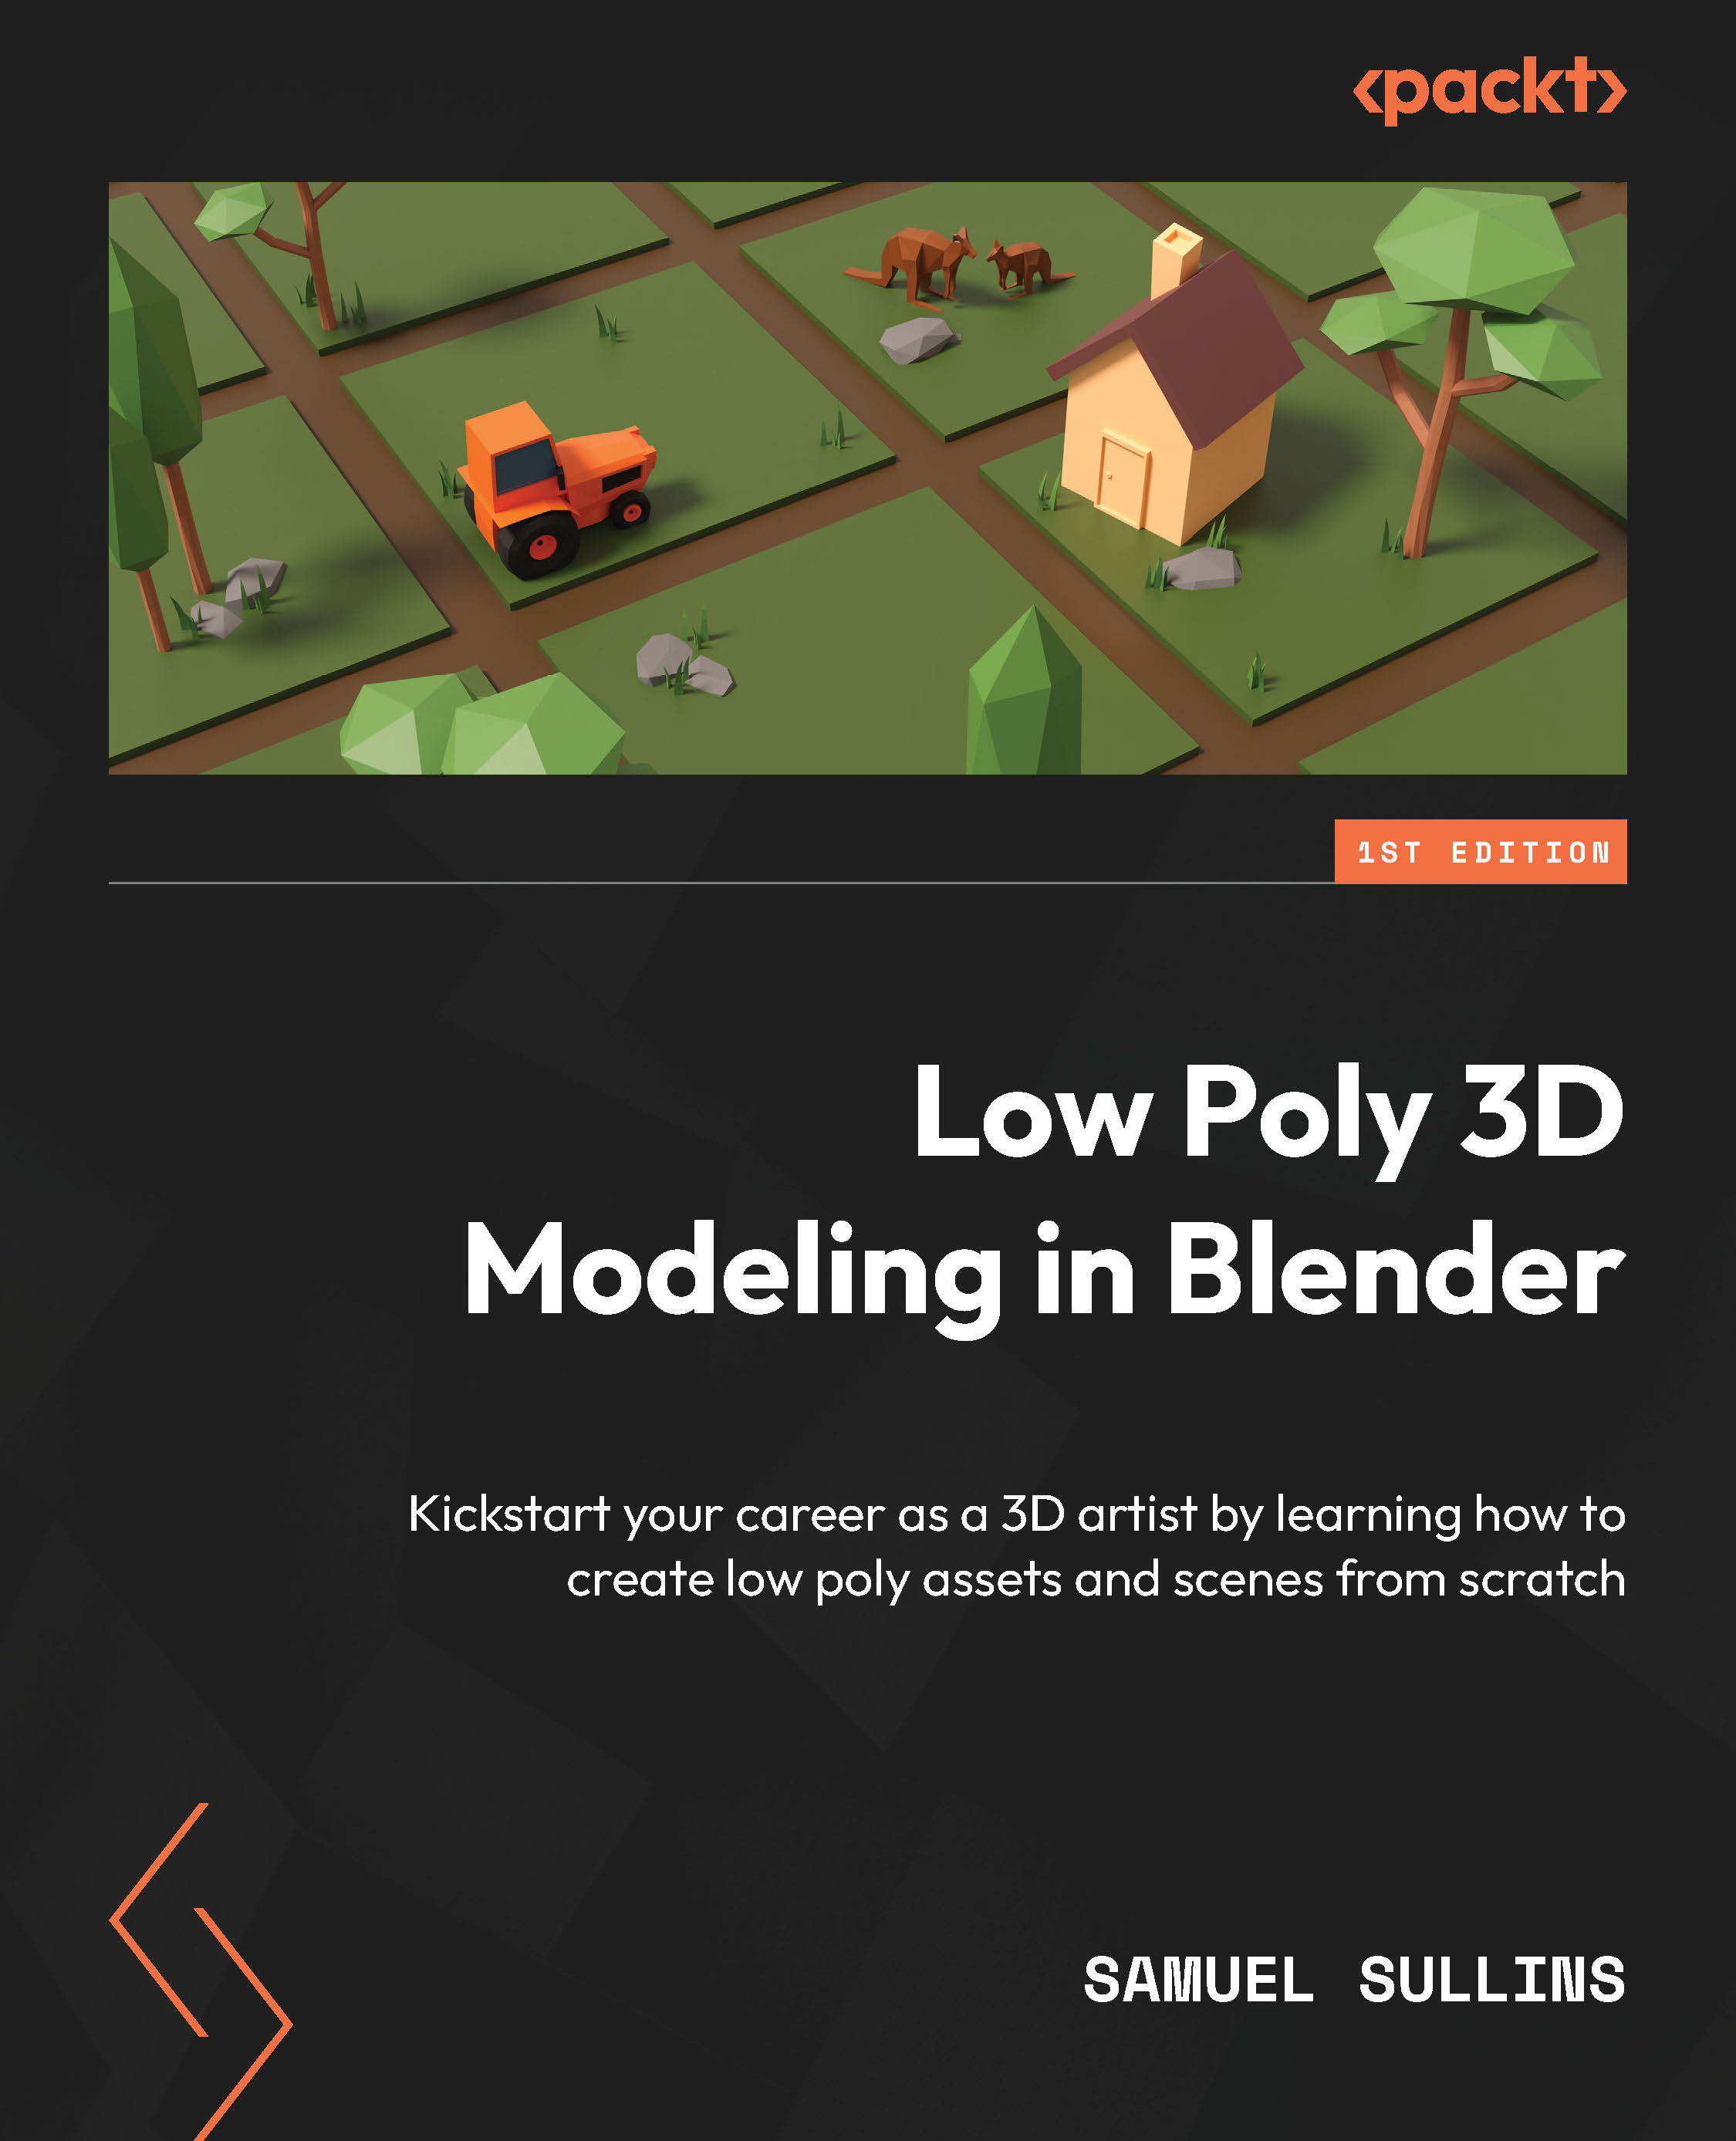
Low Poly 3D Modeling in Blender: Kickstart your career as a 3D artist by learning how to create low poly assets and scenes from scratch

Arrow left icon
Profile Icon Sullins
Arrow right icon
zł39.99 zł129.99
Full star icon Full star icon Full star icon Full star icon Half star icon 4.8 (22 Ratings)
eBook Feb 2024 318 pages 1st Edition
eBook
zł39.99 zł129.99
Paperback
zł161.99
Subscription
Free Trial
Arrow left icon
Profile Icon Sullins
Arrow right icon
zł39.99 zł129.99
Full star icon Full star icon Full star icon Full star icon Half star icon 4.8 (22 Ratings)
eBook Feb 2024 318 pages 1st Edition
eBook
zł39.99 zł129.99
Paperback
zł161.99
Subscription
Free Trial
eBook
zł39.99 zł129.99
Paperback
zł161.99
Subscription
Free Trial

What do you get with eBook?

Product feature icon Instant access to your Digital eBook purchase
Product feature icon Download this book in EPUB and PDF formats
Product feature icon Access this title in our online reader with advanced features
Product feature icon DRM FREE - Read whenever, wherever and however you want
Product feature icon AI Assistant (beta) to help accelerate your learning
OR
Modal Close icon
Payment Processing...
tick Completed

Billing Address

Table of content icon View table of contents Preview book icon Preview Book

Low Poly 3D Modeling in Blender

Getting Familiar with Blender

Once upon a time, 3D software was outrageously expensive. 3D artists had to choose between buying a house or buying a 3D app—and, well, you can’t blame them for choosing the house.

Then came Blender. Blender was special because it cost less than a thumbtack (it was open source, and the price tag was $0). It was new, free, and exciting—but it didn’t work so well. It had the potential to be great in 20 years or so—but who wants to wait that long?

That was 20 years ago. Now, Blender has reached incredible heights. For the last two decades, Blender has made 3D accessible to anyone with a laptop.

Ready to join the party?

In this chapter, we’ll dive right in and start learning Blender. You’ll download Blender and get it set up. You’ll learn how the UI works, how to navigate 3D space, and how 3D space works in Blender. Then, you’ll learn how simple it is to tweak the UI to fit your needs.

Here are the main topics we’ll be covering in this chapter:

  • Installing Blender
  • Anatomy of the UI
  • Navigating the 3D Viewport
  • Getting to know the UI shortcuts
  • Understanding Workspaces
  • Saving your own Startup file

Installing Blender

In this chapter, you’ll start by installing Blender. Then you’ll learn about the different areas of Blender’s interface. You’ll learn what each section of the interface is for, and to wrap it up, you’ll learn how it can be customized to fit your needs.

OK, let’s get started. Time to download Blender and set it all up:

  1. In a web browser, go to www.blender.org, the home of the Blender Foundation.
  2. Click the Download tab to see the latest release. You can download the latest release and everything in this book should work just fine.
  3. But if you want to work in the exact same Blender version as I am working in, click the Long-term Support tab at the top, between Release Notes and Requirements.

    Long-term support (LTS) versions of Blender will be supported for a few years, so they’re very stable. Also, they still get bug fixes so they should be pretty bug-free.

  4. Scroll down to LTS Releases Currently Maintained to see a list of the currently supported LTS versions of Blender. I’m using Blender 3.3 LTS, so click that one (it’s a big aerial picture of a castle/city). You’ll end up on a new page.
  5. Scroll down to Versions and in the Download section, pick your operating system:
Figure 1.1 – The download page

Figure 1.1 – The download page

Now, wait for Blender to download (this is the hardest part of the process). Once the download is complete, you’ll have an installer of some kind in your Downloads folder.

It’ll be slightly different depending on your operating system, but the installer should guide you through the installation process.

And that’s it! You’re done, great job. You’ve successfully installed Blender. In the next section, you’ll learn about the different parts of Blender’s user interface.

Anatomy of the UI

Now you’ll learn what’s what in Blender’s UI. There’s a lot to see when you first open Blender, but it’s simpler than it looks. Launch Blender and you’ll be greeted by a splash screen. Admire the cool artwork for a minute and then click anywhere to get rid of it. You’re in a new, empty Blender file.

Files in Blender are called Scenes. It’ll look extremely complex at first—but don’t worry. You get to ignore most of that for now.

Blender’s UI is broken down into simple sections. I’ll cover the basics, but don’t worry—I won’t go into agonizing detail. The thing about the UI is that you’ll pick up most of it on your own the more you use Blender.

I’m just here to get you started.

The 3D Viewport

The open area in the middle is called the 3D Viewport. In this book, I’ll eventually get tired of typing the 3D Viewport so I’ll just be calling it the viewport.

The 3D Viewport is where all the 3D work happens. It’s where you create, edit, and manipulate 3D models. Figure 1.2 shows how the 3D Viewport looks:

Figure 1.2 – The 3D Viewport

Figure 1.2 – The 3D Viewport

In the next section, let’s learn about the top bar.

The top bar

At the top of the window is the top bar.

Figure 1.3 – The top bar

Figure 1.3 – The top bar

The top bar allows you to switch between different configurations of views (called Workspaces) with a single click.

The Outliner

In the top right is the Outliner. This is a bit like a computer’s filesystem. It shows you a simple list of all the 3D objects in your Blender file, organized into folders called Collections:

Figure 1.4 – The Outliner

Figure 1.4 – The Outliner

You’ll see Camera, Light, and Cube in the default Collection. These make up the simple default setup that comes in with every new Blender file. (You’ll find yourself having to delete them a lot.)

The Properties panel

Below the Outliner is the Properties panel. Many of the most important settings you’ll use, such as render settings, modifiers, and output options, are located in the Properties panel. The Properties panel is divided into its own set of tabs, as shown in Figure 1.5:

Figure 1.5 – The Properties panel

Figure 1.5 – The Properties panel

Next, let’s see what the timeline is.

The Timeline

At the bottom of the window is the Timeline. This gives you play/pause controls that you would use if you were creating an animation. We won’t be covering that in this book, though.

Below the Timeline is the Status bar. This is where you’ll see information on processes (such as how close a render is to completion) and tools (such as extra keyboard shortcuts):

Figure 1.6 – The Timeline

Figure 1.6 – The Timeline

Finally, let’s see what customizing areas means.

Customizing areas

All the different panels we’ve just covered are called areas. Areas are extremely customizable, and it’s not hard to do. It’s super-useful to be able to reconfigure the view (for example, if you wanted two viewports side-by-side, or if you wanted to get rid of the Outliner).

All of your changes are file-specific: they’ll be saved when you save your file, but you won’t see them in other Blender files. In the corner of every area is the Editor Type menu. It looks slightly different depending on the area type, as shown in the following figure:

Figure 1.7 – The Editor Type menu

Figure 1.7 – The Editor Type menu

You can open this menu to change any type of area into any other type of area. For example, you could easily switch the 3D Viewport into a big Outliner by switching Editor Type to Outliner.

You can also adjust each area’s size. Simply hover your mouse over the border between two areas until the cursor turns into an arrow, then left-click and drag to resize the area. Adding new areas is even easier. Hover your cursor over the corner of an area until it becomes a cross, then click and drag inward toward the center of the area. This will create a new area.

To get rid of areas, you can join two areas together. Hover over the corner of an area until it turns into a cross again, but this time, drag outward toward another area (and don’t let go). Your cursor will turn into a little arrow, pointing outward. The areas will darken to show you how they will be joined.

Knowing how to manage areas is very important—so practice! Join and create some areas right now. It’s fine if you mess up your Blender window—it’ll all be fixed when you restart it.

In the next section, you’ll learn how to look around in the 3D Viewport.

Navigating the 3D Viewport

The 3D Viewport is where you interact with 3D. You’ll need to see your 3D models from all sides as you work, so it’s important to learn how to navigate in 3D. You’ll learn how to pan, orbit, and zoom your way around.

This basic navigation is easy to master, and won’t take you very long. You’ll become very good at this the more you use Blender, since you have to navigate in 3D to accomplish anything in 3D.

Moving around

Navigating in the 3D Viewport is extremely intuitive. It’s a bit different depending on whether you’re using a mouse or a trackpad.

With a trackpad, you simply scroll with two fingers (in any direction) to orbit in the 3D Viewport, and to pan, move two fingers around while holding down the Shift key.

That’s orbiting and panning. To zoom in and out, you have two options: spread two fingers closer together or further apart on your trackpad (like zooming in and out on a smartphone), or hold down the Ctrl key and scroll up and down with two fingers.

Simple, right?

Now, if you’re using a real mouse (fun fact: I’m not), you can click and drag with the middle mouse button to orbit, scroll to zoom, and press Shift + middle mouse button to pan.

These controls will seem difficult at first, but as you do more Blender work, they’ll become natural.

Numpad controls

Sometimes, you’ll want to view a 3D model exactly from the side, the top, or the front. In Blender, there are two ways to do this.

Do you see the little 3D cross in the upper-right corner of the viewport, as shown in Figure 1.8? That’s called the Gizmo, which is like a little 3D compass:

Figure 1.8 – The Gizmo

Figure 1.8 – The Gizmo

It’s labeled with letters: X (red), Y (green), and Z (blue). In 3D, just like in reality, there are three spatial dimensions (think about the width, depth, and height of a cube). In Blender, these are called X, Y, and Z:

Figure 1.9 – The X and Y axes

Figure 1.9 – The X and Y axes

As shown in Figure 1.9, X axis is displayed as red. The green line represents Y axis. The color blue is used to represent the Z axis, which runs in the vertical, up-and-down direction. You’ll notice there’s no blue line representing the Z axis . That’s to avoid cluttering the viewport more than is needed.

If you ever need a reminder of any of this, simply look at the little Gizmo in the corner.

Now it’s time to learn your first keyboard shortcuts. But before that, you’ll need to turn on something called Emulate Numpad (if you have an actual numpad on your keyboard, you won’t need to do this):

  1. Go to Edit | Preferences:
Figure 1.10 – The Preferences menu

Figure 1.10 – The Preferences menu

  1. Find the Input tab:
Figure 1.11 – The Input tab

Figure 1.11 – The Input tab

  1. Turn on Emulate Numpad:
Figure 1.12 – Emulate Numpad

Figure 1.12 – Emulate Numpad

This makes Blender treat your regular number keys as if they were a numpad, which lets you use the viewport shortcuts.

  1. Close Preferences.

In the viewport, press 1 to get a perfect front view, press 3 to get a perfect right view, and press 7 to get a top view. To see the reverse of these views (back, left, and bottom) press Ctrl + 1, Ctrl + 3, and Ctrl + 7.

There’s another way to do this, too: you can click the little red, green, and blue circles on the Gizmo.

Next, you’ll learn about the Orthographic view mode.

Viewing in Orthographic mode

There are two ways to look at things in 3D. The way you’re looking at your 3D Viewport right now is called Perspective. Perspective is how we view the real world. The farther away something is, the smaller it appears. It’s a very realistic way of viewing things in 3D.

A railroad track is a good example; the further away the rails are, the closer together they appear to be. Take a look at Figure 1.13:

Figure 1.13 – A railroad, viewed in Perspective mode (same as real life)

Figure 1.13 – A railroad, viewed in Perspective mode (same as real life)

There’s another, different way to view the world in 3D, called Orthographic. When you view your Scene in Orthographic mode, everything is consistent in size, no matter how far away it is.

To enable Orthographic mode, press 5 on your numpad. Here’s the same railroad track in Orthographic mode:

Figure 1.14 – The same railroad in Orthographic mode

Figure 1.14 – The same railroad in Orthographic mode

This can sometimes be useful when you need to get a better look at something (for example, to get a good look at the overall shape of a model). You probably won’t use it much—but it’s an option.

Now you know the most important keyboard shortcuts for navigating the 3D Viewport. You’ll find these extremely helpful for working quickly and efficiently as we progress.

In the next section, you’ll learn some more helpful shortcuts.

Getting to know the UI shortcuts

There are a few more helpful things to know about for getting around in the viewport. You can use keyboard shortcuts to hide and show the toolbar or to control navigation in the 3D Viewport.

The N panel

The N panel is the panel that appears when you press N. It’s sometimes called the sidebar or the side panel—in this book, I’ll be calling it the N panel:

Figure 1.15 – The N panel

Figure 1.15 – The N panel

This panel gives you quick access to the selected object’s position, rotation, and scale values. In Chapter 3, Creating a Low Poly Tree, you’ll learn how to edit these. The N panel also exists in many of the other editor types (the Shader Editor, for example).

To hide the N panel, just press N again.

The toolbar

The toolbar is a bank of tools down the left-hand side of the viewport. These tools are, for the most part, simple conveniences. They’re useful while you’re learning Blender, but you’ll eventually end up using keyboard shortcuts to work faster.

To show and hide the toolbar, you just press T.

There’s also a secret way to see the names of all the tools in the toolbar—hover your cursor over the right edge of the toolbar until your cursor turns into a double arrow:

Figure 1.16 – Expanding the toolbar

Figure 1.16 – Expanding the toolbar

Now click and drag toward the viewport. Once the toolbar is wide enough, you’ll see the tool names, as shown in Figure 1.17:

Figure 1.17 – The toolbar

Figure 1.17 – The toolbar

You’ll notice the top tool is selected by default. This is the Select tool. By default, it’s in Select Box mode, but you can press W to toggle through all the different Select tools:

  • Tweak, which lets you click and drag objects
  • Box, which is the default (leave it on this mode for this book)
  • Circle, which gives you a circle “brush” to select with
  • Lasso, which gives you a Photoshop-like lasso tool

If, during the course of this book, you find that you’re not able to select objects as you expect, it’s likely that you ended up with the wrong Select tool by accident. Just press W to cycle through each tool and get back to the default Select Box.

Walk Navigation

There’s another, less common way to navigate the viewport in Blender. You can walk around in it using the arrow keys, similar to how you would navigate a video game.

To activate it, go to View | Navigation and click Walk Navigation to enter walk mode. Use the arrow keys to move around and the mouse to steer. There are a lot of other options—look in the Status bar at the bottom of the window to see them all.

It’s a little annoying to go through all those menus every time you want to use Walk Navigation, though.

Here’s how you can set your own shortcu:

  1. Go to View | Navigation and right-click on Walk Navigation.
  2. Click Assign Shortcut.
  3. Press Shift + F on your keyboard to set it as the shortcut. I picked Shift + F because it doesn’t already do anything.

Now you can turn on Walk Navigation simply with the push of a button!

If you get lost

When you’re working in the 3D Viewport, you might pan or zoom too far in one direction—and get lost.

If you ever do get lost in the viewport, here’s how to un-lose yourself:

  1. Select any object in Outliner by clicking on it.
  2. Press the ~ key to open the View menu. The View menu is a pie menu—these menus are super-easy to operate. Just move your mouse toward the option you want and then click! In this case, choose the View Selected option:
Figure 1.18 – The View pie menu

Figure 1.18 – The View pie menu

This will center the view around the object you have selected. This is a really good way to navigate the viewport—and it also works well for finding something you’ve misplaced!

You don’t have to use the mouse to select options in the menu—you can also use the number keys. You’ll notice that each option in the View pie menu has a small number next to it—pressing that number will select that option.

So, to select the View Selected option, you can press ~ then 3—no mouse needed!

Now you have the ability to re-center the view on any selected object, no matter where you currently are in the 3D Viewport. This is an incredibly helpful technique, especially in larger Scenes.

In the next section, we’ll explain those mysterious tabs across the top of the window.

Understanding Workspaces

The tabs across the top of the Blender window (Layout, Modeling, Sculpting, and so on) are called Workspaces:

Figure 1.19 – Some Workspace tabs

Figure 1.19 – Some Workspace tabs

Workspaces are just different sets of areas, configured for different tasks. For example, the Layout Workspace (the one we’re in currently) is set up for general Blender work.

Click through the different kinds of Workspaces and have a look!

Any Workspace can do anything

It’s important to understand that the Workspaces are only a convenience—and that any Workspace can quickly be configured to perform any task.

For example, switch to the Shading Workspace. You’ll see a bunch of stuff that you won’t recognize. But, just like the Layout Workspace, it’s all made up of areas. You can easily change the Editor Type of any of them, join them, and add new ones.

You could reconfigure this Workspace to look exactly like the Layout Workspace if you wanted. Workspaces are very useful, though. They save a lot of time by having things set up and ready to go.

But what if you want a different Workspace? Here’s how you can add your own Workspace.

Making your own Workspace

You can make your own Workspace if you want. There are two ways to do it: you can either change an existing one or add a new one. Changing an existing one is easy—just click a Workspace to switch to it, then double-click the name to edit it and name it whatever you want. Now rearrange all of the areas however you like—and you have your own Workspace!

To add a new Workspace, just click the + button at the end of the top bar (you may have to scroll to the side a bit before you can see it) and choose the Workspace you’d like to add (you can also choose to duplicate the current one). Once you have a new Workspace, you can rename and edit it just like any other.

Making your own Workspace is a great way to save yourself the trouble of continuously rearranging areas. However, any changes you make to the workspaces are file-specific. This means that if you open a new file, you won’t have any of the Workspaces that you renamed or created.

The next section will explain how to set up your own default Startup file.

Saving your own Startup file

This is something you won’t need to do for a while, but when you do need it, here it is. One day, you’ll get fearfully tired of setting up Blender just how you like it every single time you open a new file.

When that happens, you need to set up your own Startup file. A Startup file is like a new set of default settings, so when you open Blender, your new file will be a copy of the Startup file you’ve made.

Here’s how to set up your Startup file:

  1. Open a new Blender file.
  2. Press Ctrl + S and save it somewhere.
  3. Now, change stuff. Set it up exactly the way you want.
  4. Press Ctrl + S again to make sure your file is saved.
  5. Go to File | Defaults | Save Startup File:
Figure 1.20 – The Save Startup File menu

Figure 1.20 – The Save Startup File menu

You’ve got your own default settings now! If you ever want to change them, simply open your Startup file, change the settings, and press Save Startup File again.

If you ever want the default settings back, go to File | Defaults | Load Factory Settings to see the original setup again (and you can save that as the Startup file if you want).

Summary

In this chapter, you made it through all the boring stuff. You learned what the different parts of the UI are called and how to add, remove, and switch areas. You learned how to navigate in 3D and what to do if you get lost in the infinity of the viewport.

You learned what Workspaces are and how to make your own. You even learned how to make your own default settings with a Startup file! That’s a lot of stuff! If you only remember one thing from this chapter, remember how to navigate in 3D.

Great job making it through this chapter! In the next chapter, you’ll learn exactly what low-poly modeling is.

Left arrow icon Right arrow icon
Download code icon Download Code

Key benefits

  • Create minimalistic low poly 3D models based on reference images
  • Breathe life into your creations by adding vibrant colors and appealing textures using materials
  • Arrange your low poly models in a 3D environment, set up lighting to achieve the desired ambiance, and render the final scene
  • Purchase of the print or Kindle book includes a free PDF eBook

Description

Step into the world of low poly 3D art with Low Poly 3D Modeling in Blender—your entry point into Blender and mastering the fundamentals of 3D art. This beginner-friendly guide ensures that you’re fully prepared for the creative adventure that follows. Through a step-by-step learning process starting with the principles of low poly art, this book gradually immerses you in the intricacies of modeling. As you progress, you’ll gain hands-on experience creating diverse projects ranging from designing a simple 3D crate to rendering complete low poly scenes. The book covers a wide spectrum of topics as you navigate Blender's interface, mastering essential modeling tools and exploring both basic and advanced modeling techniques. Advancing to the final chapters, you’ll find ways to breathe life into your models with material creation and gain practical insights into modeling a variety of low poly objects. From end-to-end scene construction to configuring Blender for rendering high-quality images, you’ll be equipped with the foundational skills to propel your career in 3D modeling and explore the boundless creative possibilities that Blender offers. By the end of this book, you'll have a solid understanding of Blender, 3D modeling, low poly methodologies, material design, 3D rendering techniques, and the broader world of 3D art.

Who is this book for?

If you're new to 3D modeling, low poly modeling is a great starting point. This book is an invaluable guide for 3D artists, modelers, and beginners to begin without prior knowledge of Blender or 3D modelling experience, although a basic familiarity with these topics will be beneficial.

What you will learn

  • Understand how Blender's interface works and how to configure it
  • Gain proficiency in navigating 3D space in Blender
  • Familiarize yourself with Blender's core modeling tools
  • Get to grips with the workflow and techniques to create low poly 3D models
  • Texture your low poly models using the UV and Shader editors
  • Configure Blender's Asset Browser for instant access to your models
  • Set up a complete scene, adjust the lighting, and create a high-quality, portfolio-ready render

Product Details

Country selected
Publication date, Length, Edition, Language, ISBN-13
Publication date : Feb 02, 2024
Length: 318 pages
Edition : 1st
Language : English
ISBN-13 : 9781803241234
Vendor :
Blender Foundation
Concepts :
Tools :

What do you get with eBook?

Product feature icon Instant access to your Digital eBook purchase
Product feature icon Download this book in EPUB and PDF formats
Product feature icon Access this title in our online reader with advanced features
Product feature icon DRM FREE - Read whenever, wherever and however you want
Product feature icon AI Assistant (beta) to help accelerate your learning
OR
Modal Close icon
Payment Processing...
tick Completed

Billing Address

Product Details

Publication date : Feb 02, 2024
Length: 318 pages
Edition : 1st
Language : English
ISBN-13 : 9781803241234
Vendor :
Blender Foundation
Concepts :
Tools :

Packt Subscriptions

See our plans and pricing
Modal Close icon
$19.99 billed monthly
Feature tick icon Unlimited access to Packt's library of 7,000+ practical books and videos
Feature tick icon Constantly refreshed with 50+ new titles a month
Feature tick icon Exclusive Early access to books as they're written
Feature tick icon Solve problems while you work with advanced search and reference features
Feature tick icon Offline reading on the mobile app
Feature tick icon Simple pricing, no contract
$199.99 billed annually
Feature tick icon Unlimited access to Packt's library of 7,000+ practical books and videos
Feature tick icon Constantly refreshed with 50+ new titles a month
Feature tick icon Exclusive Early access to books as they're written
Feature tick icon Solve problems while you work with advanced search and reference features
Feature tick icon Offline reading on the mobile app
Feature tick icon Choose a DRM-free eBook or Video every month to keep
Feature tick icon PLUS own as many other DRM-free eBooks or Videos as you like for just zł20 each
Feature tick icon Exclusive print discounts
$279.99 billed in 18 months
Feature tick icon Unlimited access to Packt's library of 7,000+ practical books and videos
Feature tick icon Constantly refreshed with 50+ new titles a month
Feature tick icon Exclusive Early access to books as they're written
Feature tick icon Solve problems while you work with advanced search and reference features
Feature tick icon Offline reading on the mobile app
Feature tick icon Choose a DRM-free eBook or Video every month to keep
Feature tick icon PLUS own as many other DRM-free eBooks or Videos as you like for just zł20 each
Feature tick icon Exclusive print discounts

Frequently bought together


Stars icon
Total 464.97
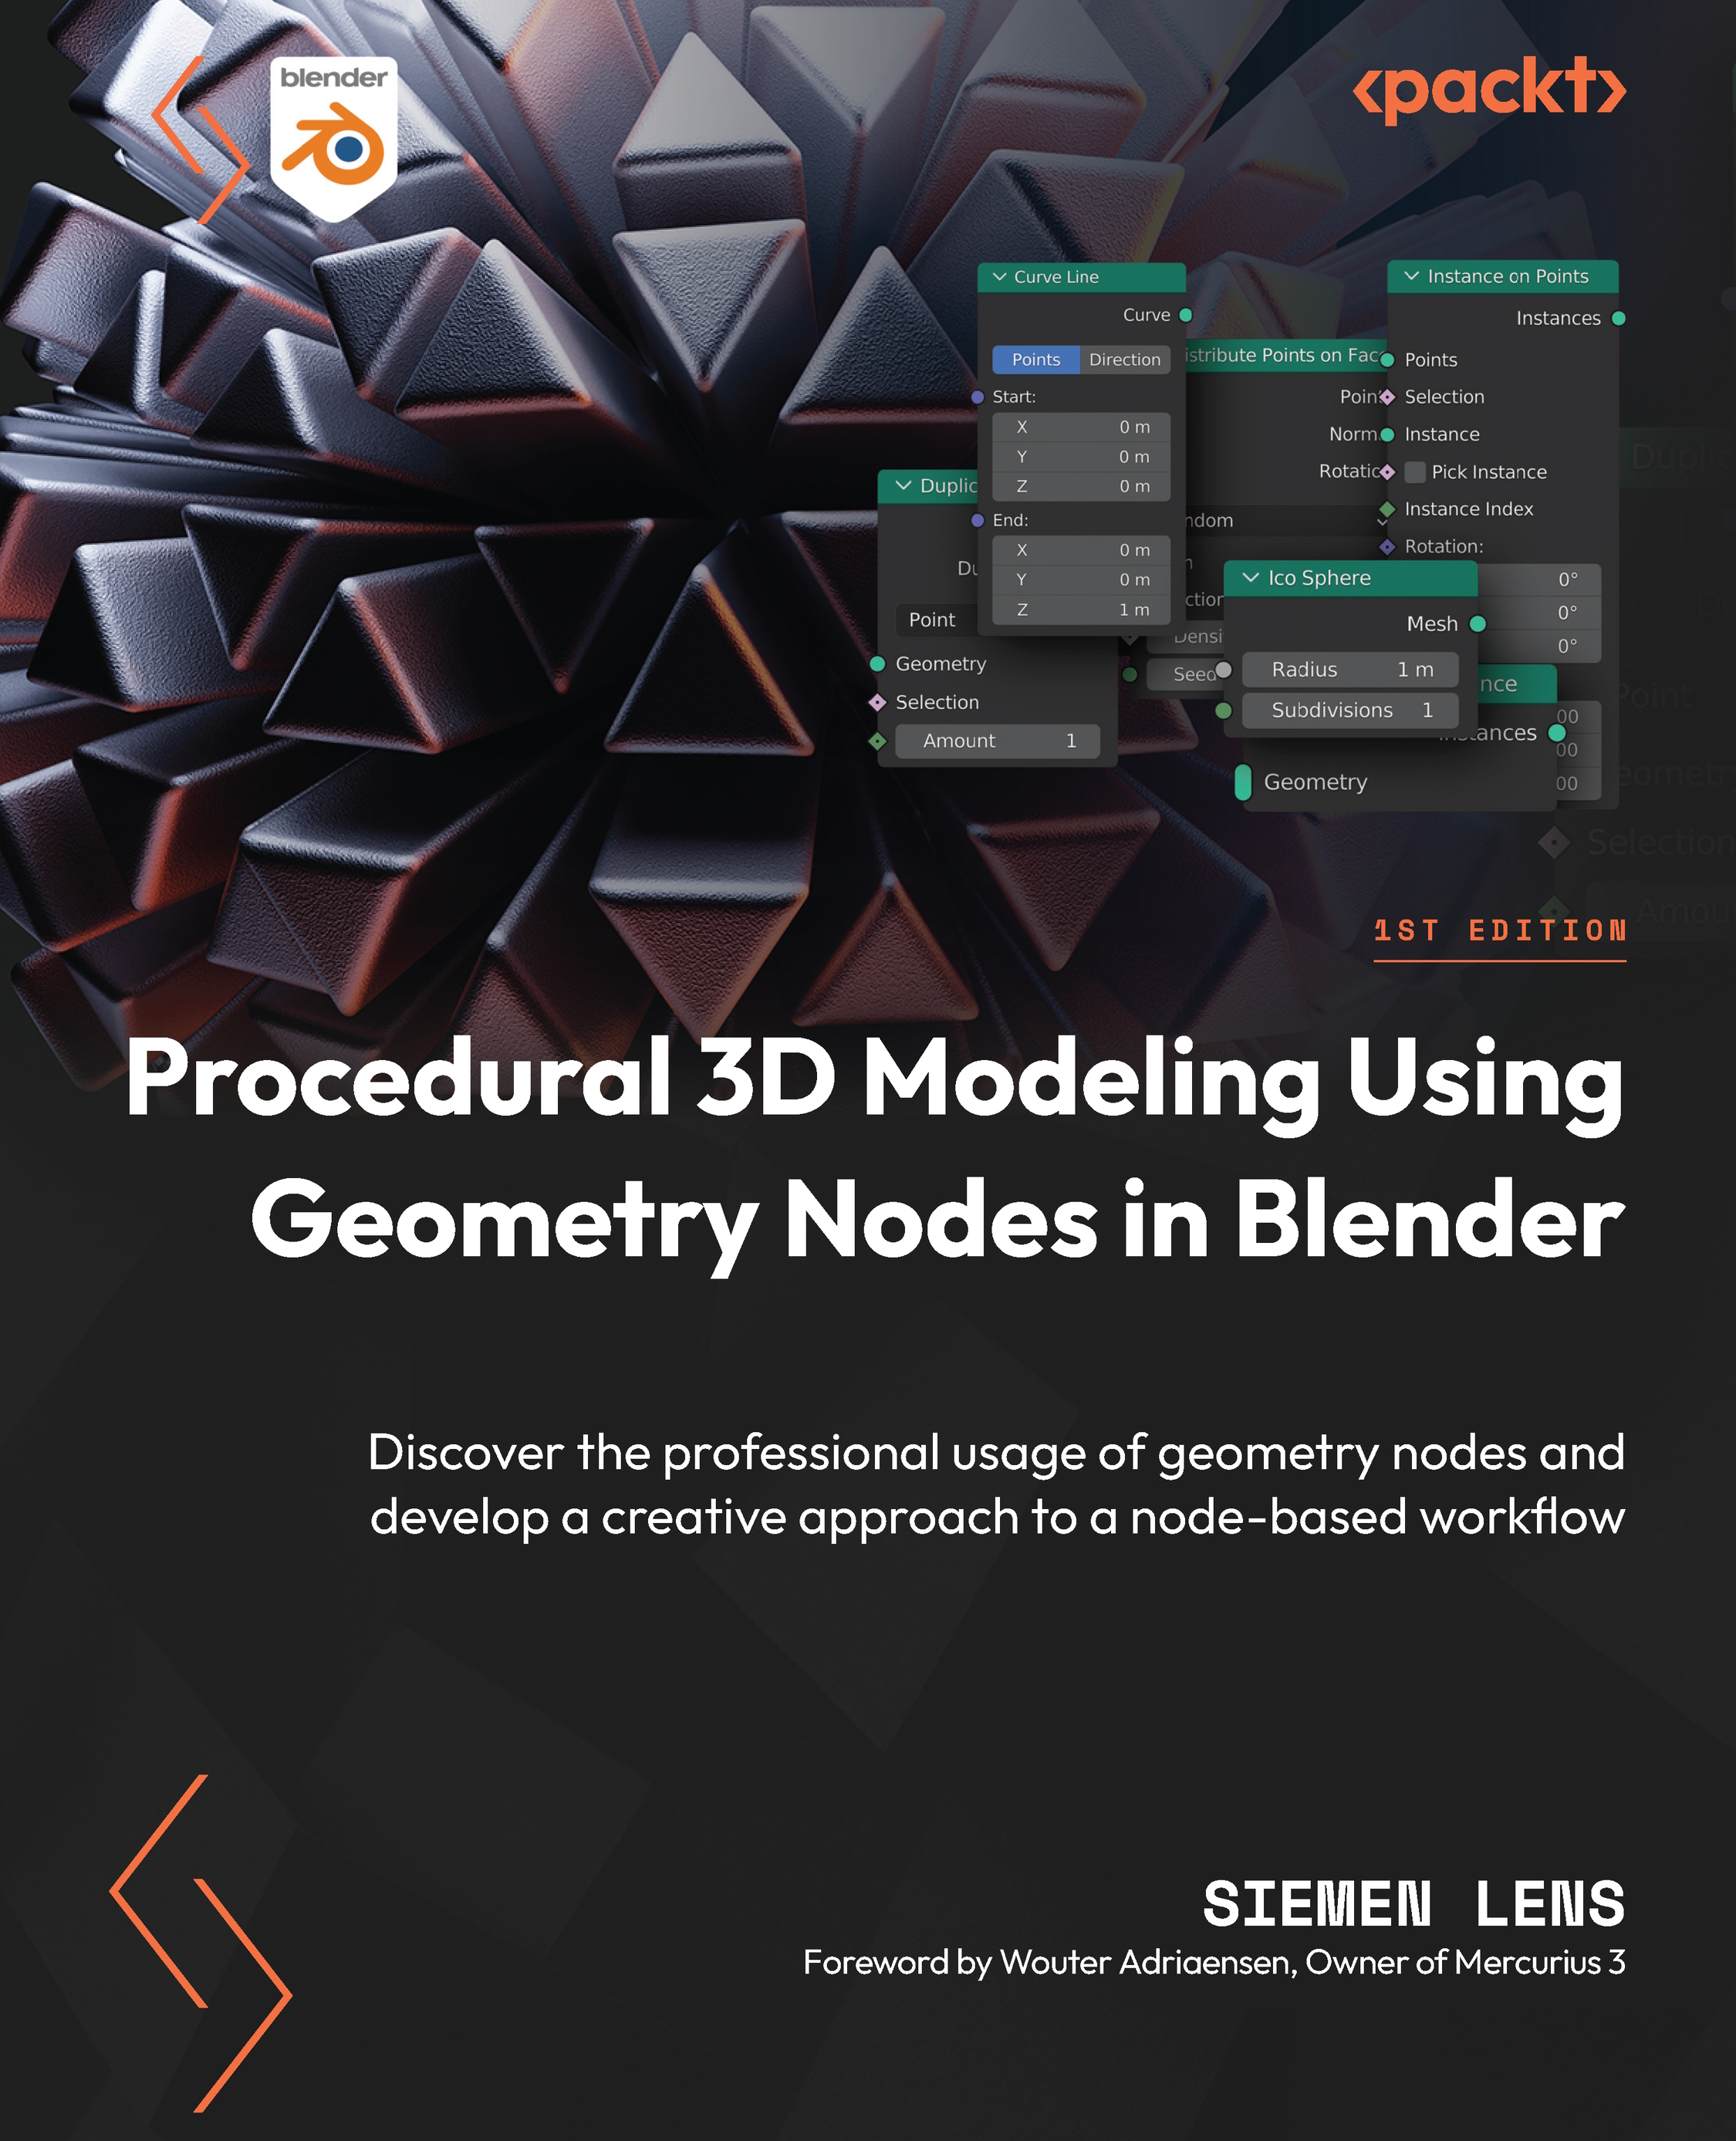
Procedural 3D Modeling Using Geometry Nodes in Blender
zł181.99
3D Character Rigging in Blender
zł120.99
Low Poly 3D Modeling in Blender
zł161.99
Total 464.97 Stars icon
Banner background image

Table of Contents

20 Chapters
Part 1:Getting Started with Low Poly Modeling Chevron down icon Chevron up icon
Chapter 1: Getting Familiar with Blender Chevron down icon Chevron up icon
Chapter 2: Understanding Low Poly Modeling Chevron down icon Chevron up icon
Chapter 3: Creating a Low Poly Tree Chevron down icon Chevron up icon
Part 2:Modeling and Shading for Low Poly Chevron down icon Chevron up icon
Chapter 4: Exploring Modifiers Chevron down icon Chevron up icon
Chapter 5: Creating Low Poly Mushrooms Chevron down icon Chevron up icon
Chapter 6: Understanding Materials and Shading Chevron down icon Chevron up icon
Part 3:Creating Your Own Assets Chevron down icon Chevron up icon
Chapter 7: Creating a Low Poly Tractor Chevron down icon Chevron up icon
Chapter 8: Low Poly Environment Modeling Chevron down icon Chevron up icon
Chapter 9: Modeling a Kangaroo Chevron down icon Chevron up icon
Chapter 10: Creating Low Poly Houses and Buildings Chevron down icon Chevron up icon
Chapter 11: Using the Asset Browser Chevron down icon Chevron up icon
Part 4:Building a Complete Low Poly Scene Chevron down icon Chevron up icon
Chapter 12: Blocking Out the Scene Chevron down icon Chevron up icon
Chapter 13: Building the Scene Chevron down icon Chevron up icon
Chapter 14: The Big Render Chevron down icon Chevron up icon
Index Chevron down icon Chevron up icon
Other Books You May Enjoy Chevron down icon Chevron up icon

Customer reviews

Top Reviews
Rating distribution
Full star icon Full star icon Full star icon Full star icon Half star icon 4.8
(22 Ratings)
5 star 81.8%
4 star 18.2%
3 star 0%
2 star 0%
1 star 0%
Filter icon Filter
Top Reviews

Filter reviews by


Just_A_Reader Feb 11, 2024
Full star icon Full star icon Full star icon Full star icon Full star icon 5
The book is a good companion for anyone using Blender. It reads well and mirrors much of what I’ve done using Blender. I was happy to re-learn some old techniques such as creating multiple low poly houses and buildings to keep my Blender skills sharp. The lessons were easy to follow with example pictures and were fun to build out. In addition, I learned some new tricks to add to my Blender repertoire. This book is a must get for anyone who is getting started in Blender as it provides a solid foundation for any 3D artist.
Amazon Verified review Amazon
Cindy G. Feb 02, 2024
Full star icon Full star icon Full star icon Full star icon Full star icon 5
This book not only teaches the basics of getting started in blender, it also has great tips for new 3D users as well. Definitely worth it if you are looking to get started with using Blender, or just the world of 3D in general. Intermediate users may also benefit from the book if you are looking to try the low poly modelling workflow.
Amazon Verified review Amazon
Marisa Mar 05, 2024
Full star icon Full star icon Full star icon Full star icon Full star icon 5
If you prefer written tutorials rather than videos to always refer back to something, this is perfect. Every chapter builds upon itself and includes plenty of pictures. If you’re familiar with blender or have never opened the program if you’re a beginning artist wanting to learn 3D, this is a great start. I would say if you’ve already made a few scenes, you might not find anything new here. These are building block scenes in order to learn the program not necessarily reel ready scenes, but is a great starting point. It is mainly modeling and doesn’t go into detail about surfacing or lighting beyond the basics. This is great though when you’re starting out as it doesn’t give too much detail but breaks it down enough for beginners to understand and create a rendered image with nice quality. Would recommend to anyone looking for text tutorials who are new to blender.
Amazon Verified review Amazon
W. Hansen Feb 02, 2024
Full star icon Full star icon Full star icon Full star icon Full star icon 5
"Low Poly 3D Modeling in Blender" is an instructional manual that serves as a comprehensive introduction to the world of low poly modeling using Blender, a powerful 3D modeling software. This book is thoughtfully organized into two distinct parts, each dedicated to building a solid foundation in low poly modeling techniques.In the first part, readers are gently introduced to the Blender software. The author covers critical aspects such as installation, navigating the user interface, and customizing the workspace. Key components of Blender, like the 3D Viewport, Outliner, and Properties panel, are explained in detail. Navigational techniques within the 3D Viewport are discussed, including movement controls, orthographic viewing, and handy shortcuts. The significance of Workspaces and how to personalize them is emphasized, along with the importance of saving custom Startup files. This section provides a sturdy footing for those new to Blender.The second part delves deeper into the intricacies of low poly modeling. The book skips the chapters on creating a low poly tree, exploring modifiers, crafting a low poly chair, and dealing with materials and shading in Blender. Each topic is approached practically, with hands-on tutorials and step-by-step instructions, ensuring that readers gain practical experience in modeling and rendering low poly objects."Low Poly 3D Modeling in Blender" is an indispensable resource for both beginners and intermediate 3D modelers looking to excel in the captivating art of low poly modeling. It offers a structured and accessible approach to mastering Blender and creating stunning low poly designs with precision and creativity.
Amazon Verified review Amazon
Gina Feb 11, 2024
Full star icon Full star icon Full star icon Full star icon Full star icon 5
This book is great for those who are completely new to 3D modeling, or would like a refresher. It breaks down step-by-step on how to navigate Blender's UI, explained how to use Blender's tools, and also breaks down each step for a number of projects which I enjoyed. I found it very easy to follow along and found the projects to be interesting and fun. Highly recommend for anyone who is interested in becoming a 3D artist.
Amazon Verified review Amazon
Get free access to Packt library with over 7500+ books and video courses for 7 days!
Start Free Trial

FAQs

How do I buy and download an eBook? Chevron down icon Chevron up icon

Where there is an eBook version of a title available, you can buy it from the book details for that title. Add either the standalone eBook or the eBook and print book bundle to your shopping cart. Your eBook will show in your cart as a product on its own. After completing checkout and payment in the normal way, you will receive your receipt on the screen containing a link to a personalised PDF download file. This link will remain active for 30 days. You can download backup copies of the file by logging in to your account at any time.

If you already have Adobe reader installed, then clicking on the link will download and open the PDF file directly. If you don't, then save the PDF file on your machine and download the Reader to view it.

Please Note: Packt eBooks are non-returnable and non-refundable.

Packt eBook and Licensing When you buy an eBook from Packt Publishing, completing your purchase means you accept the terms of our licence agreement. Please read the full text of the agreement. In it we have tried to balance the need for the ebook to be usable for you the reader with our needs to protect the rights of us as Publishers and of our authors. In summary, the agreement says:

  • You may make copies of your eBook for your own use onto any machine
  • You may not pass copies of the eBook on to anyone else
How can I make a purchase on your website? Chevron down icon Chevron up icon

If you want to purchase a video course, eBook or Bundle (Print+eBook) please follow below steps:

  1. Register on our website using your email address and the password.
  2. Search for the title by name or ISBN using the search option.
  3. Select the title you want to purchase.
  4. Choose the format you wish to purchase the title in; if you order the Print Book, you get a free eBook copy of the same title. 
  5. Proceed with the checkout process (payment to be made using Credit Card, Debit Cart, or PayPal)
Where can I access support around an eBook? Chevron down icon Chevron up icon
  • If you experience a problem with using or installing Adobe Reader, the contact Adobe directly.
  • To view the errata for the book, see www.packtpub.com/support and view the pages for the title you have.
  • To view your account details or to download a new copy of the book go to www.packtpub.com/account
  • To contact us directly if a problem is not resolved, use www.packtpub.com/contact-us
What eBook formats do Packt support? Chevron down icon Chevron up icon

Our eBooks are currently available in a variety of formats such as PDF and ePubs. In the future, this may well change with trends and development in technology, but please note that our PDFs are not Adobe eBook Reader format, which has greater restrictions on security.

You will need to use Adobe Reader v9 or later in order to read Packt's PDF eBooks.

What are the benefits of eBooks? Chevron down icon Chevron up icon
  • You can get the information you need immediately
  • You can easily take them with you on a laptop
  • You can download them an unlimited number of times
  • You can print them out
  • They are copy-paste enabled
  • They are searchable
  • There is no password protection
  • They are lower price than print
  • They save resources and space
What is an eBook? Chevron down icon Chevron up icon

Packt eBooks are a complete electronic version of the print edition, available in PDF and ePub formats. Every piece of content down to the page numbering is the same. Because we save the costs of printing and shipping the book to you, we are able to offer eBooks at a lower cost than print editions.

When you have purchased an eBook, simply login to your account and click on the link in Your Download Area. We recommend you saving the file to your hard drive before opening it.

For optimal viewing of our eBooks, we recommend you download and install the free Adobe Reader version 9.