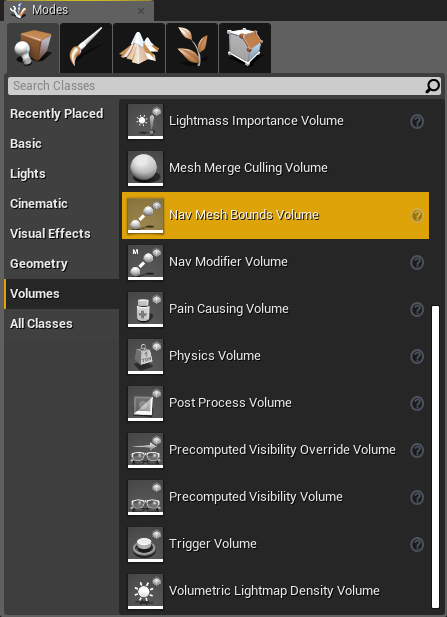
Generating a simple Navigation Mesh is pretty straightforward in Unreal. Let's look at how we can do it. From the Mode panel, in the Volume tab, you will be able to find the Nav Mesh Bounds Volume, as shown in the following screenshot:

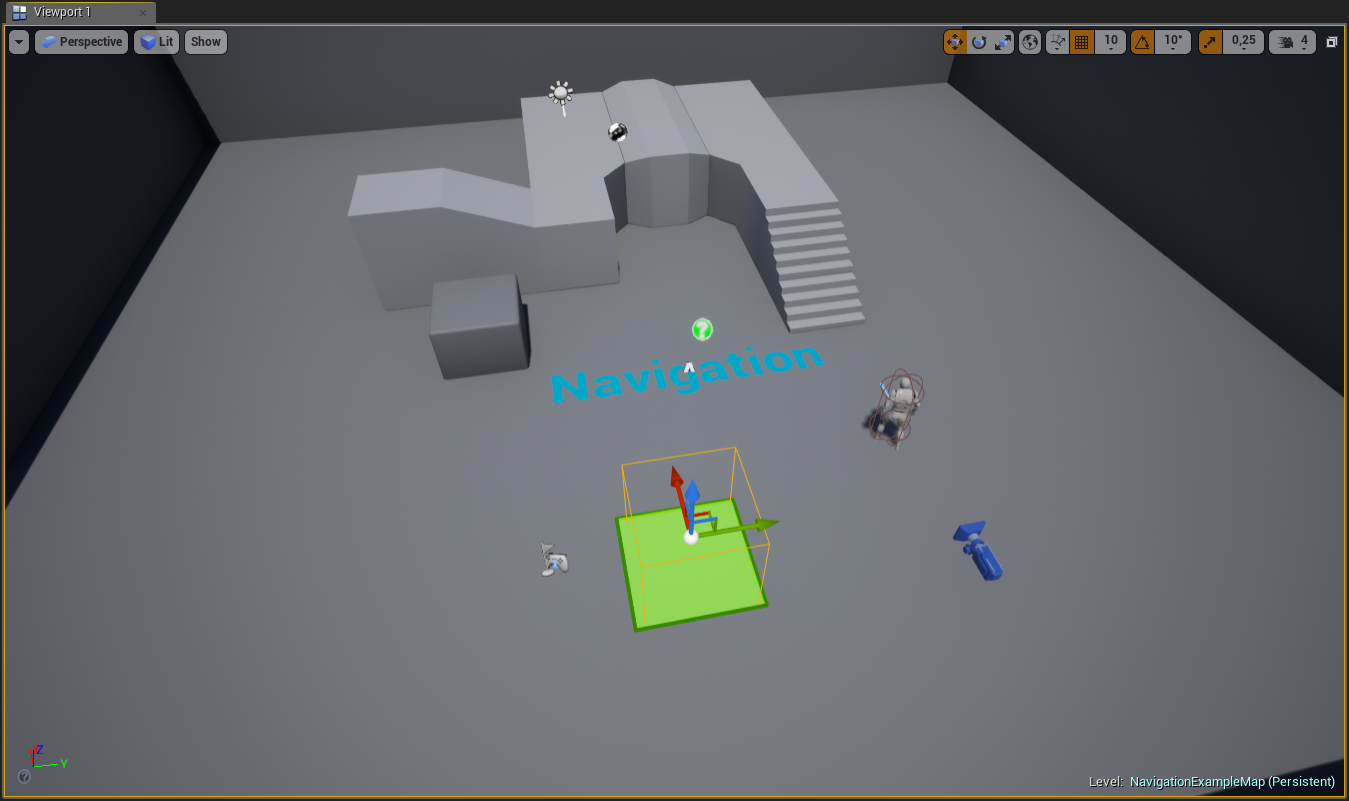
Drag it into the world. You will notice that the volume is quite small in respect to the map. Everything inside that volume will be taken into consideration to generate a Nav Mesh. Of course, a Nav Mesh has many parameters, but for now let's keep thing simple.
If you press the P button on your keyboard, you will be able to see the Nav Mesh in the Viewport, as shown in the following screenshot:

As you can see, it is limited to the area that's contained in the volume of Nav Mesh Bounds Volume. Let's scale the Nav Mesh Bounds Volume to fit all the level we have. This is what your level should look...


