Installing Solr
Solr requires the presence of Java on your system. To check the presence of Java on your system, run java –version in Linux console or Windows command prompt. If the version of Java is greater than 1.6 then we are ready to go. It is preferable to use the official Java Runtime Environment rather than the one provided by OpenJDK.
c:\>java -version
java version "1.6.0_18"
Java(TM) SE Runtime Environment (build 1.6.0_18-b07)
Java HotSpot(TM) Client VM (build 16.0-b13, mixed mode, sharing)
Let us download the latest Solr. For this book we are using Solr Version 4.3.1, which can be downloaded from the following link:
http://lucene.apache.org/solr/downloads.html
To install Solr on Windows or Linux simply unzip or extract the solr-4.3.1.zip file into a folder. The installation process for Windows and Linux is as follows:
For installation on Windows, simply right-click on the zip file and extract it into the
C:\solr-4.3.1folder. To start Solr, go to the Windows command prompt Start | Run. In the Run window, typecmd. On the Windows command prompt type the following:cd C:\solr-4.3.1\example java –jar start.jar
For installation on Linux, simply extract the zip file in your home folder. Follow these commands to extract and run Solr using your console:
unzip solr-4.3.1.zip
cd ~/solr-4.3.1/example
java –jar start.jar
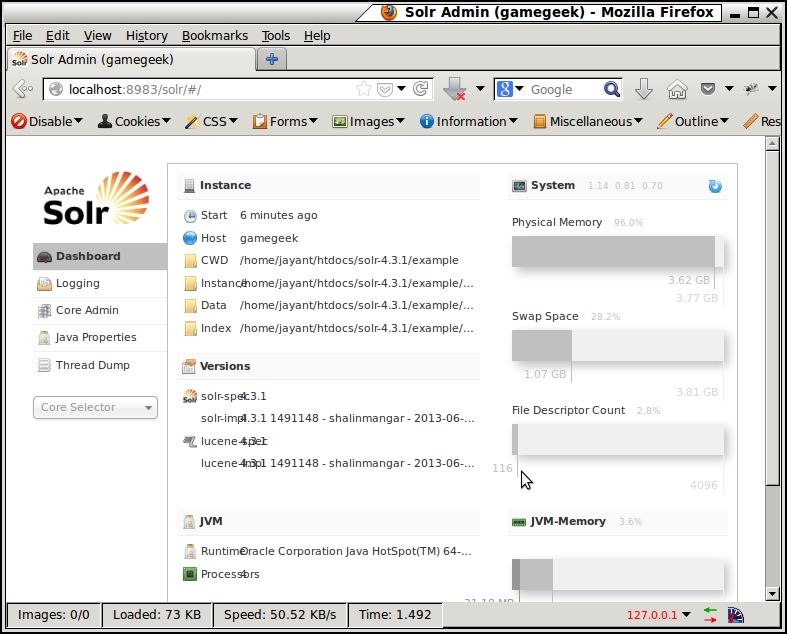
When we start Solr with the java –jar start.jar option, Solr runs on the port 8983. It uses a built-in web server known as jetty. To see Solr working, simply point your browser to the following address:
http://localhost:8983/solr/
You will be able to see the following interface. This means that Solr is running fine. The following screenshot shows the Solr Admin interface:


