


Working with Snowflake
Snowflake is another popular option for a cloud data warehouse. It’s easy and quick to spin up a Snowflake instance and start working with it right away.
In this recipe, we’ll be covering how to read from and write to tables in Snowflake.
Getting ready
You need a Snowflake account for this recipe. As of this writing, Snowflake gives you a 30-day free trial. Go ahead and create an account with this link: https://signup.snowflake.com/.
Let’s create a database and a table we’ll be reading data from:
- Click on Database and enter your database name. Then, click on Create.

Figure 11.51 – Entering a database name
- Click on Schema and enter your schema name. Click on Create to create a new schema.
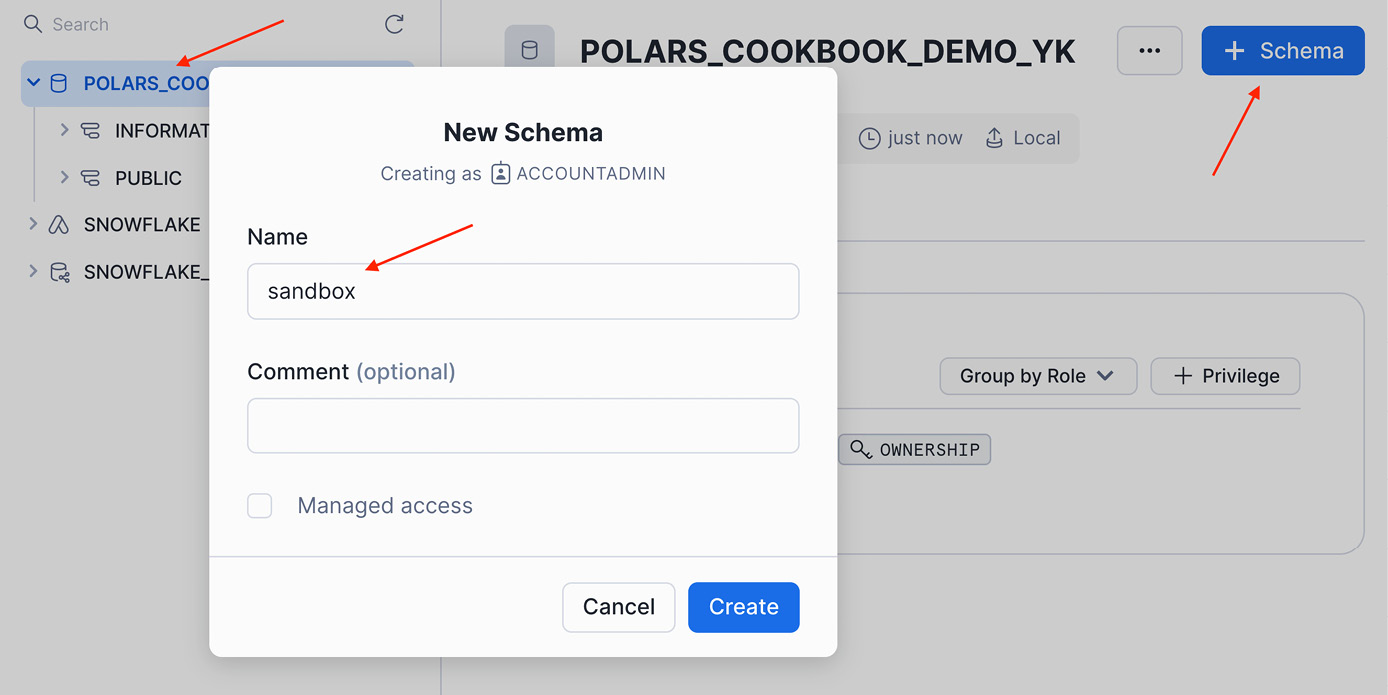
Figure 11.52 – Entering a schema name
- Let’s create a table. Choose your schema and click on Create. Choose Table from the dropdown...


