Installing Ext JS
Let's take a look at how to install Ext JS locally. This step is required because we will need to have the Ext JS SDK in our computer prior to creating the application with Sencha Cmd.
Prerequisites for Ext JS and Sencha Cmd
Before downloading Ext JS and Sencha Cmd, we need to set up our computer to be ready. The following is a list of software needed so that we can create an Ext JS application:
- Ruby 1.8 or 1.9: The current version of Ruby is 2.x at the time of writing this. To be able to create an Ext JS application, we need to have Ruby 1.8 or 1.9 installed. Ruby is required because the theming engine used by Ext JS is based on Sass and Compass, which are Ruby gems. To download and install Ruby, please follow the instructions at https://www.ruby-lang.org/en/installation/.
- Sass and Compass: These are not CSS frameworks. Sass is a new way of writing CSS. It is possible to use variables and define functions and mixins. It is an alternative to Less (maybe you have worked with Less or heard about it—Sass is very similar). After downloading and installing Ruby, please install Sass as well. The instructions can be found at http://sass-lang.com/install (follow the command-line instructions). Compass is a Sass framework and is also required. Please install it as well from http://compass-style.org/install/. Sass and Compass are the heart of the Ext JS theming engine. All custom CSS we are going to create for our application will be compiled by Sass/Compass as well.
- Java JDK: If you are a Java developer, you probably have the Java JDK installed already. If not, please download and execute the installer at http://www.oracle.com/technetwork/articles/javase/index-jsp-138363.html. After installing the Java JDK, we also need to configure the
JAVA_HOMEenvironment variable. Instructions can be found at http://goo.gl/JFtKHF. The Java JDK is required because of ANT, our next step. - Apache ANT: The Sencha Cmd engine to create the application and build it is based on ANT, a Java library. We need to download ANT from http://ant.apache.org/bindownload.cgi, unzip it to a directory of our choice, and set the
ANT_HOMEenvironment variable (http://ant.apache.org/manual/install.html).
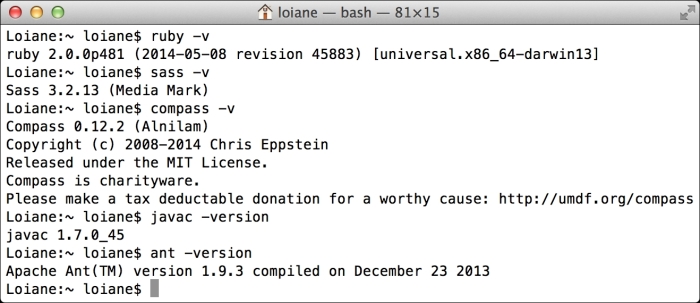
We can check whether we have the correct environment by executing the following commands in a terminal application:

Note that the Ruby version installed is 2.x, but as long as you have a 1.8 or 1.9 compatible version in your classpath, you should be OK.
The last step is a web server. The simplest one that we can use to execute the examples of this book is Apache Xampp. Download and follow the installation instructions at https://www.apachefriends.org.
Note
All the software required to set up the environment mentioned in this book is available for Linux, Windows, and Mac OS.
Downloading Ext JS and Sencha Cmd
Now that we have our environment configured, we can download Ext JS. Ext JS has some different license flavors: commercial and open source. For this book, we are going to use the open source one. You can download the open source version at http://www.sencha.com/products/extjs/details. Scroll until the end of the page and select OPEN SOURCE GPL LICENSING, as demonstrated in the following screenshot:

Note
The latest version of Ext JS at the time of writing this book is 5.1.
We also need to download and install Sencha Cmd from http://www.sencha.com/products/sencha-cmd/download. Sencha Cmd is responsible for creating the application and making, building, and compiling Sass and Compass to generate the application's CSS. After the installation of Sencha Cmd, the sencha command will be available from the terminal application as well.
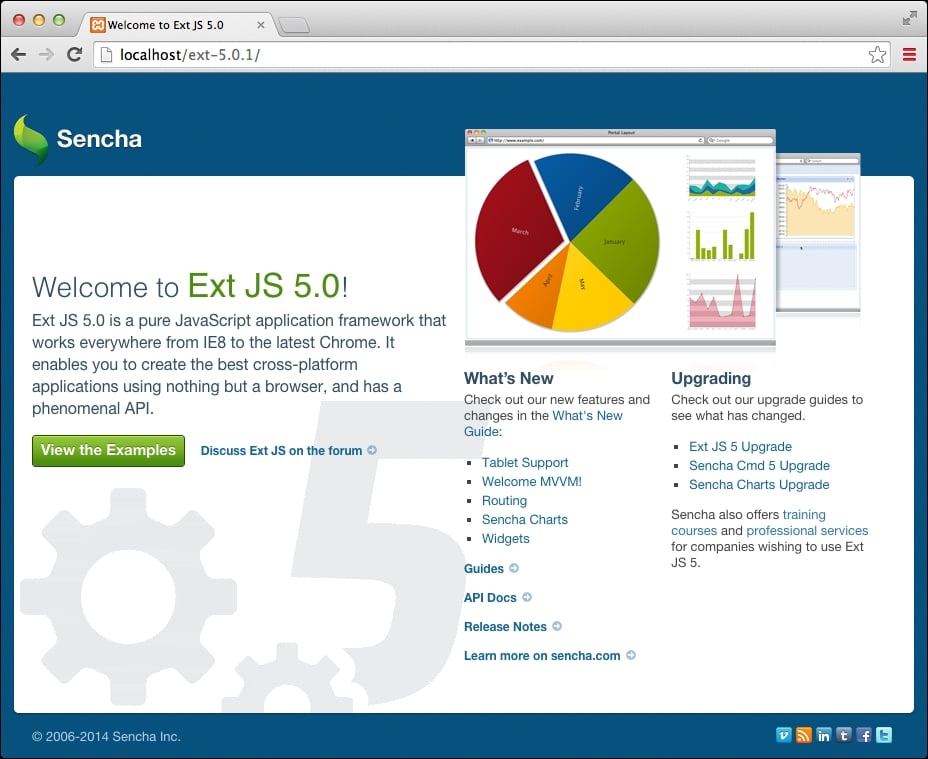
After downloading the Ext JS SDK, unzip it inside the Apache Xampp htdocs folder. Once we start the Apache server, we will be able to execute the Ext JS examples from our local environment:

Offline documentation
While developing with Ext JS, we will consult the documentation a lot. Whenever we mention the name of an Ext JS component in this book, it is recommended that you go to the documentation and take a look at it. The Ext JS documentation is available at http://docs.sencha.com/extjs/5.0/. It contains guides (it is also highly recommended that you spend some time reading the guides before diving into this book since the guides provide basic knowledge about the framework), and links to blog posts and also to the documentation itself. As we will consult it a lot, we recommend installing the documentation locally as well. To do so, go to http://docs.sencha.com/, open the Sencha Guides menu, and select the offline docs link as demonstrated in the following screenshot:

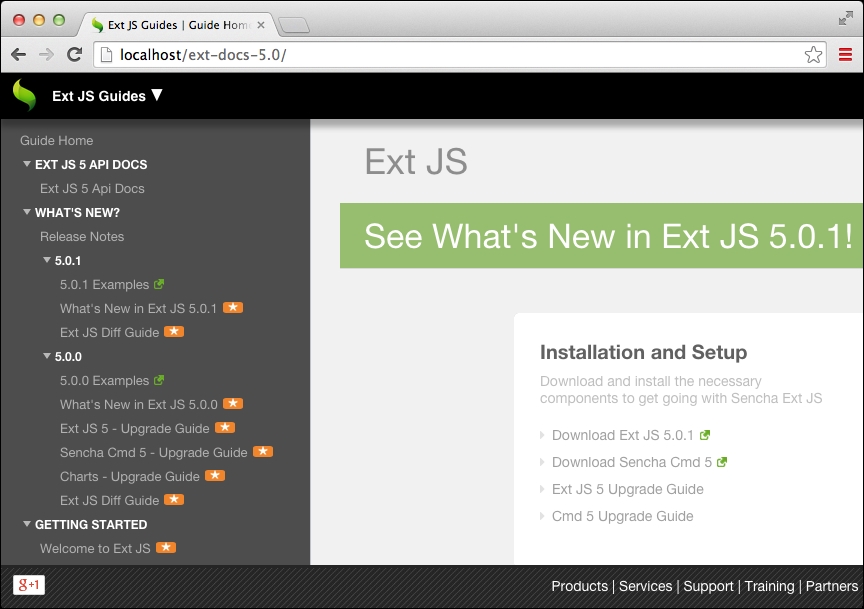
Unzip the docs inside the Xampp htdocs folder as well and access your localhost, as shown in the following screenshot:

Note
A video tutorial with step-by-step instructions to set up the environment for Ext JS is available at http://youtu.be/B43bEnFBRRc.
IDE
You can use any IDE or editor of your preference to develop with Ext JS. There are a few editors that are very popular: Sublime Text, Atom, Eclipse (if you are a Java developer), Netbeans, and Visual Studio (if you are a C# developer), Notepad++, and WebStorm, among others.
If you are looking for the autocompleting feature, you can use the Sencha Eclipse Plugin that is part of Sencha Complete (paid) at http://www.sencha.com/products/complete/) or you can use WebStorm (also paid) at https://www.jetbrains.com/webstorm/).
There is also Sencha Architect (which also has the autocompleting feature). It is a what you see is what you get (WYSIWYG) editor and is a great Sencha tool that can be used with the IDE of your preference (to develop the server-side code of the application).
Feel free to use the editor or IDE you are most comfortable with to develop the source code of this book!


