You already know that Captivate contains a lot of panels and that those panels can be shown or hidden using the Window menu. In the Advanced Interface Mode, the Captivate interface offers even more flexibility. In this section, you will learn how to move the panels and create a unique custom screen:
- Place your mouse on the black line at the top of the floating HTML5 Tracker panel.
- Drag the panel to the right and drop it on top of the Properties and Library labels in the top right corner of the screen.
When a panel is moved above a possible docking location, a blue outline appears on the screen. Releasing the mouse at that moment docks the panel at the location highlighted by the blue outline.
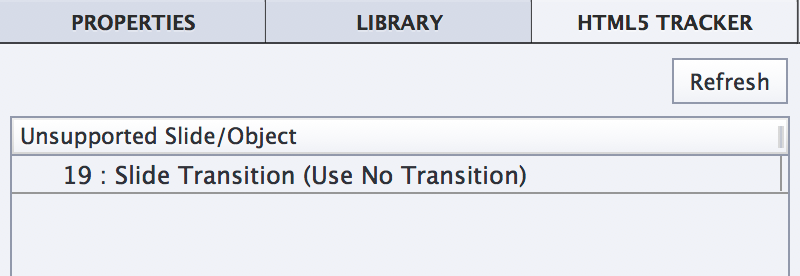
This action docks the HTML5 tracker panel with the Properties inspector and the Library panel, as shown in the following screenshot:

This first action illustrates how to dock the panels that are initially floating on the interface. You will now do the opposite to illustrate that a panel that is initially docked can be turned into a floating panel.
- Place your mouse on top of the Library label on the right side of the screen.
- Drag the Library panel out of the Library/Properties/HTML5 Tracker group and drop it on top of the stage.
The Library panel is now a floating panel, even though it was docked by default. You have now arranged the panels in a truly unique way. This customized arrangement of your panels is called a workspace.


