How to install VirtualBox and Ubuntu
VirtualBox is a general-purpose, full virtualizer for x86 hardware, targeted at server, desktop, and embedded use. VirtualBox is free and supports all the major operating systems and pretty much every Linux flavor out there.
If you don't want to change the operating system of your computer to Ubuntu, tools such as VirtualBox help us virtualize a new operating system in our computers without making any changes.
In the following section, we are going to show you how to install VirtualBox and a new installation of Ubuntu. After this virtual installation, you should have a clean installation for restarting your development machine if you have any problems, or to save all the setups necessary for your robot in the machine.
Downloading VirtualBox
The first step is to download the VirtualBox installation file. The latest version at the time of writing this book is 4.3.12; you can download the Linux version of it from http://download.virtualbox.org/virtualbox/4.3.12/. If you're using Windows, you can download it from http://download.virtualbox.org/virtualbox/4.3.12/VirtualBox-4.3.12-93733-Win.exe.
Once installed, you need to download the image of Ubuntu; for this tutorial we will use a copy of Ubuntu 15.10 from OSBOXES found at http://www.osboxes.org/ubuntu/; then we will simply install ROS Kinetic following the same instructions described in the previous section. In particular, the Ubuntu 15.10 image can be downloaded from http://sourceforge.net/projects/osboxes/files/vms/vbox/Ubuntu/15.10/Ubuntu_15.10-64bit.7z/download.
This would download a .7z file. In Linux, it can be uncompressed with the following:
$ 7z x Ubuntu_15.10-64bit.7z
If the .7z command is not installed, it can be installed with the following:
$ sudo apt-get install p7zip-full
The virtual machine file will go into the 64-bit folder with the name: Ubuntu 15.10 Wily (64bit).vdi
Creating the virtual machine
Creating a new virtual machine with the downloaded file is very easy; just proceed with the following steps. Open VirtualBox and click on New. We are going to create a new virtual machine that will use the Ubuntu 15.10 Wily (64bit).vdi file downloaded before, which is a hard disk image with Ubuntu 15.10 already installed. Set the name, type, and version of the virtual machine as shown in the following screenshot:

You can configure the parameters of the new virtual machine in the windows that follow. Keep the default configuration and change only the name for the virtual system. This name is how you distinguish this virtual machine from others. For the RAM, we advise that you use as much as possible, but 8 GB should be enough.
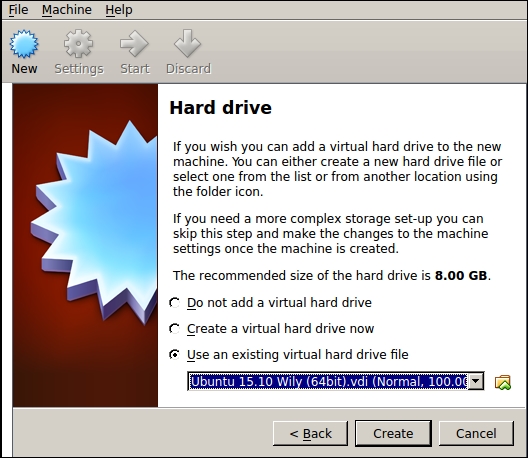
For the hard drive, use the existing virtual hard drive file Ubuntu 15.10 Wily (64bit).vdi downloaded before, as shown in the following screenshot:

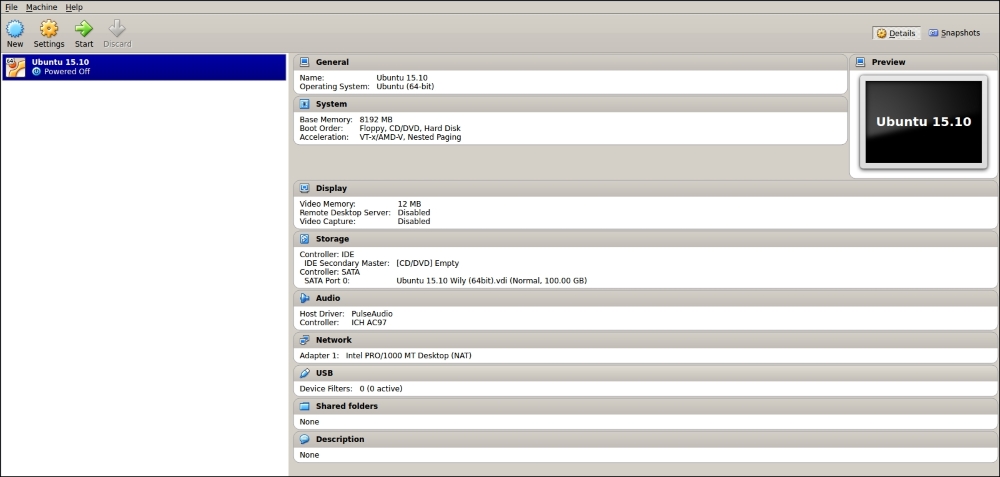
After this, you can start your virtual machine by clicking on the Start button. Remember to select the right machine before you start it. In our case, we only have one, but you could have more:

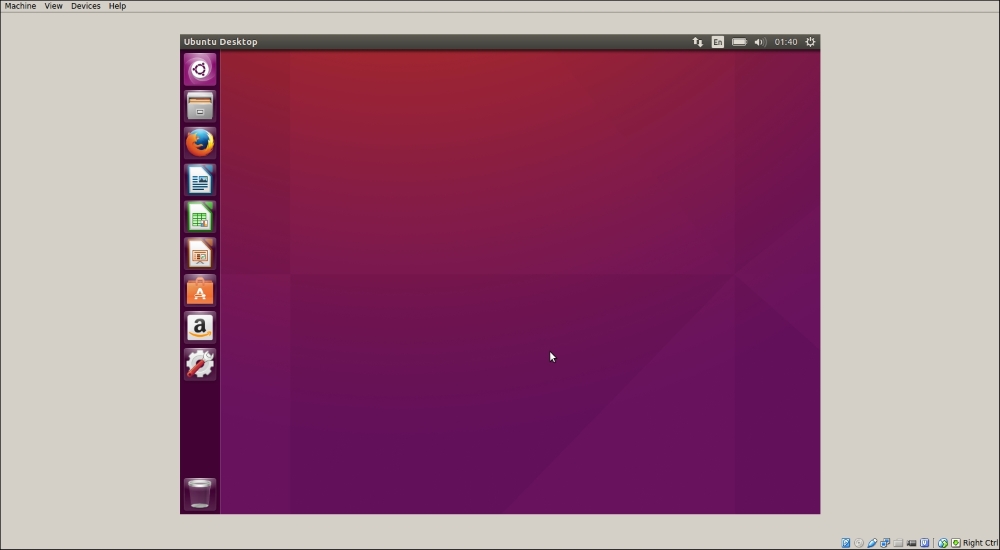
Once the virtual machine starts, you should see another window, as seen in the following screenshot. It is the Ubuntu 15.10 OS with ROS installed (use osboxes.org as the password to log in):

When you finish these steps, install ROS Kinetic as you would on a regular computer following the steps of the previous sections, and you will have a full copy of ROS Kinetic that can be used with this book. You can run all the examples and stacks that we are going to work with. Unfortunately, VirtualBox has problems when working with real hardware, and it's possible that you may not be able to use this copy of ROS Kinetic with the examples given in Chapter 4, 3D Modeling and Simulation.


