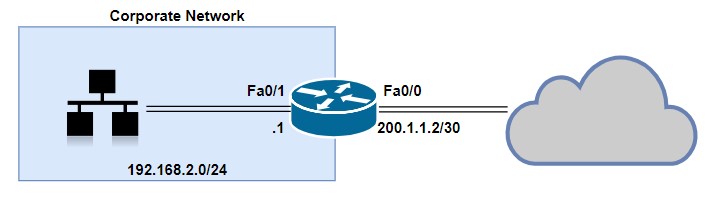
Let's begin configuring the IPS feature on the Cisco IOS router using the Cisco Configuration Professional (CCP). The following network topology will be used as a reference:
Now, perform the following steps:
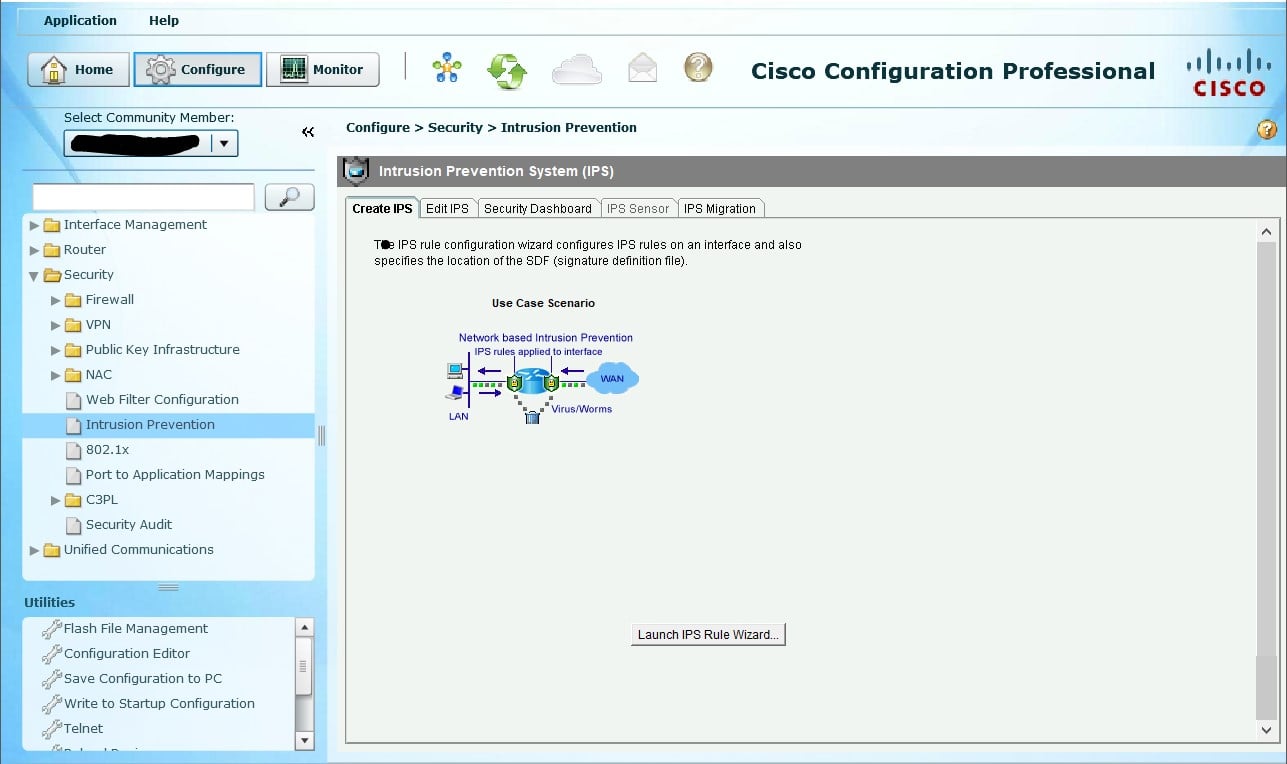
- Open the CCP and navigate to Configure | Security | Intrusion Prevention. Click on Launch IPS Rule Wizard...:
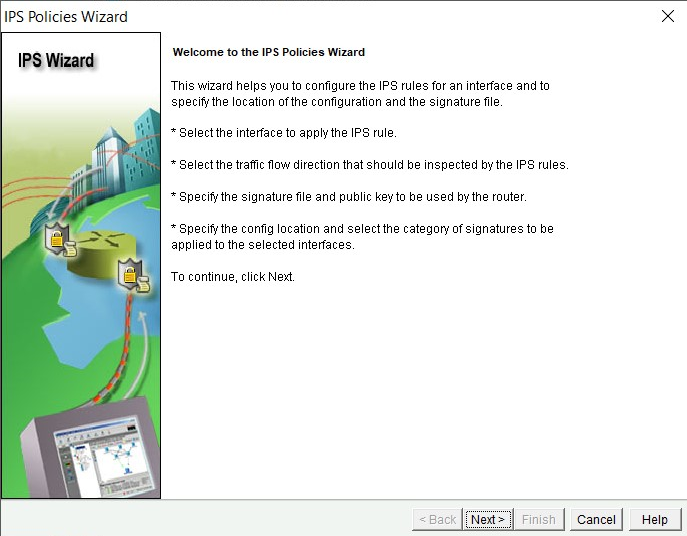
- The IPS Policies Wizard opens and provides us with an overview on the functionality of the wizard itself. Click on Next:
- Select which interfaces and direction the IPS sensor should monitor. In this exercise, we have selected both FastEthernet0/0 (Outside interface) and FastEthernet0/1 (Inside interface), and the direction is set as inbound. This means any traffic entering those two interfaces will be screened for potential threats. Click Next:

- In this phase, you'll need to add the Cisco IPS signature file...