


Designing a buttercup
Let’s start by creating the buttercup petals. Since this is a real flower, we must use a real reference in order to make the final result accurate. We’ll be using this image reference of a buttercup flower:
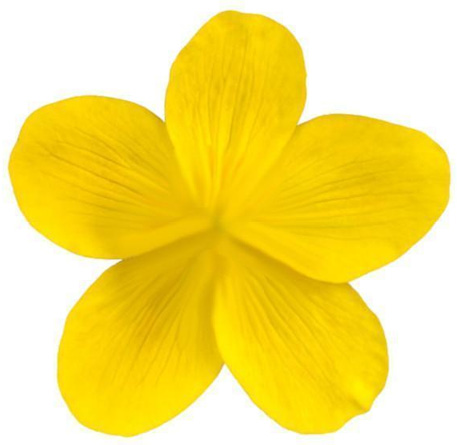
Figure 11.1 – Buttercup flower petals
You can download this buttercup flower image reference from this link: https://github.com/PacktPublishing/3D-Environment-Design-with-Blender/blob/main/chapter-11/Flower-Petals.jpg
After downloading this reference, press 7 while on the 3D Viewport to go to the Top Orthographic view and simply drag and drop this reference image into the 3D Viewport:
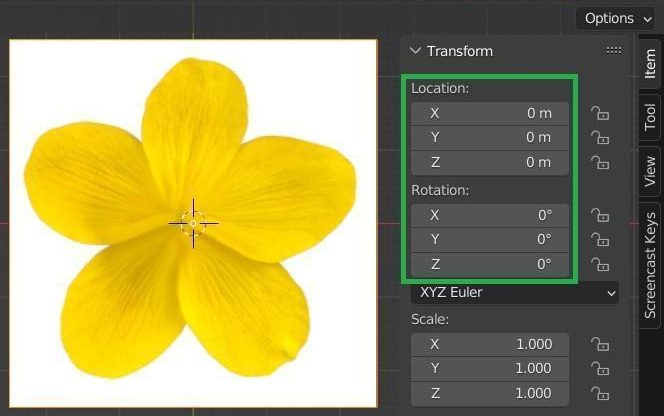
Figure 11.2 – Dragging the flower reference in the 3D Viewport
This way, we’ll have the image reference laid out. Press N to access the Transform panel and make sure that the Location and Rotation values are set to 0 so that we can put the flower reference in the center of the grid...


