Creating dynamic topology with Dyntopo
As we discovered in the Discovering the limitations of the basic sculpting mode section, the basic sculpting mode doesn't work very well for introducing new major forms in our sculptures. But that's no good. How can we make beautiful art if we're stuck with a boring sphere? To solve this problem, we will have to learn a little bit about topology.
Topology is a term we use to describe how all the geometry of a mesh is interconnected. This Quad Sphere is made up of quadrilaterals that form a clean and simple set of grid patterns. The grid patterns in the Quad Sphere are arranged nicely to create a smooth sphere shape. One way to think about this is to say that the topology for this mesh wants to be a sphere. Of course, topology is not a living thing and can't truly want anything, but it can still be helpful for us to think of it in this way. The problem we ran into in our previous example is that the topology doesn't want to have a protrusion coming out of it – it's trying to stay a sphere.
So, if we want to introduce a new major form to this mesh, we need some way of adjusting the topology so that it will support the new major form we are trying to add.
One easy-to-use solution that we can try is called Dynamic Topology (Dyntopo). Dyntopo is a feature that will dynamically update our sculpture's topology to fit the new shapes that we sculpt into the model. Dyntopo comes with its own set of limitations; however, before we concern ourselves with that, let's play around with it and have some fun.
Getting ready
We ruined our Quad Sphere in the Discovering the limitations of the basic sculpting mode section, so let's start over with a new sculpting project from the sculpting preset by choosing File | New | Sculpting. Turn on the statistics overlay again so that we can observe what happens to our topology as we work.
How to do it…
We're going to try out the Snake Hook brush again. However, this time, we will first enable the Dyntopo feature:
- Locate the Dyntopo options in the upper-right corner of the 3D Viewport header.
- Click the checkbox to activate dynamic topology.
- Click on the Dyntopo option next to the checkbox to open the pop-over menu.
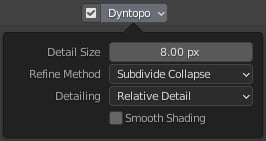
- Change the Detail Size setting to
8.00 px.
You can view the Dyntopo settings in the following screenshot:

Figure 2.9 – The Dyntopo pop-over menu
Now, let's try the Snake Hook brush again with this new sculpting mode enabled:
- Click on the Snake Hook brush in the Toolbar to activate it.
- Set the Radius setting of the brush to
250 px. - Use the Snake Hook brush to pull a piece of the quad sphere outward.
- As you draw, try making a curvy, swoopy S-shaped pattern.
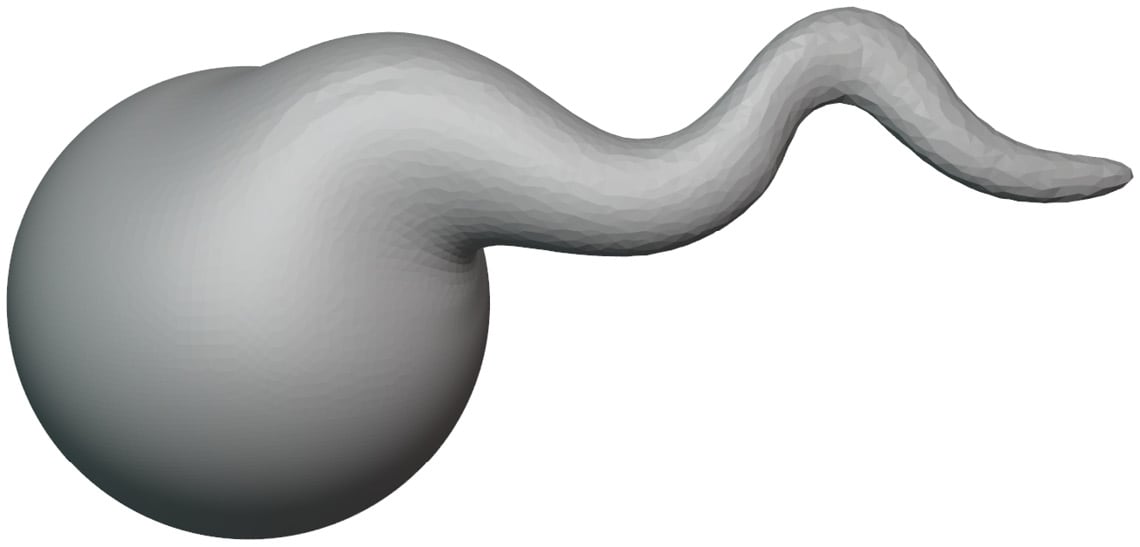
That's looking much better than our previous attempt. Your result should appear similar to the following diagram:

Figure 2.10 – The curvy segment we created with the Snake Hook brush and Dyntopo
Because we are using the Dyntopo feature, the topology of the Quad Sphere was altered when we used the Snake Hook brush. Let's turn on our statistics and wireframe overlays so that we can find out what happened:
- Open the Viewport Overlays pop-over menu.
- Check the box labeled Statistics.
- Check the box labeled Wireframe.
- Use the slider next to the Wireframe checkbox to set the wireframe value to
1.000.
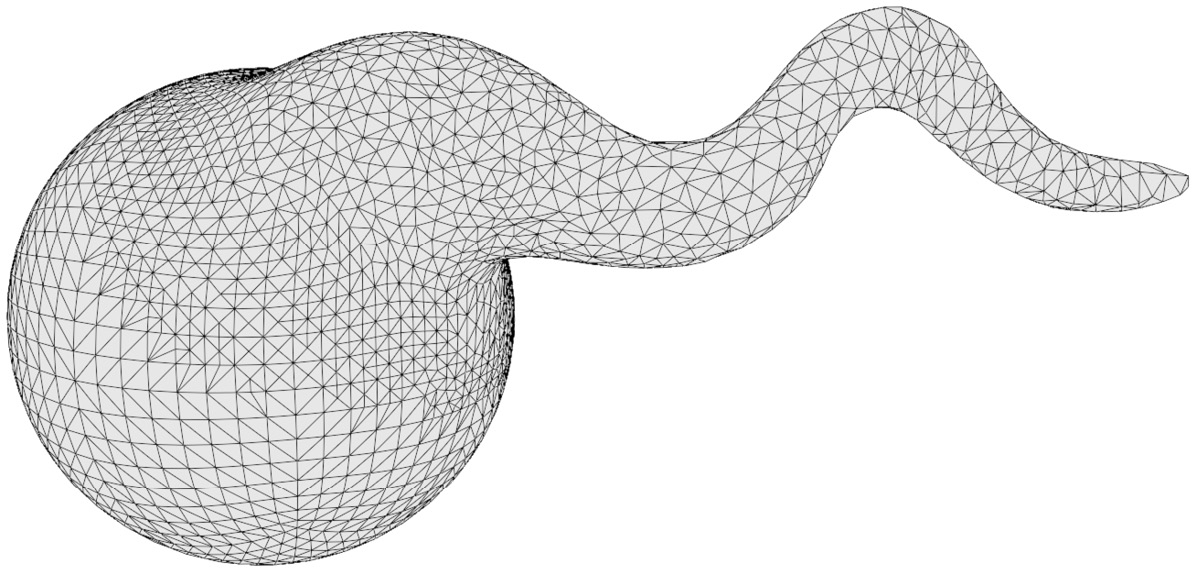
Your sculpture should appear similar to the following diagram:

Figure 2.11 – The wireframe after making a curvy segment with the Snake Hook brush and Dyntopo (this diagram has been simplified for better visibility in this book)
Isn't that interesting? Dyntopo has created new polygons to support the curvy protrusion that we just made. Go ahead and have some fun with this sculpting mode before moving on.
How it works…
Dyntopo is able to detect when our polygons are becoming too stretched out. When the edges of the polygons exceed the detail size we specified in the pop-over menu, new polygons are created to support the new shape. The technical term for this is tessellation.
Check the statistics: how many triangles did you end up with? In our example, we got 48,302. That's actually fewer than our original tri count of 49,152 because Dyntopo didn't just add polygons that we needed for our curvy shape, it also removed polygons that were no longer needed. This is because Dyntopo is using a Refine Method setting called Subdivide Collapse. These settings can be customized further to get exactly the effect you're looking for.
Take note of the fact that the arrangement of our topology is more important than the exact number of polygons. Greater or fewer polygons don't inherently mean we can create new major forms. We must support our new shapes with topology that wants to be the shape we are trying to make.
There's more…
This book would have been incomplete if we hadn't covered the Dyntopo feature, but admittedly, this feature has fallen out of favor in the Blender community because it has many downsides:
- Sometimes, the surfaces can fracture into scattered triangles that create holes and other issues with the surface of the mesh.
- It has the poorest performance of all the sculpting workflows and our computers will often slow down while performing highly detailed work.
- We cannot join separate pieces of geometry together.
- If we aren't careful, we can accidentally remove details from our sculptures that are too small for our current detail size.
- The tessellation creates lumpy surfaces that don't look very pleasing in a final model.
- The density of the polygons varies throughout the model. Areas of high detail have tiny polygons, while areas of low detail have very large polygons. This uneven polygon density can make it difficult to sculpt details into the model's surface.
For these reasons, we do not recommend that you utilize the Dyntopo feature for most of your sculpting workflows. It's fun while we're getting started, and it works well with the Snake Hook brush, but the flaws of this feature become very apparent when we get into high detail work.
Don't worry, though. Next, we will learn about an alternative feature that we can use to adjust the mesh of our sculptures while we work.
See also
Much of the information presented throughout this chapter is directly informed by the lead developer behind Blender's sculpting features: Pablo Dobarro. If you would like to view his original presentation on these sculpting workflows, please check out The new sculpting workflow in Blender - Pablo Dobarro, which is available on the official Blender YouTube channel at https://www.youtube.com/watch?v=lxkyA4Xslzs.
This presentation is a few years old and is presented from a highly technical standpoint. However, if you would like to view the techy inner workings of the software, there's no better resource than this.


