The project settings
Now we have a project set and running. However, that's not enough for us to start adding code, assets, and logic for the game. A game project has tons and tons of settings and options, which will have been set to default values when you create a new project, and every time you make a new game or project, you have to set those settings to specific options that fit your needs and your goals.
Accessing the project settings is very easy as you only have to click on the Project Settings button at the end of the Edit menu button.
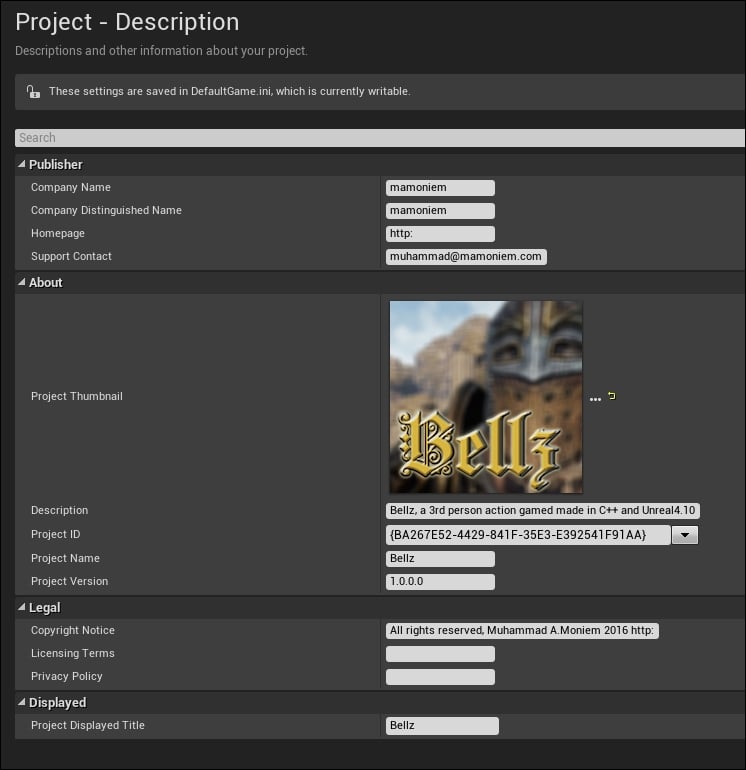
First things first, I like to always set the overall information about my project at an early stage, so I don't have to worry about it later. From the Description section of the project settings, you can set the company name, and its homepage; also you can assign the logo for the project to be displayed on the launcher and description of the project and its name.
The most important part for this C++-based project is to set the copyright notice. By defining a piece of text here, it will be automatically added to all your newly created C++ files. So you have a copyright added to your code… Just in case!

Another important option to set is the map to be used as the default map for the game and for the editor. I agree that we don't have maps set yet but once you have a map, you need to set it inside the Maps & Modes section; so you make sure that every time you run the editor, you don't have to reload the map you want.

Finally, I would like to set the targeted platforms. I already know that my game will be running on PCs and consoles, so there is no need to label my game as an Android or iOS game for example. Therefore, you can just uncheck the untargeted platforms from the Supported Platforms section.


