-
Discover new workflows and the exciting new features of Premiere Pro CS6
-
Take your video editing skills to exciting new levels with clear, concise instructions (and supplied footage)
-
Explore powerful time-saving features that other users don't even know about!
-
Work on actual real-world video editing projects such as short films, interviews, multi-cam, special effects, and the creation of video montages
-
Gain video editing skills that will stay with you for years
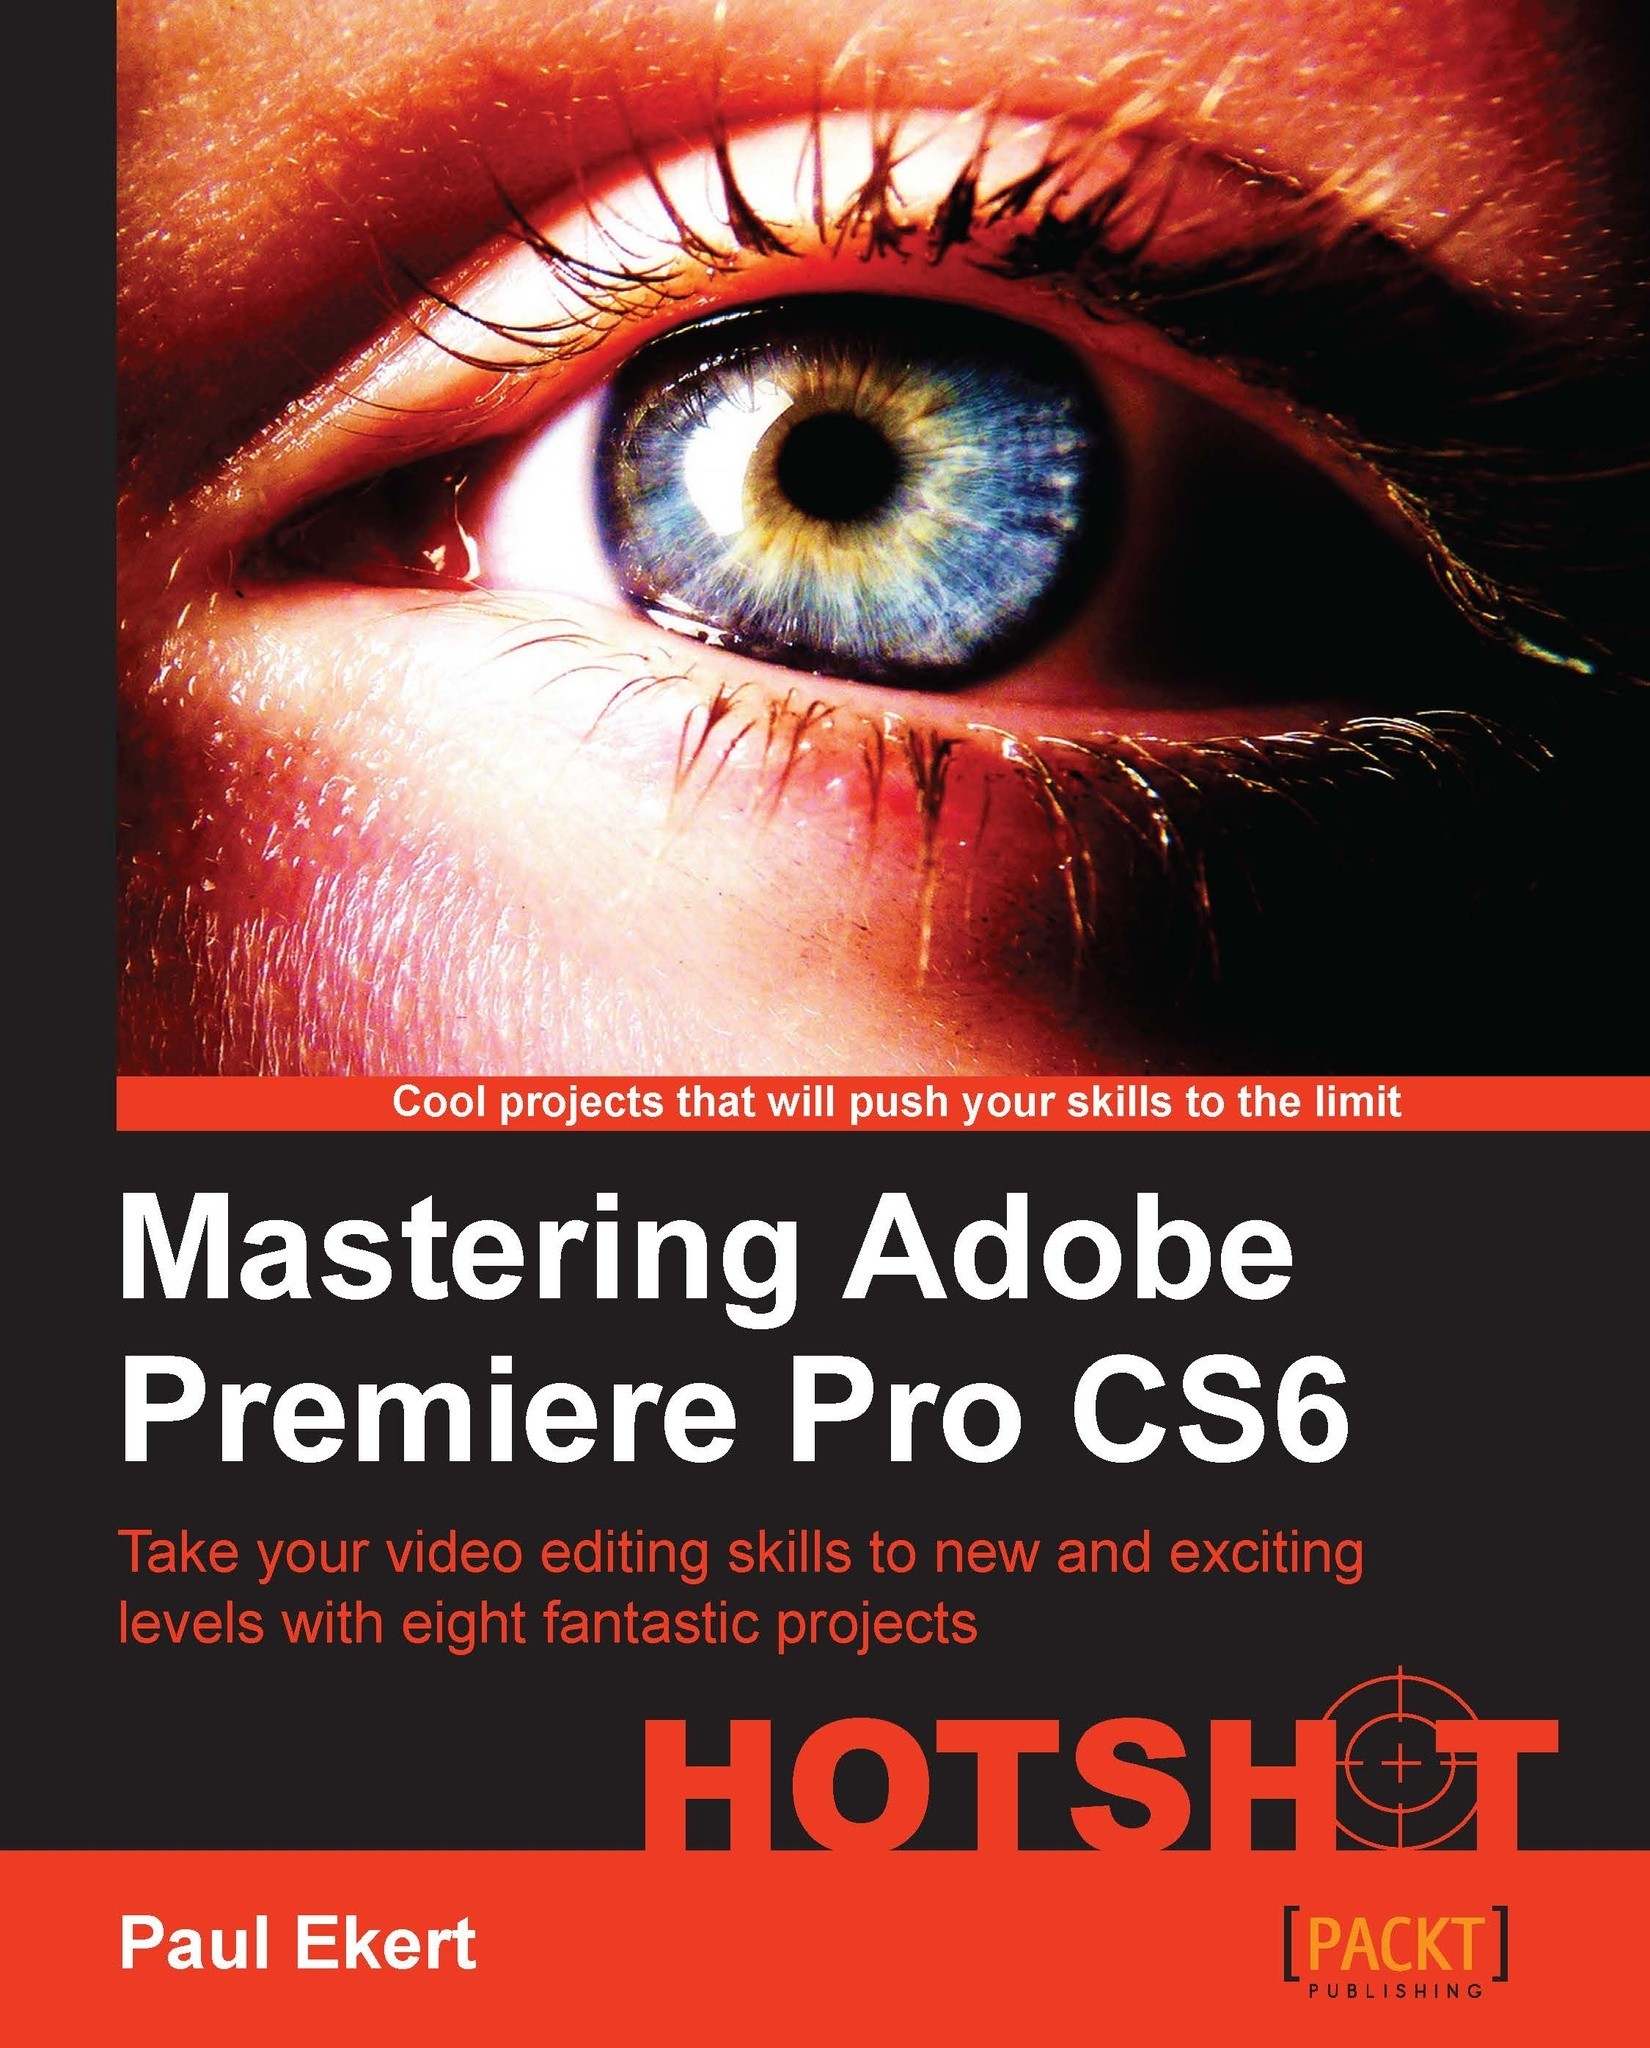
Adobe Premiere Pro has become synonymous with video editing, in the same way Photoshop has become a byword for image manipulation. To unlock the true potential of this powerful software you don't need you to take expensive training courses or spend hours trying to get your footage “just right”. Work through this practical guide and truly master Premiere Pro CS6 using real footage with engaging examples.Using the included source material (available via digital download), this book will help you discover a plethora of features and functionality hidden within Adobe Premiere Pro CS6 that can truly augment your skills and take your footage to the next level. By covering a diverse array of topics in a practical manner, you will gain a full understanding of how to approach pretty much any video editing project you want to tackle with Adobe Premiere Pro CS6.Starting off with an entry-level project to get both new and existing users up to speed, "Mastering Adobe Premiere Pro CS6 Hotshot" dives right into a series of engaging real-world projects that help you understand how you can harness Premiere Pro's full potential. With an explicit focus on practical real-world projects from concept to publication, this is the definitive guide for people who want to make the most out of this powerful software.As you progress through the book you'll encounter problems of poorly shot footage; news reporters who stumble over their dialog and camera crews who fail to deliver key scenes, leaving you to scavenge and then hide your trail. Not only will you develop a full understanding of how core features work, you'll also have a clear grasp on how to make your footage stand out from the crowd.
If you're just starting out or even migrating from existing video editing software, then this book is for you. With rapid progression through practical examples constructed to be both engaging and useful, Mastering Adobe Premiere Pro CS6 is ideal for learning the sometimes complex workflows of this powerful application.
-
Use actual real-world examples to learn advanced editing workflows
-
Find out how you can manipulate sounds and images
-
Work with real-life effects; explosions, smoke, and exported 3D models
-
Master automatic features that save you time and help create a better edit
-
Delve into the world of frame accurate editing using keyboard shortcuts
-
Learn how the different trim modes, Ripple and Rolling, actually work
-
Speed up your Timeline workflow with the Insert and Extract functions
-
Tame long clips using the sub-clip function
-
Create frame accurate edits using the 3 and 4-Point edit technique
-
Use CS6 filters to create special effects (muzzle flashes and SF effects) and even motion backgrounds
-
Construct multi-layered effect compositions using the Nested Sequence function
-
 United States
 Great Britain
 India
India
 Germany
 France
 Canada
 Russia
 Spain
Spain
 Brazil
 Australia
 Singapore
 Hungary
 Ukraine
 Luxembourg
 Estonia
 Lithuania
 South Korea
 Turkey
 Switzerland
 Colombia
 Taiwan
 Chile
Chile
 Norway
 Ecuador
 Indonesia
 New Zealand
 Cyprus
 Denmark
 Finland
 Poland
 Malta
Malta
 Czechia
 Austria
 Sweden
 Italy
Italy
 Egypt
Egypt
 Belgium
 Portugal
 Slovenia
 Ireland
 Romania
 Greece
 Argentina
 Netherlands
 Bulgaria
 Latvia
 South Africa
 Malaysia
 Japan
Japan
 Slovakia
 Philippines
 Mexico
 Thailand
