Numbers – starting and editing a spreadsheet (Must know)
Numbers, like Excel, is very powerful and can easily get complicated. Tap-and-drag gestures help ease the complication and allow for the easy manipulation of tables and easy creation of functions. In this recipe, we'll create a simple monthly budget spreadsheet using the SUM function.
Functions in Excel are expressions that enable the program to automatically perform mathematical calculations. In this case, our SUM function will add up our monthly expenses and give us a total. All we have to do is enter each of our expenses, and the function does the math for us, displaying the total in a specified cell.
Getting ready
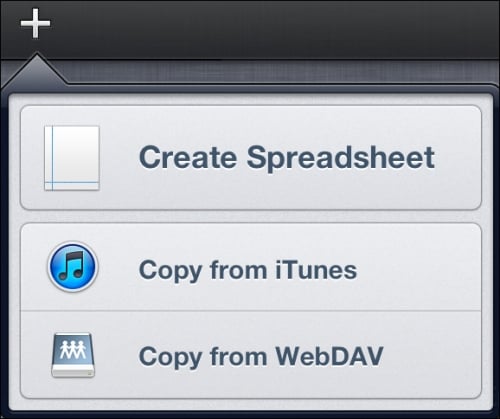
Open Numbers and tap on the plus sign in the upper-left corner of the screen. Select Create Spreadsheet. We're going to select a blank sheet.

How to do it...
Start by selecting the Blank spreadsheet from the array of templates. Take a moment to look at the options. A lot of these templates are very useful and easy to utilize because all of the functions have been completed for us.

Our blank spreadsheet is pretty boring, so let's start formatting. Tap anywhere on the spreadsheet. We will see a vertical and horizontal bar with circles on each end. These circles adjust the number of rows and columns visible in a table. Use the pan gesture on each bar so that we have three columns and six rows.
While we're there, let's give it some color. Select the entire first row by tapping on the bar directly to the left of the first row. When it's selected, tap on the brush icon in the upper-left corner and select Cells. In that tab we'll see Fill Color. On tapping, a pop-up will appear with an array of colors. Choose a color for the top row. Below it, you'll see cells with a green fill.

Now that it's got some color, let's get it looking and working like a monthly budget calculator. Begin by double-tapping in the first cell. The keyboard pops up and we're given four icons representing four inputs—numbers, date/time, text, and functions, as shown in the following screenshot:

Begin filling data in each row and column. Double-tap and select the input type. Once done, tap outside of the table. Label the contents of the spreadsheet as well as the data.

The keyboard will adjust itself depending on the input option we selected. In the preceding example, the number keypad was selected. In the following screenshot, we have the clock icon selected, so the keyboard is displaying in date/time:

To finish up our budget and calculate our monthly total, we'll use the SUM function. Double-tap on a cell beneath the figures in column B. Select the equals-to icon so that the special keyboard pops up. Tap functions. This brings up a list of common functions. We want to calculate our total monthly bill expenditures, so select SUM, as shown in the following screenshot:

After selecting SUM, the input bar should reflect this by showing a SUM function. We're able to select the cells of which we want to add the values up by tapping and dragging the selection. Tap cell B2 and drag the selection down to B5. We'll see the cells reflected in the input field. We can then save by either tapping outside of the table or selecting the green checkbox, as seen in the following screenshot. Are you getting the same total?

How it works...
It's just like Keynote, or any other app for that matter. A lot of tapping and double-tapping, using gesture intuitiveness, and familiar iconography allow you to create a spreadsheet quickly. That's all there is to it. You've created a basic spreadsheet using your iPad!
There's more...
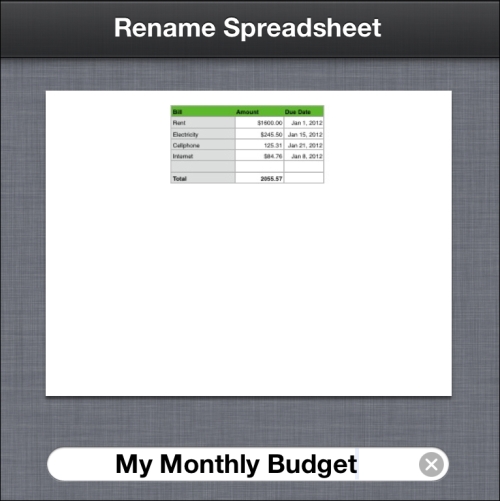
If you haven't done so already, you may want to rename the spreadsheet so that it does not display the generic name, Blank. Just as we renamed our presentation in the recipe on Keynote titled Starting a Keynote presentation, tap Spreadsheets in your budget document so that it takes you back to the main menu. Tap on the spreadsheet's generic title and rename it. In the next recipe, we'll be sharing this spreadsheet, so you'll want the name to represent what it is. Let's name it My Monthly Budget.

Functions are saved and viewable in Excel
Worried that all of your work, especially functions, won't be viewable in other applications? Well, all functions are usable in Excel and Open Office, so worry not! The same is true for when you import documents from those programs. Functions remain intact.


