Installing Polyglot Notebooks
Once you have VS Code and the required version of .NET installed, open VS Code and let’s walk through the one-time process of installing Polyglot Notebooks. First, let’s clear our workspace by opening a folder where you’d like to store your notebooks.
Do this by using the File menu followed by Open Folder…and then selecting a folder on your machine to open. I typically select an empty folder to keep my projects focused. You’ll now need to install Polyglot Notebooks through the Extensions Marketplace in VS Code.
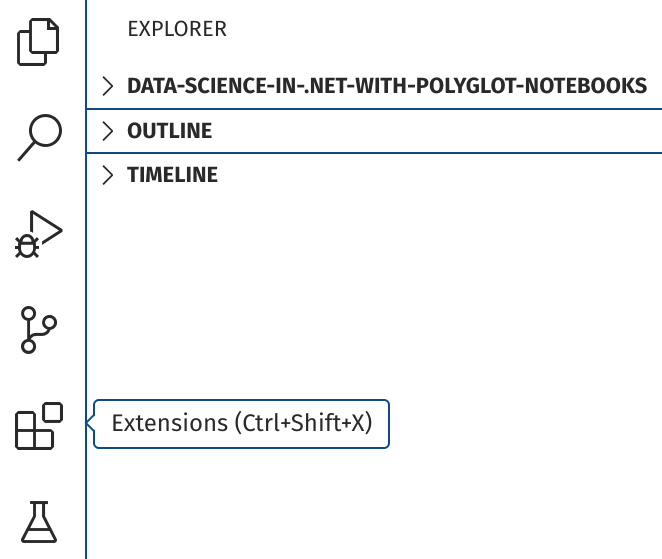
You can get to the extensions view by pressing Ctrl + Shift + X or by clicking on the four-boxes icon on the sidebar, as shown here:

Figure 2.1 – The Extensions view location
The Extensions view allows you to install a wide variety of extensions in VS Code. Extensions can do a wide variety of things, including the following:
- Adding compiler support for a new language...


