


Creating the project
In this section, we will build the application we have just walked through. Start by opening Visual Studio and creating a new project. From the list of available project templates, select .NET MAUI App, as shown in Figure 13.9. Then, click Next:
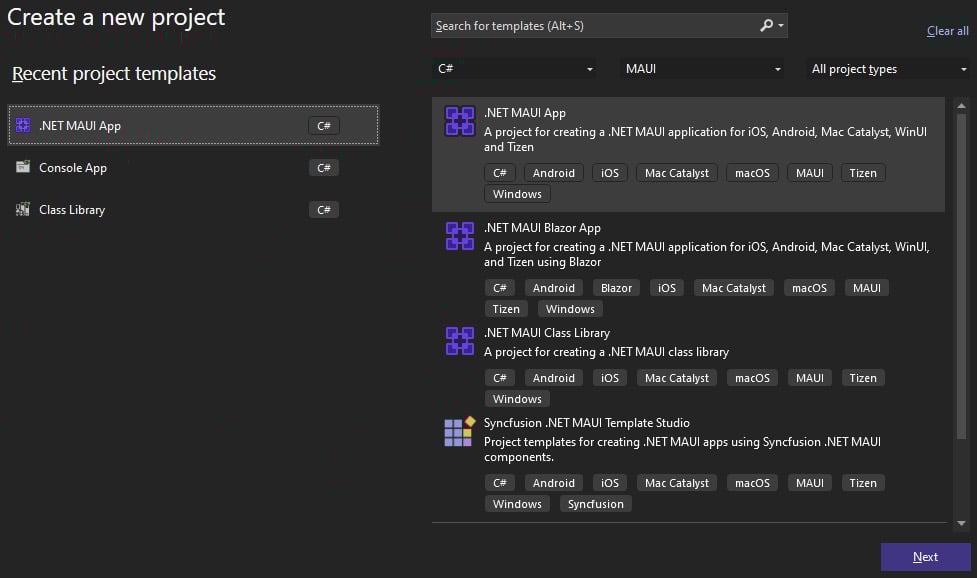
Figure 13.9: Visual Studio’s Create a new project dialog
Call the project CH13_MAUI, as shown in Figure 13.10. Then, click Next:
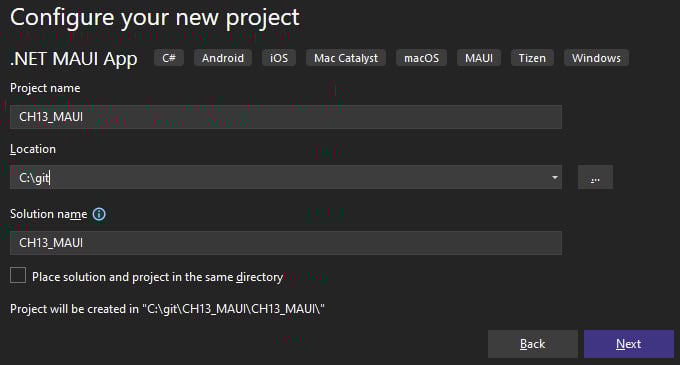
Figure 13.10: Visual Studio’s Configure your new project dialog
Make sure that the version of .NET that’s selected is .NET 7.0 (Standard Term Support), as shown in Figure 13.11:
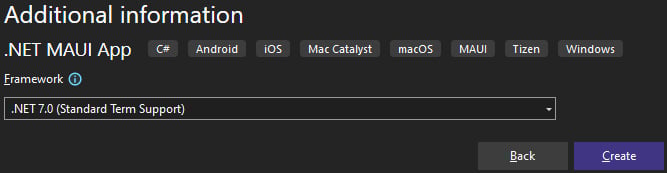
Figure 13.11: Visual Studio’s Additional information dialog
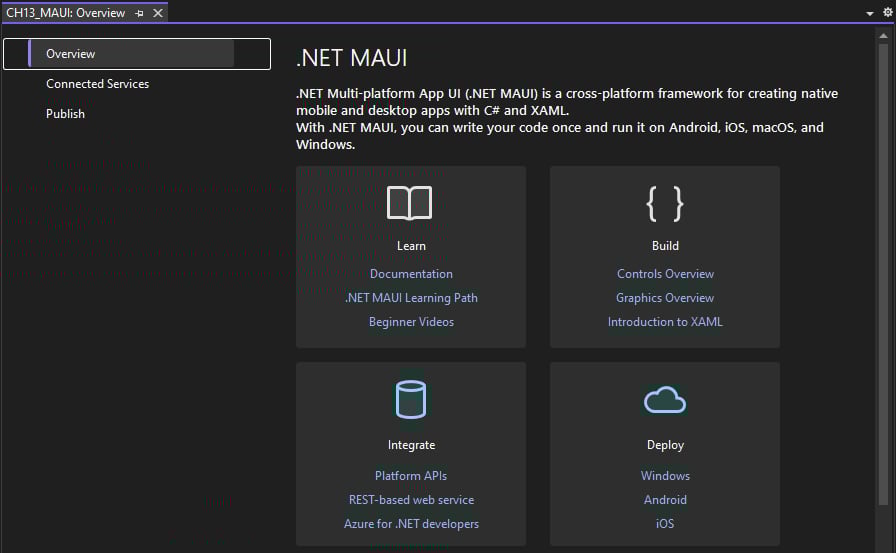
Click on the Create button to create the solution. By default, Visual Studio will present a tabbed dialog with useful information on learning, building, integrating, and deploying MAUI applications, as shown in Figure 13.12:
 ...
...


