


Configuring a release pipeline in Azure DevOps using the Classic Editor
To configure a release pipeline, follow these steps:
- In Azure DevOps, go to the Pipelines section and select the Releases option:
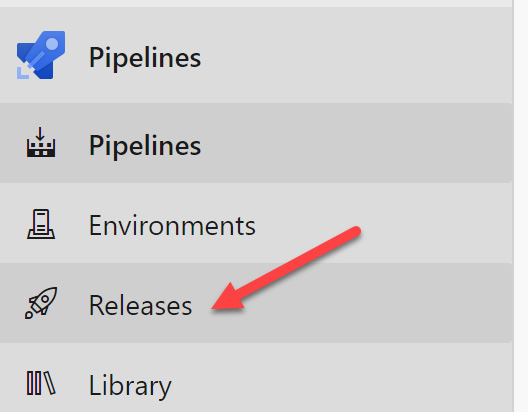
Figure 12.23 – Azure Pipelines – Releases
- Next, create a new pipeline and select the Empty job option, as shown here:
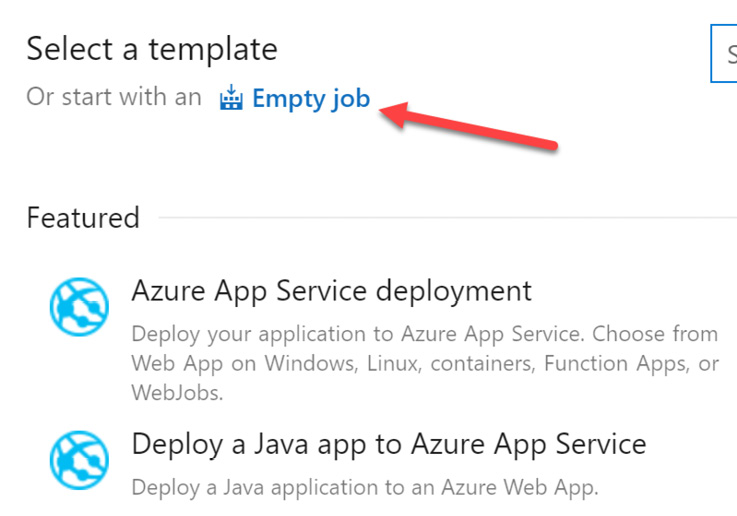
Figure 12.24 – Azure Pipelines – Empty job
- Provide a name for this stage,
Dev, and save it:
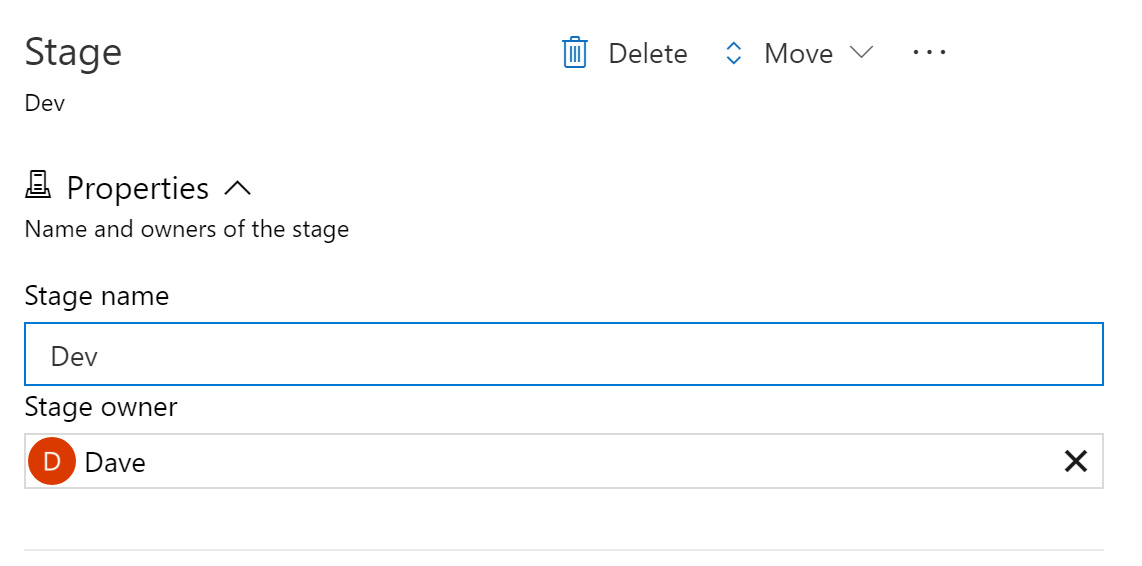
Figure 12.25 – Azure Pipelines – Stage
- Then, we will add the artifacts. These artifacts will be the Bicep files: the automation account, the SQL database, the storage account, and the virtual network. On the same page, select the + Add an artifact option:
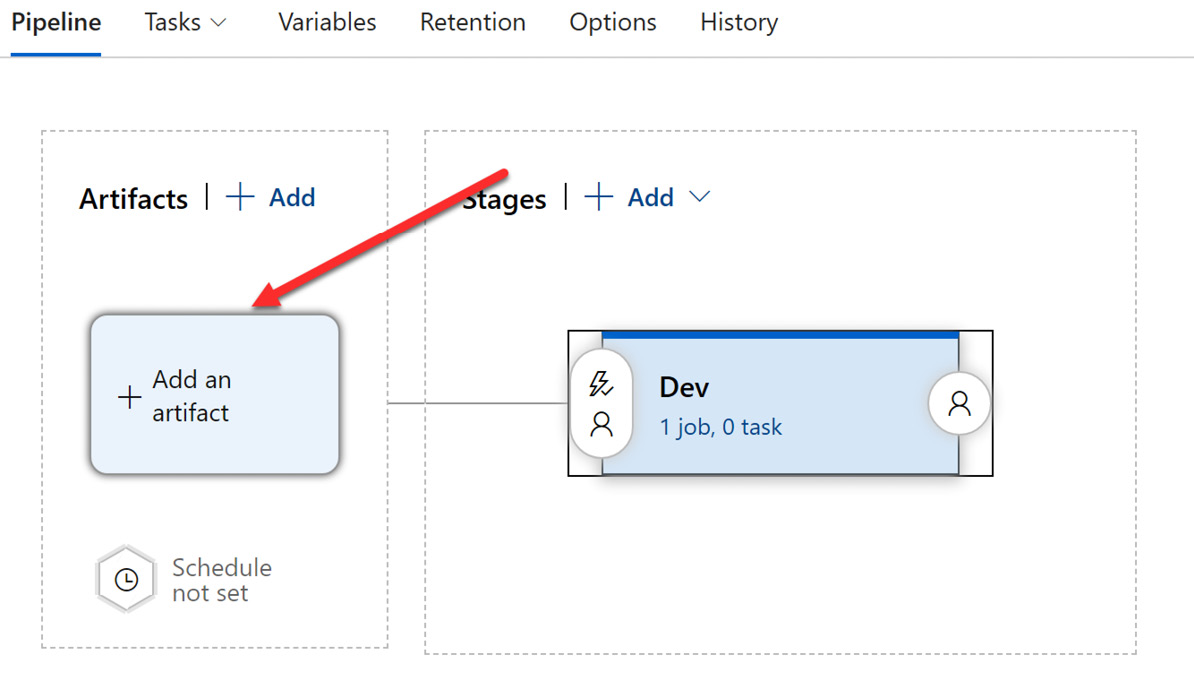
Figure 12.26 – Azure Pipelines – Artifacts
- Select the build pipeline related to the resources in
Tier1, and...


