Deforming geometry
SketchUp is well known for allowing users to draw basic geometry (polygons, lines, and arcs, for example) quickly and easily. One of the biggest misconceptions about SketchUp is that if you want to go beyond drawing basic shapes or straight lines, you need to depend on extensions. While extensions are amazing (and we will be covering them in Chapter 11, What Are Extensions?) any SketchUp ninja knows that you can lean on the basic input and modification tools to generate advanced geometry quickly. In this section, we will see how to use native tools to deform basic geometry into any shape you need.
For this example, let’s get hands-on and draw a tree, something like the following:
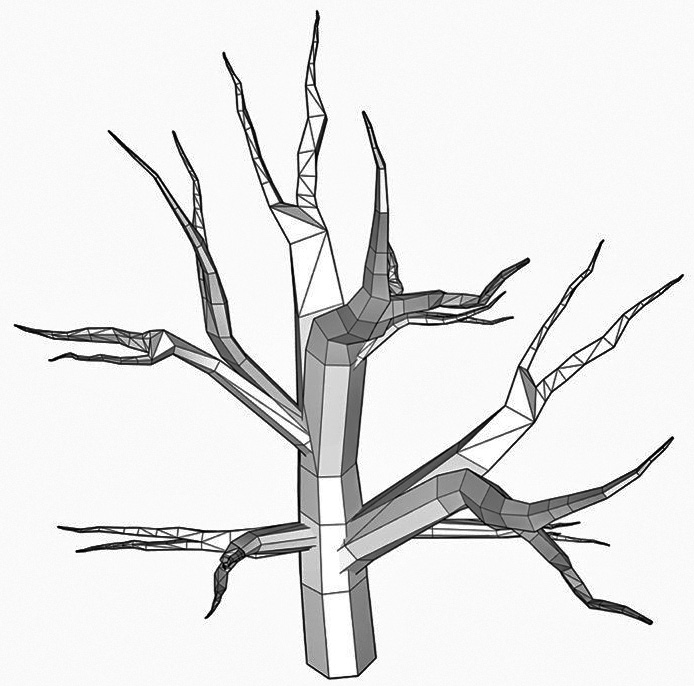
Figure 1.8 – Making a tree like this can be done using only native commands
Now, there will be a little bit of sculpting and using your creative abilities in this, but we will cover the basic steps that will allow you to create something like this using only native SketchUp commands.
Let’s open a brand new SketchUp model and dive into some tree modeling:
- Use the Polygon tool to draw an eight-sided shape on the ground (fairly large, as this will be the base of the tree).
- Use Push/Pull to pull the shape up.
- Select the top of your extruded octagon.
- Use the Scale command to shrink the polygon to around 90% of its original size.
- Select the Rotate tool to spin the top polygon 10 to 20 degrees.
At this point, you should have a basic looking tree trunk, something like this:
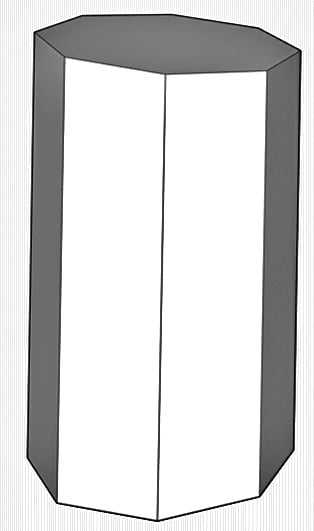
Figure 1.9 – Tree trunk
From here, we will do the same steps, but add another Rotate into the mix. In order to get a curve in the tree’s trunk, we will rotate the top shape out of the plane.
- Use Push/Pull to pull up the top of your trunk, then scale it just a bit (maybe to 95%).
- Now, use Rotate to angle the top polygon on the red axis (tap the Right Arrow key to lock in the red axis). You don’t need to rotate it a lot; 5 to 10% should look good.
More Inferencing
If you want more information on inferencing, check out Chapter 4, Taking Inferencing to the Next Level, where we will dive deep into everything that inferencing has to offer.
- Use Push/Pull again to continue the shape.
See where we are going with this? Just by using this workflow, we can create a shape that gets smaller and smaller as it gets longer, and using the Rotate command from the sides will allow you to have the trunk twist and turn as much as you like!
- Use this workflow to add some more taper to the trunk and a few more turns. Remember, you don’t have to limit your angle to the blue, red, or green axis.
Let’s hop in and split the trunk to allow multiple branches to come out!
- Zoom in on the face of your top polygon.
- Draw a line to split the shape in half.
- Use Push/Pull to pull up one half of the shape.
- Use the Move command to move the shape away from its original location, ideally, in the opposite direction of the second half that is about to be pulled up. You will likely need to toggle Auto-Fold to move in the direction you want (toggle with Alt in Windows or Command on macOS).
- Now, pull up the second half.
At this point, you should have something that looks like this:

Figure 1.10 – Your tree is growing
It is looking more and more like a tree! Let’s keep repeating this process on both branches.
- Use Push/Pull, Scale, Rotate, and Move to continue these branches. If you like, go ahead and split the ends of one of the smaller branches.
- Continue these branches until they get too small to extend out.
At this point, you should have something like this:
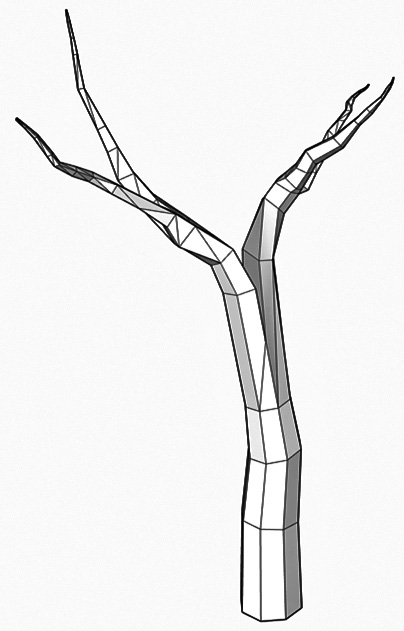
Figure 1.11 – Most of these branches were created using only the Scale and Push/Pull tools
Not a bad-looking tree, but honestly, a little bit light, as far as branches go. Fortunately, we can multiply the number of branches quickly! What we can do is grab a portion of the original model and copy it. Let’s give it a try.
- Use the Select tool to select the top two-thirds of the tree.
- Use Move with the Copy modifier to move a copy of the selection off to the side. Make sure to move it far enough that none of the copied geometry crosses the original.
- Right-click on the selected copied geometry and choose Make Group from the context menu.
- Now, select the Move tool and use the Rotate handles on the group to tilt and spin the group. The goal here is to put this set of branches in a different orientation than the original.
- Now, move this group so that the base overlaps the original geometry.
At this point, you should end up with something like this:
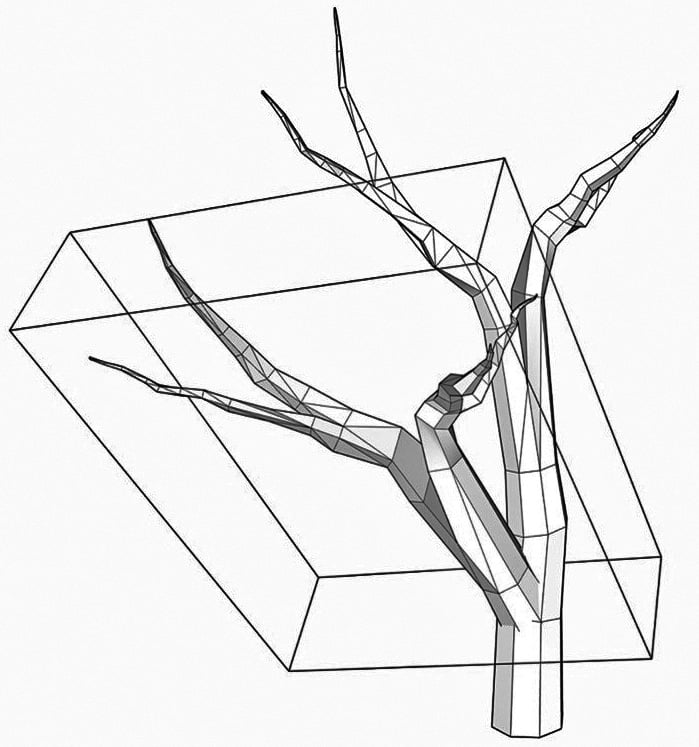
Figure 1.12 – Your tree should look similar, but different
From here, you can continue to use these same steps to copy and group sections of the tree to make more and more branches. You may want to do a little scaling here and there to mix up the size of the branches. Another option is to double-click to edit the groups and use Move and Rotate on the geometry to add even more variation!
In the end, you will have a twisting, turning shape created with only native tools. Note that we did start with an octagon, just to keep the model as light as possible, but you could start your tree with a shape with more sides. For that matter, you could, if you wanted, draw a totally original shape to start your trunk.
One of my personal favorite things about SketchUp is that it is simply a tool for drawing shapes. Great SketchUp modelers can model almost anything using these basic tools. Remember, it is you, the designer, that makes amazing models. The software you use is just the tool to help you realize your creation. Another basic tool that can do far more than users give it credit for is the Follow Me tool. In the next section, we will spend some time learning how to push Follow Me beyond its basic functionality.


