The first step toward building our first React Native application is installing the dependencies in order to get started.
Installing dependencies
Installing Xcode
As mentioned in the introduction of this chapter, Expo provides us with a workflow in which we can avoid working in Xcode and Android Studio altogether, so we can develop solely in JavaScript. However, in order to run your app in the iOS simulator, you will need to have Xcode installed.
Xcode requires macOS, and therefore running your React Native application in an iOS simulator is only possible on macOS.
Xcode should be downloaded from the App Store. You can search the App Store for Xcode, or use the following link:
https://itunes.apple.com/app/xcode/id497799835.
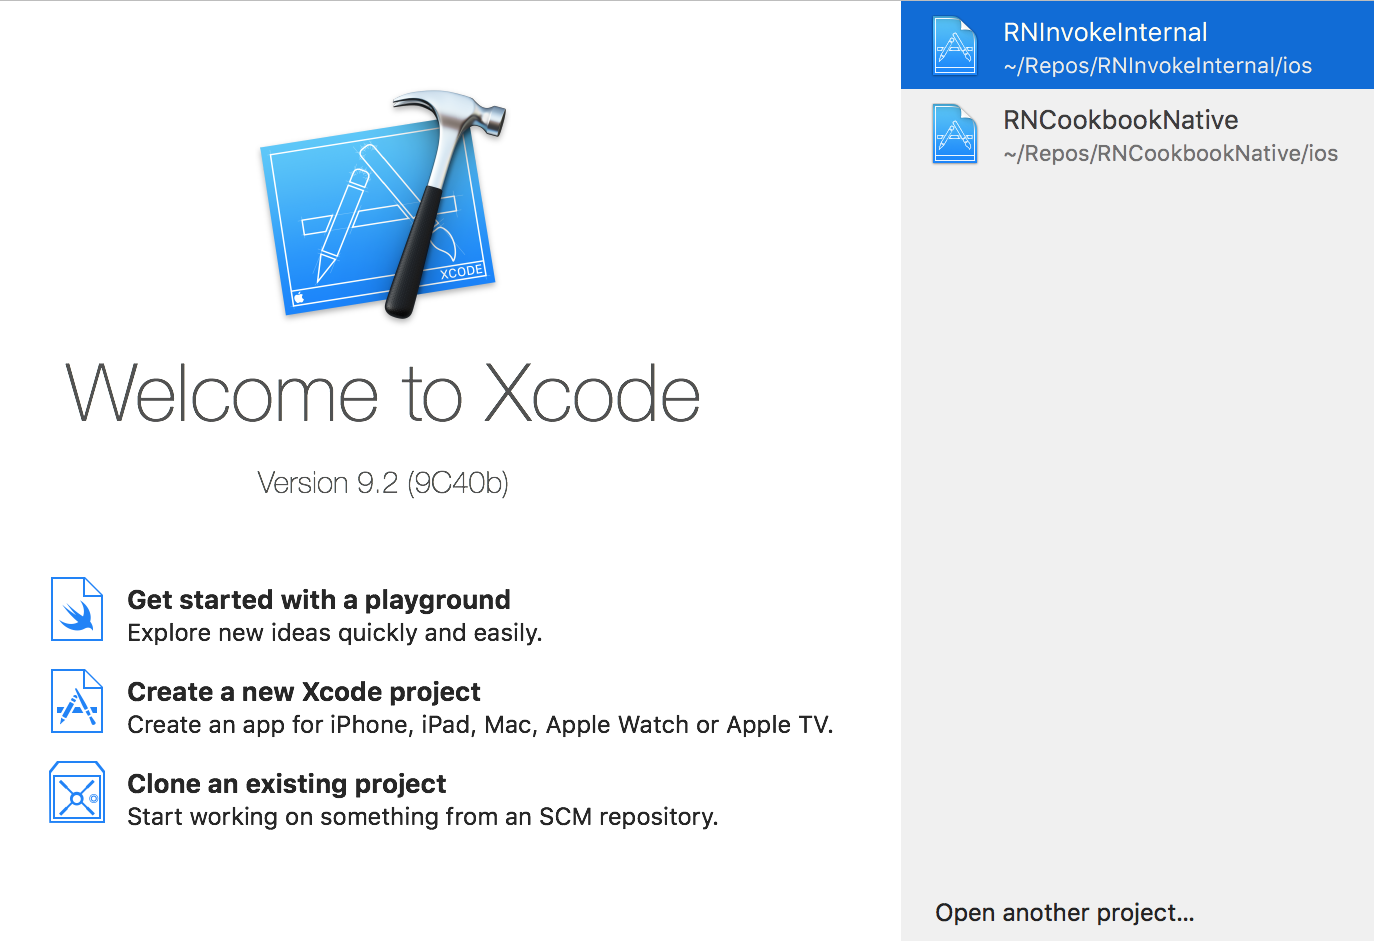
Xcode is a sizable download, so expect this part to take a little while. Once you have installed Xcode via the App Store, you can run it via the Applications folder in the Finder:
- This is the first screen you will see when launching Xcode. Note, if this is the first time you've installed Xcode, you will not see recent projects listed down the right-hand side:

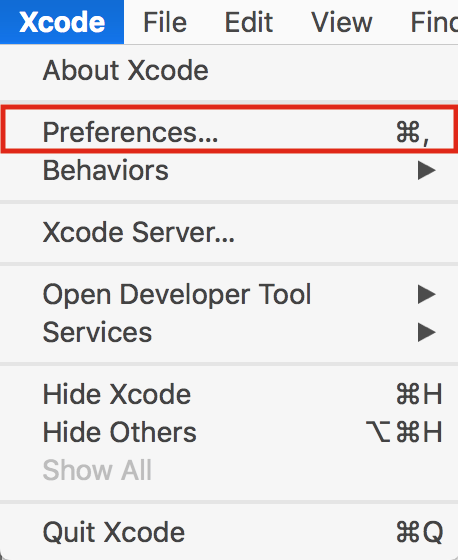
- From the menu bar, choose Xcode | Preferences... as follows:

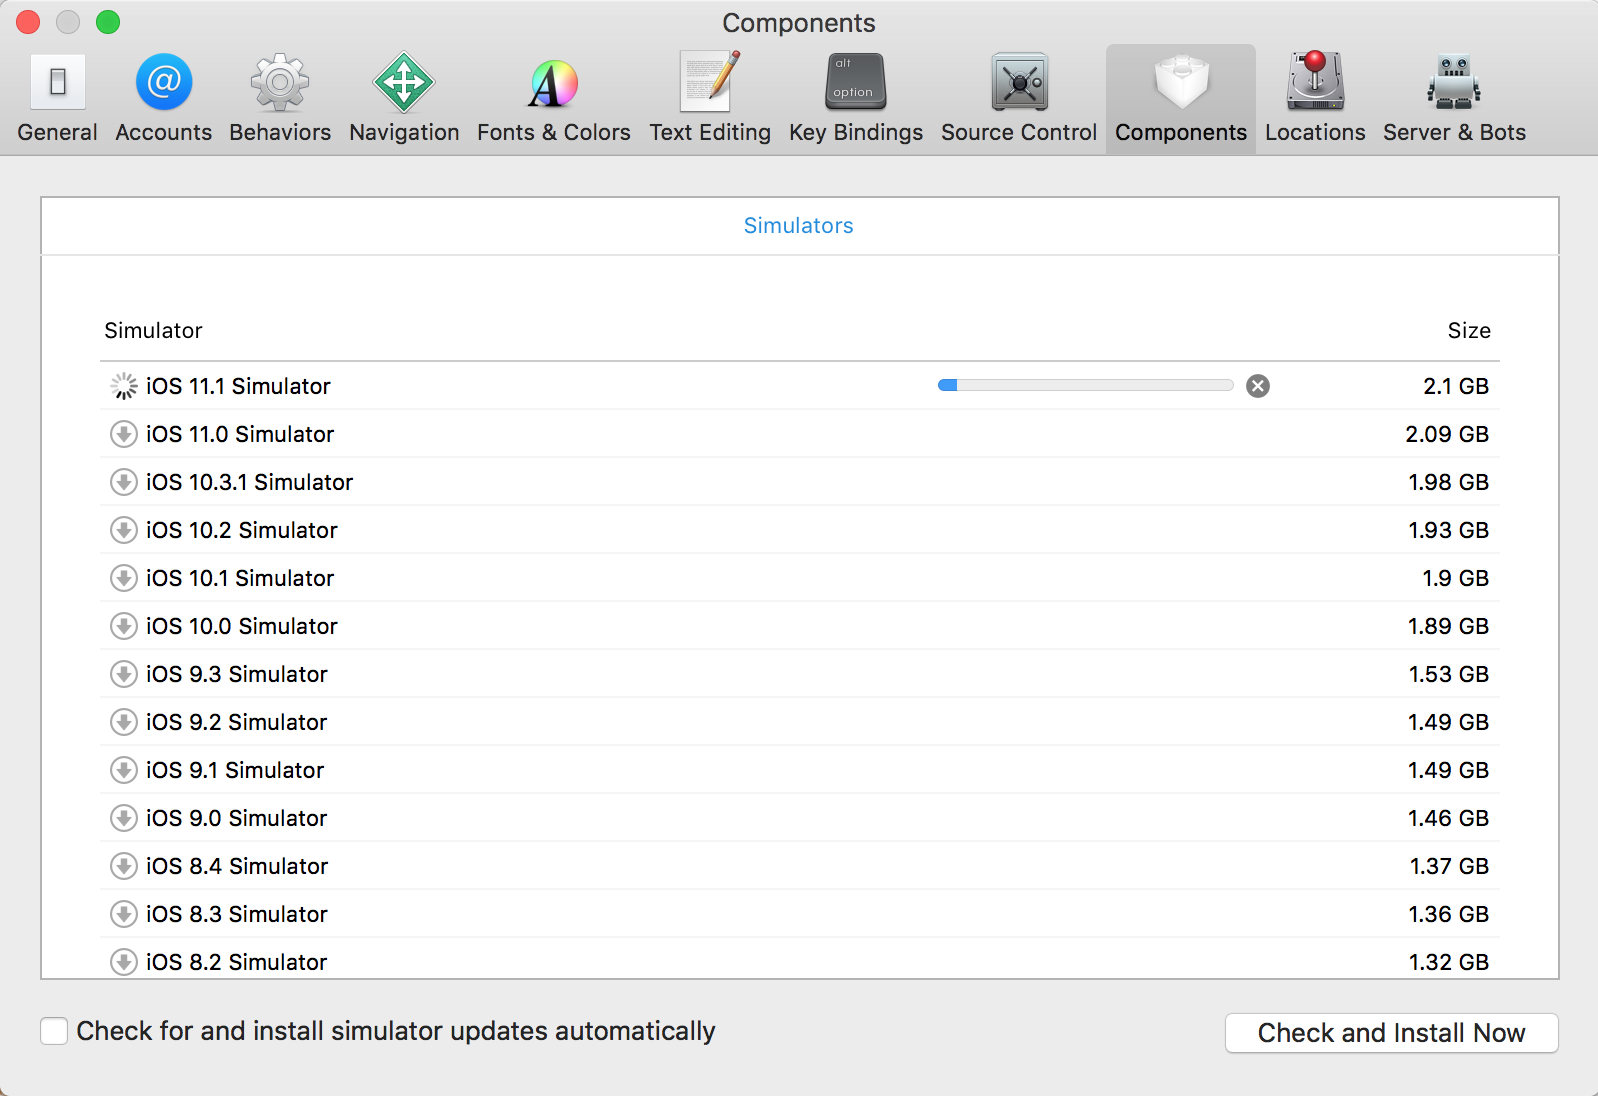
- Click the Components tab, and install a simulator from the list of provided simulators:

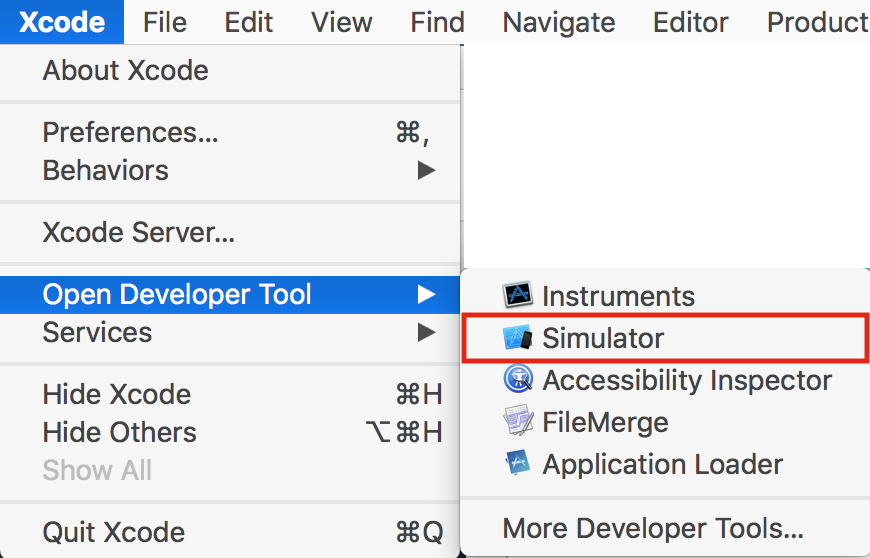
- Once installed, you can open the simulator from the menu bar: Xcode | Open Developer Tool | Simulator:


