This recipe will cover how to automate the installation of DPM Server.
Automating the installation of DPM
Getting ready
In the Installing DPM recipe in this chapter, we showed you how to install DPM using a local SQL Server and using a remote SQL Server. However, this was a manual installation.
Automating the installation of DPM consists of two steps:
- Installing the SQL Server instance
- Installing the DPM server
You can disregard the first step if you already have SQL Server deployed locally or on a remote server in your environment.
In this recipe, we will cover the installation of SQL Server and DPM in an automated fashion.
How to do it...
Make sure that your operating system is fully patched and rebooted before you start the installation. Now follow these steps:
- Install the SQL Server instance:
- Mount the SQL Server 2016 media and then open the Command Prompt (cmd).
- Browse to the drive letter where SQL Server is mounted.
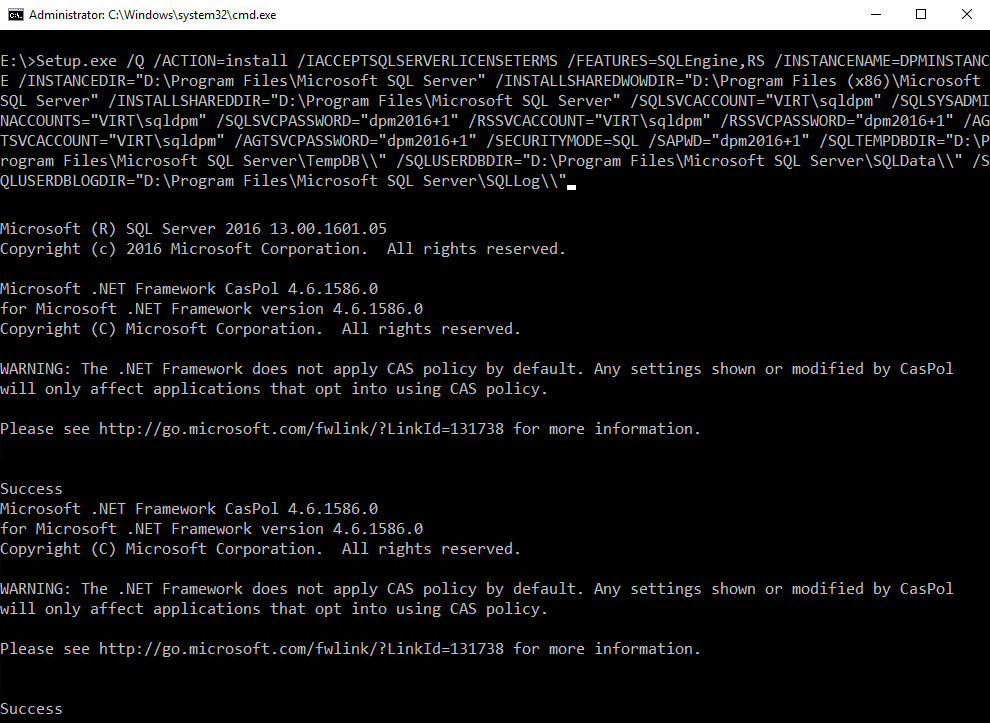
- Type in the following command to automate the installation of SQL Server and add all of the required features:
Setup.exe /Q /ACTION=install /IACCEPTSQLSERVERLICENSETERMS /FEATURES=SQLEngine,RS /INSTANCENAME=DPMINSTANCE /INSTANCEDIR="D:\Program Files\Microsoft SQL Server" /INSTALLSHAREDWOWDIR="D:\Program Files (x86)\Microsoft SQL Server" /INSTALLSHAREDDIR="D:\Program Files\Microsoft SQL Server" /SQLSVCACCOUNT=”VIRT\sqldpm” /SQLSYSADMINACCOUNTS=”VIRT\sqldpm” /SQLSVCPASSWORD="dpm2016+1" /RSSVCACCOUNT=”VIRT\sqldpm” /RSSVCPASSWORD="dpm2016+1" /AGTSVCACCOUNT=”VIRT\sqldpm” /AGTSVCPASSWORD="dpm2016+1" /SECURITYMODE=SQL /SAPWD=”dpm2016+1” /SQLTEMPDBDIR=”D:\Program Files\Microsoft SQL Server\TempDB\\” /SQLUSERDBDIR=”D:\Program Files\Microsoft SQL Server\SQLData\\” /SQLUSERDBLOGDIR=”D:\Program Files\Microsoft SQL Server\SQLLog\\”
Please refer to the following screenshot for its output:

-
- Make sure that you have downloaded SQL Server Management Studio (SSMS) version 16.5.3 and that you have copied it to the server: http://go.microsoft.com/fwlink/?LinkID=840946.
- Open the cmd.exe window and type in the following command:
SSMS-Setup-ENU.exe /install /quiet /norestart
- Install the DPM server:
- Open a command-line prompt in elevated mode and type in the following command:
dism.exe /Online /Enable-feature /All /FeatureName:Microsoft-Hyper-V /FeatureName:Microsoft-Hyper-V-Management-PowerShell /quiet /norestart
-
- Once the Hyper-V role is installed, you need to restart the DPM server before you move on to the next step.
-
- Once the DPM server has been restarted, open Notepad, copy the following scripts into it, and then save the file as DPMSetup.ini:
[OPTIONS]
 UserName=<Domain-name\Username>
 CompanyName=<Ur-Company>
 ProductKey=XXXX-XXXX-XXXX-XXXX-XXXX
 SqlAccountPassword=<The password for the SQL sa account>
 ProgramFiles = <Location path where you want to install DPM>
 DatabaseFiles = <Location path where you want to install DPMDB>
 IntegratedInstallSource = <Location path where the DPM media is extracted>
 SQLMachineName=<Name of the SQL Server Computer> OR <SQL Cluster Name>
 SQLInstanceName=<Name of the SQL Server instance>
 SQLMachineUserName=<Domain-name\Username> SQLMachinePassword=<Password for the user name Setup must use>
 SQLMachineDomainName=<Domain name to which the SQL Server computer is attached to>
 ReportingMachineName=<Name of the SQL Server Computer> OR <SQL Cluster Name>
 ReportingInstanceName=<Name of the SQL Server instance>
 ReportingMachineUserName=<Domain-name\Username>
 ReportingMachinePassword=<Password for the user name Setup must use>
 ReportingMachineDomainName=<Domain name to which the SQL Server computer is attached to>
-
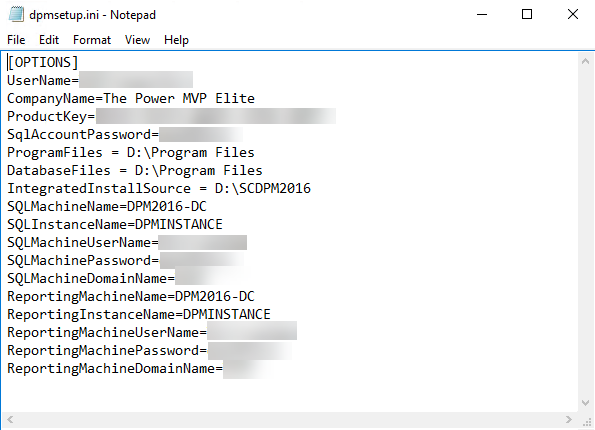
- The following screenshot shows you what the DPMSetup.ini file will look like:

-
- After saving the DPMSetup.ini file, in an elevated command prompt on the DPM server, type in the following command and press Enter:
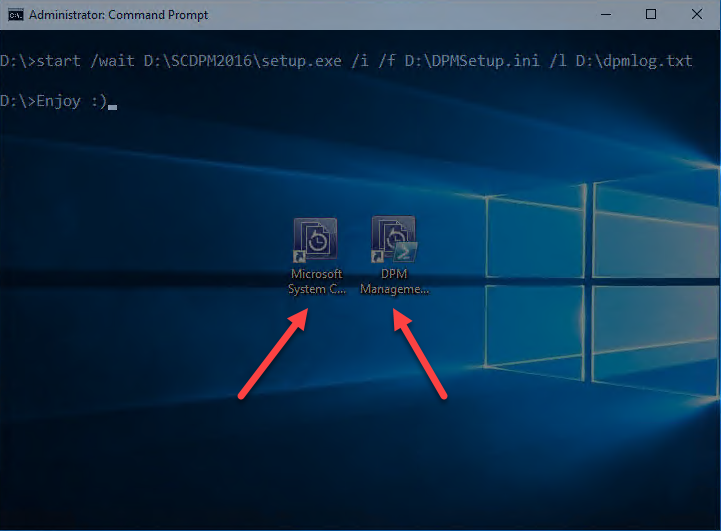
start /wait D:\SCDPM2016\setup.exe /i /f D:\DPMSetup.ini /l D:\dpmlog.txt
-
- In just a few minutes, DPM will be installed automatically, as shown in the following screenshot:

If you are using the Semi-Annual Channel (SAC) for DPM (that is, DPM 1801, 1807, 1901, and so on), then the Semi-Annual Channel, with its more frequent release cycle, does not receive update releases.
How it works...
The final result of an automated installation will be better than a manual implementation. Thus, this will ensure that you have a consistent deployment across your environment.
See also
Check out the following blog post to learn more about how to automate the installation of DPM using System Center Virtual Machine Manager: https://charbelnemnom.com/2017/01/how-to-deploy-dpm-2016-using-vmm-2016-on-ws2016-scdpm-scvmm-sysctr-hyperv-ws2016/.


