Installing RethinkDB
So far, you've learned all about RethinkDB's features, and I'm sure that you're curious to start working with this amazing database. Now, we're ready to take a closer look at how to install RethinkDB on your system. Currently, the database is compatible with OS X and most Linux-based operating systems. So, this final part of the chapter will walk you through how to install RethinkDB on both these operating systems.
The RethinkDB source code can be compiled to run on all compatible systems, but there are also precompiled binaries available for some Linux distributions, which make the installation much easier and quicker.
Official packages are available for these platforms:
- Ubuntu
- Debian
- CentOS
- OS X
If you do not run one of these operating systems, you can still check the community-supported packages, or you can build RethinkDB by downloading and compiling the source code. Linux-based operating systems are extremely popular choices at the moment for hosting web services and, more specifically, database services. In the next section, we'll go through how to get RethinkDB running on a few popular Linux distributions: Ubuntu, Debian, CentOS, and Fedora.
Installing RethinkDB on Ubuntu/Debian Linux
There are two ways of installing RethinkDB under Ubuntu. You can install the packages automatically using the so-called repositories, or you can install the server manually. The next couple of sections will walk you through both these methods. In the following example, we will be installing RethinkDB on Ubuntu Linux using the first method. The installation procedure is easy as we will be using Ubuntu's APT package manager.
Before you install RethinkDB, you need to know which version of Ubuntu you are running as the prepackaged binaries are only available for versions 10.04 and above. If you do not know this, an easy way to find out is to run the following command:
cat /etc/lsb-release
Typing the command into the terminal will give you an output very similar to the following, depending on which version you're running:
DISTRIB_ID=Ubuntu
DISTRIB_RELEASE=14.04
DISTRIB_CODENAME=trusty
DISTRIB_DESCRIPTION="Ubuntu 14.04.2 LTS"
This output shows that my machine is running Ubuntu 14.04 LTS "Trusty", so we can proceed with the installation of RethinkDB using apt-get. To install the server, we first need to add RethinkDB's repository to the list of repositories in our system. We can do this by running the following commands in the terminal:
source /etc/lsb-release && echo "deb http://download.rethinkdb.com/apt $DISTRIB_CODENAME main" | sudo tee /etc/apt/sources.list.d/rethinkdb.list

wget -qO- http://download.rethinkdb.com/apt/pubkey.gpg | sudo apt-key add -
You may wonder what exactly these commands do. The first line uses the source command to export the variables contained in the file /etc/lsb-release, whereas the echo command constructs the repository string using the DISTRIB_CODENAME variable to insert the correct codename for your system. The tee command is then used to save the repository URL to the list of repositories in your system. Finally, the last line downloads the GPG key that is used to sign the RethinkDB packages and adds it to the system.
We are now ready to install the server. We can do so by running the following commands in the terminal:
sudo apt-get update
sudo apt-get install rethinkdb
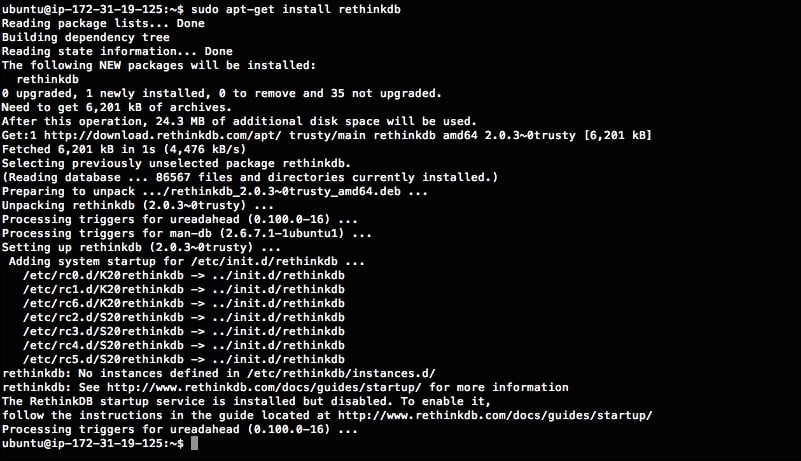
The first line downloads the package list from all the repositories installed on your system and updates them to get information on new packages or updates, whereas the second command actually downloads and installs the server. Once the second apt-get command finishes, you will get an output similar to the following screenshot:

If you get no errors, RethinkDB will be installed correctly. Congratulations!
Installing RethinkDB on CentOS and Fedora
The procedure for installing RethinkDB on Fedora and CentOS uses the Yellowdog Updater, Modified (YUM) package manager. The installation procedure consists of two steps: first, add the RethinkDB repository, and second, install the server. The CentOS RPMs are compatible with Fedora, so if you're running Fedora, you can follow the same instructions.
We can add the RethinkDB yum repository to the list of repositories in our system by running the following command in the terminal:
sudo wget http://download.rethinkdb.com/centos/6/`uname -m`/rethinkdb.repo -O /etc/yum.repos.d/rethinkdb.repo
Next, we can install RethinkDB by executing the following command:
sudo yum install rethinkdb
The yum packet manager will check all the dependencies for RethinkDB and present us with a list of packages to install. Confirm by answering y and the installation will start. This will take some time depending on your system's hardware and the number of dependencies to install. If you don't get any errors, RethinkDB will be installed and ready to be started!
Installing RethinkDB on OS X
RethinkDB is compatible with OS X versions 10.7 and above, so be sure to check your version of the operating system before continuing. There are two methods for installing the database on OS X. The first method uses native binaries, whereas the second method uses the Homebrew package manager.
The simplest way to get started is to download the prebuilt binary package and install RethinkDB. The package is available for download from the web at http://www.rethinkdb.com/. Just click on the install link on the home page and choose OS X to download the disk image. Once the download has finished, proceed to mount the image, and you will see a window very similar to this one:

The final step is to run the rethinkdb.pkg package and follow the instructions. As you may have guessed, the package installs the latest version of RethinkDB. That's all there is to it! At this point, RethinkDB has been installed and is almost ready to use.
Installing RethinkDB using Homebrew
If you prefer, you can also install RethinkDB using Homebrew, an open source package manager for OS X. Homebrew is a recent addition to the package management tools available for OS X, and its ambition is to require no configuration and automatically optimize packages. However, this requires first installing Xcode—the integrated development environment produced by Apple. If you've already got Xcode installed on your system, you can install Homebrew. If you need full instructions, they are available on the Homebrew website at http://brew.sh/. However, the basic install procedure is to run the following commands from the terminal:
ruby -e "$(curl –fsSL https://raw.github.com/Homebrew/homebrew/go/install)"
This command runs a Ruby script that downloads and installs Homebrew. Once the installation is completed, run the following command to make sure everything is working correctly:
brew doctor
The output of the doctor command will point out all potential issues with Homebrew along with suggestions for how to fix them. We're now ready to install the RethinkDB package; you can do so by running the following commands in the terminal:
brew update
brew install rethinkdb
As you can imagine, the first command updates the packet manager, whereas the second line installs RethinkDB.
One of the advantages of using a packet manager as Homebrew is that you can update your software extremely easily. When a new version of RethinkDB is released, you can simply update by running the following commands:
brew update
brew upgrade rethinkdb
By now, you will have RethinkDB installed; if, however, you prefer building it by compiling the source code, we're going to cover that in the next section.
Building RethinkDB from source
Given how easy it is to install RethinkDB using a packet manager, you might wonder why you would want to install the software manually by compiling the source code. There are many reasons why you might want to do so. First, not all Linux distributions support a packet manager as apt or yum. Installing the database manually also gives you the possibility to specify some custom build flags that may, in some cases, optimize the software that is being installed. Finally, this type of installation also gives you the possibility of running multiple versions of RethinkDB at the same time. Although, installing from source is not a complicated process, it generally makes it more difficult to update RethinkDB when a new version is released.
However, if you still want to go ahead and install the database using the source code, you will need to install the following dependencies:
- GCC
- Protocol Buffers
- jemalloc
- Ncurses
- Boost
- Python 2
- libcurl
- libcrypto
The way in which you install these libraries depends on the system you are using. On Ubuntu, for example, you can install required packages by running the following command in the terminal:
sudo apt-get install build-essential protobuf-compiler python libprotobuf-dev libcurl4-openssl-dev libboost-all-dev libncurses5-dev libjemalloc-dev wget
Once you have installed all of the dependencies, download and extract the RethinkDB source archive. You can do so by using wget to get the source code and tar to extract the archive. At the time of writing this book, the latest release was RethinkDB v2.0.3:
wget http://download.rethinkdb.com/dist/rethinkdb-2.0.3.tgz
tar xf rethinkdb-2.0.3.tgz
RethinkDB uses Autotools for its configuration and build process, so you will have to run the configure command within the extracted folder:
cd rethinkdb-2.0.3
./configure --allow-fetch
The configure command checks if all dependencies are installed and collects some details about the machine on which the software is going to be installed. Then, it uses these details to generate the makefile. The allow-fetch argument allows configure to install some dependencies if they are missing. Once the makefile has been generated, we can compile the source code:
make
Note
You will need at least 2 GB of RAM memory to build RethinkDB by compiling the source code.
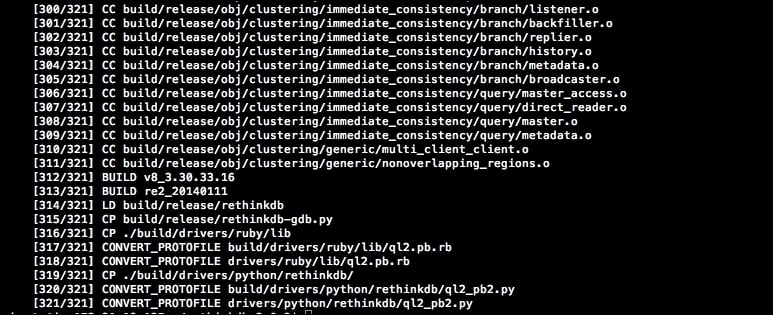
This will take a few minutes depending on your hardware; at the end of the build process, you will have a screen shown as follows:

If everything is fine, we are now ready to install RethinkDB:
sudo make install
That's it! We now have a brand new RethinkDB database server installed and ready to run. Before we start it, we have some basic configuration to do.


