Exporting our designs
The first step in manufacturing your Tinkercad model is to export it into a generic file that can be read by our CAM programs, also known as slicers, as originally introduced in Chapter 10.
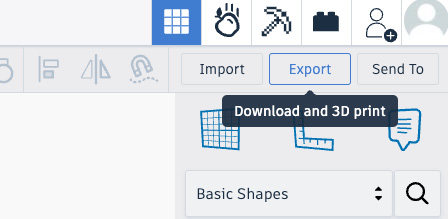
To do this, start by creating or opening a 3D design in Tinkercad and find the Export button in the top-right corner of the design window as shown in Figure 14.1:

Figure 14.1: Find the export button in Tinkercad’s 3D Design space
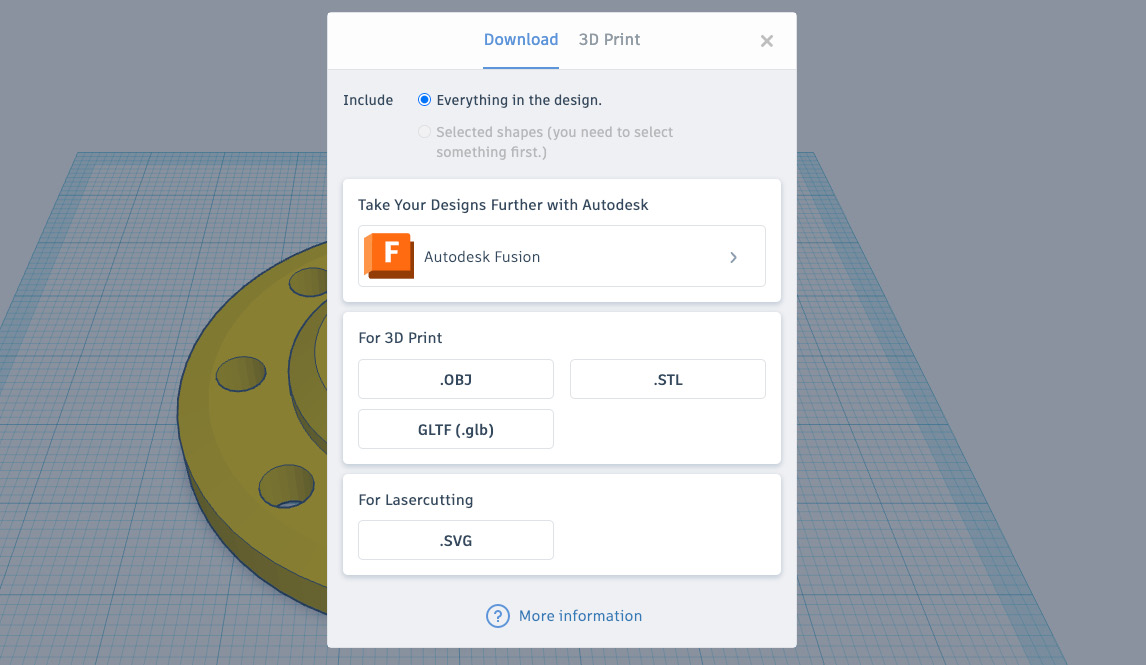
As shown in Figure 14.1, the Export button is located at the top of the toolbar on the right side of our design window. We can press Export even if we have not selected any shapes in our design, but you should select a shape first if you only want to export a part of your design rather than everything. These options are also shown in the export window, as seen in Figure 14.2:

Figure 14.2: The options for exporting a design in Tinkercad
If we wanted to download our models to 3D print...


