
Configuring PPPoE
PPPoE stands for Point-to-Point Protocol over Ethernet, a network protocol that allows and encapsulates Point-to-Point frames over Ethernet frames. PPPoE allows two clients to connect to pfSense using PPPoE and to conveniently pass data between each other.
This recipe describes how to enable a PPPoE server on pfSense.
How to do it...
- Navigate to
Services|PPPoE server, as shown in the following screenshot:

- Click on the
Addbutton.
- Check the
Enable PPPoE Servercheckbox:
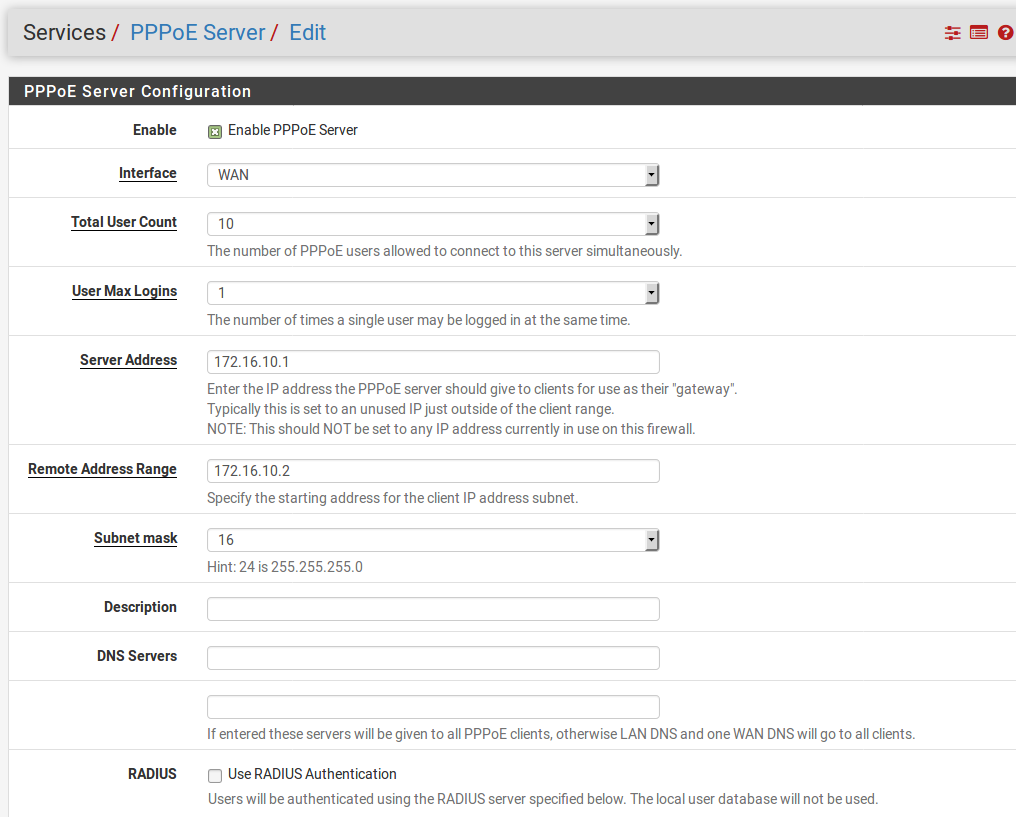
- Choose an interface in the
Interfacedrop-down menu (probably WAN). - Set
Total User Countto the maximum number of users you want to be able to use the PPPoE server at the same time. - In the
Subnet maskdrop-down box, select the CIDR corresponding to your subnet mask (for example, 24 is 255.255.255.0). - In
Remote Address Rangetext field, specify the starting address of the client IP address subnet. The total range will be the starting address, plus the number specified inTotal User Count. - In the
Server Addresstext...