
Report Wizard is an easy way to develop reports in Dynamics 365 CE. It provides an option to create a report by following multi-screen steps.
To create a report we can navigate, we can take the following steps:
- Navigate to Reports and click on the New button.
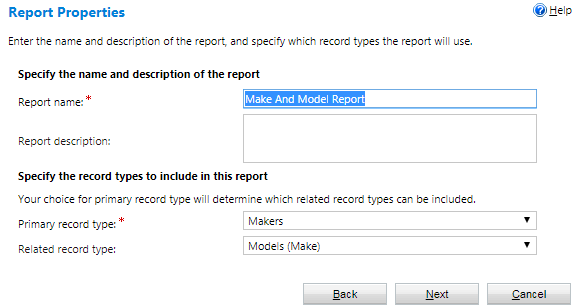
- Enter Make And Model Report under Report name and click on the Report Wizard button.
- Keep the New report option as the default and click on the Next button.
- Set up the entity information as follows and click on Next:
- Keep the report filtering option as it is and click on the Next button.
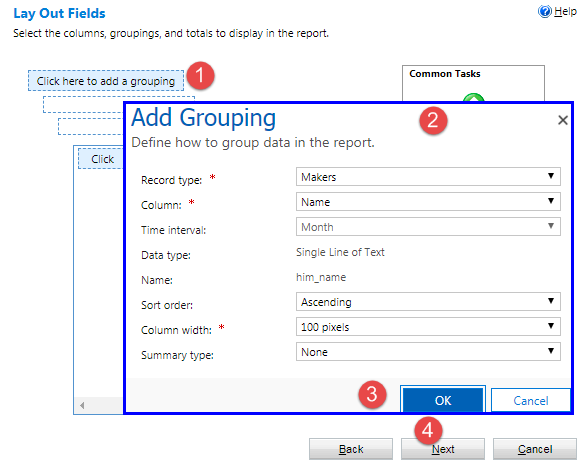
- Set up reporting by following the numbered steps shown in this screenshot:
- Click on Click here to add the column and set this column as the Models entity, as shown in the following image:
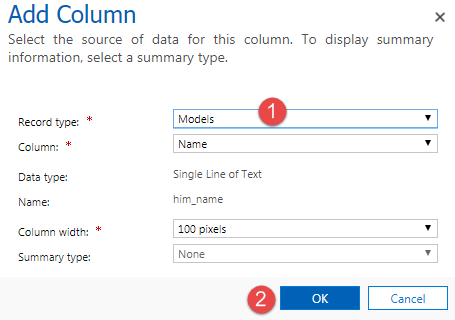
Once we have added the required column, we can perform other tasks from the Common Tasks section, such as sorting based on...