Edit tasks
Now we’ve made our first part in viewing our records, we would also like to be able to change the data. Therefore, we need to create an Edit form.
Let’s get started by creating our second dialog on our Tasks page. Again, search for a dialog component (see Figure 9.4) and drag it below the first dialog. Now, rename it to EditDialog.
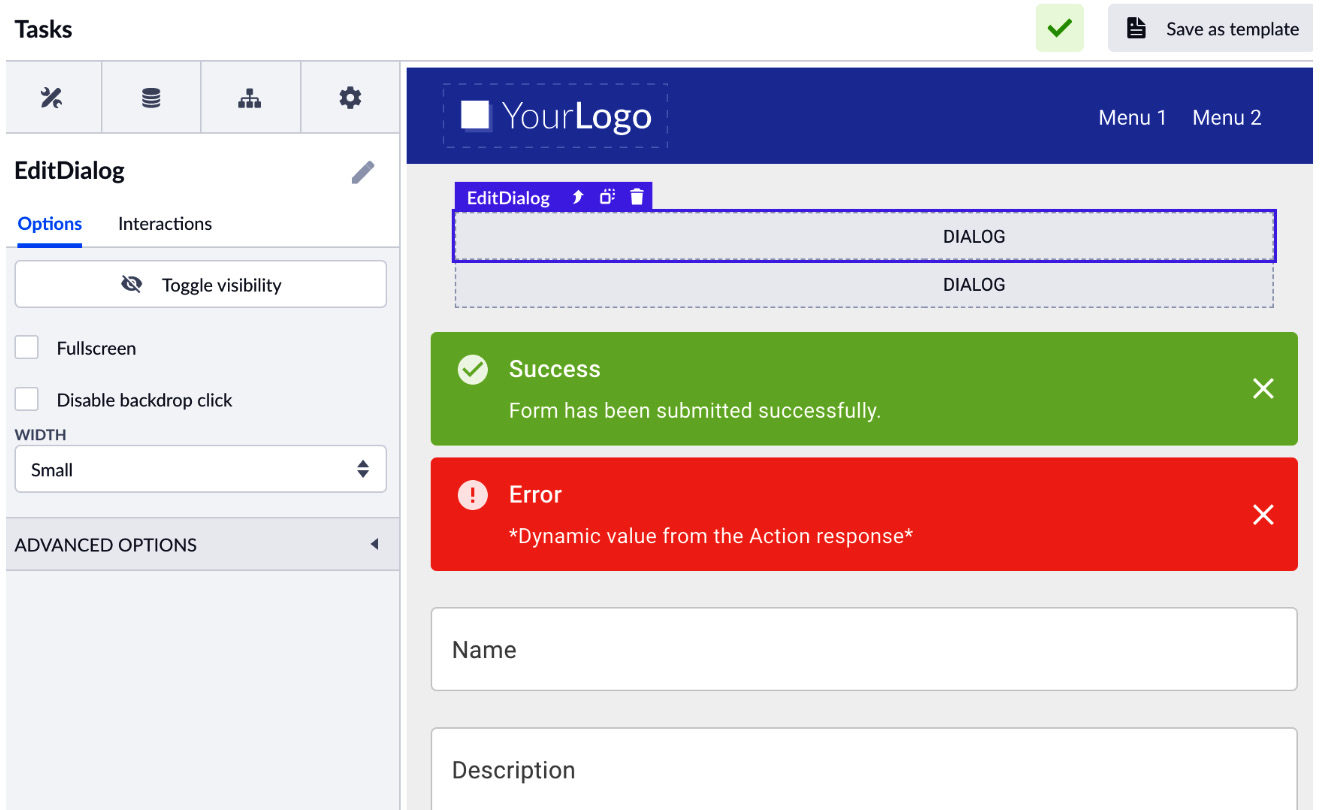
Your page should look like this now:

Figure 9.19 – EditDialog on the page
Now, we want to change the look and feel of the dialog we’ve just created. In order to be able to do this, select the dialog and click on Toggle Visibility (see Figure 9.6). Our dialog will pop up, and we can change the content (see Figure 9.7).
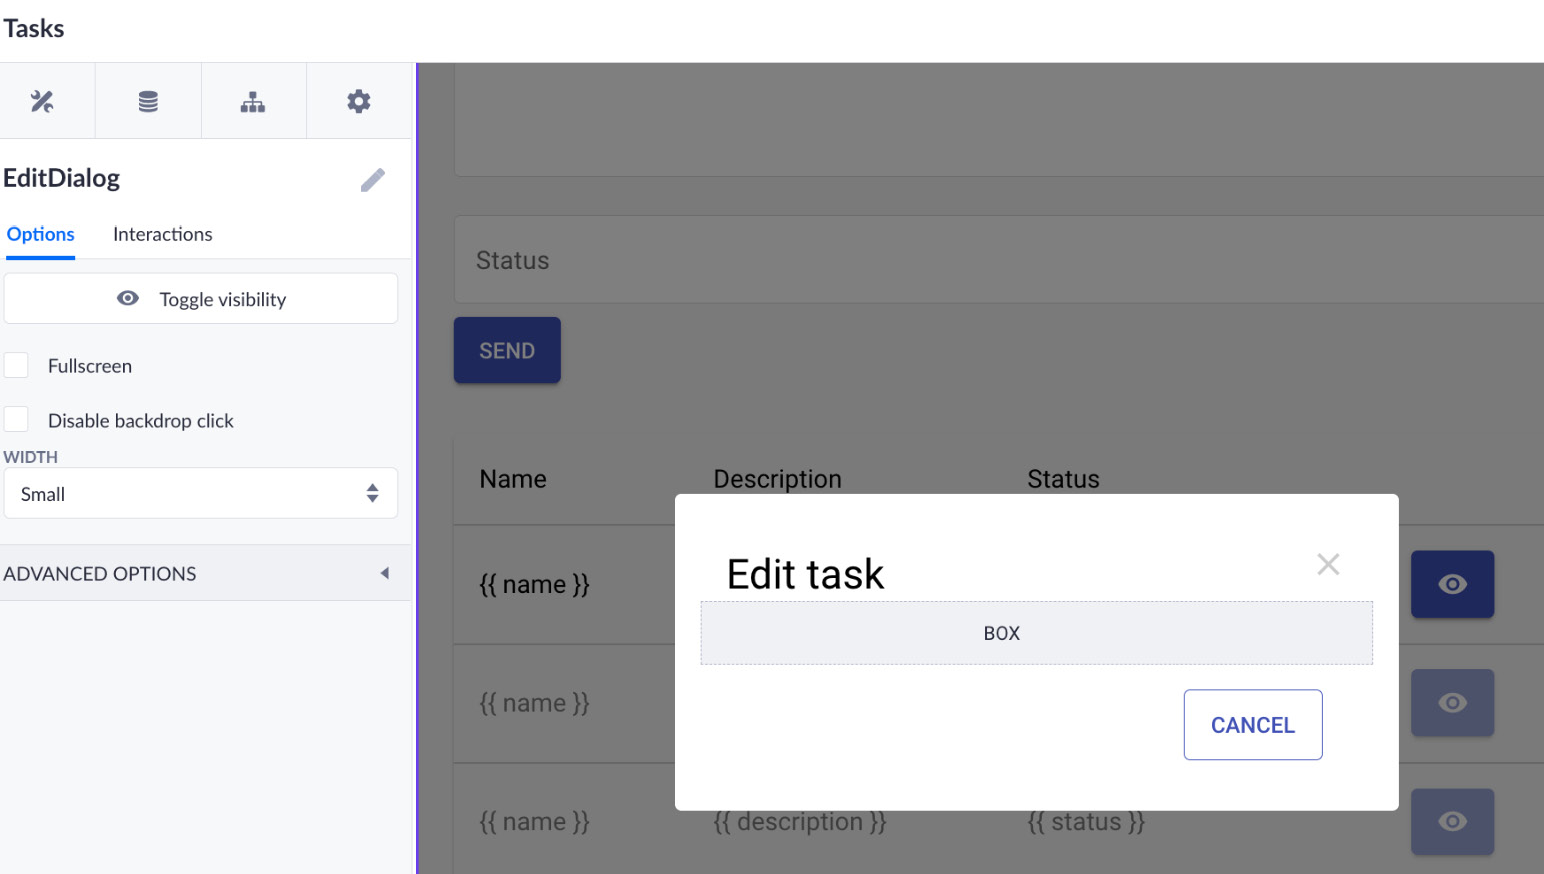
For the basic setup of our dialog, change the word Dialog to Edit task, remove the SUBMIT button, and remove the text block. Your page should look like this:

Figure 9.20 – The first step of setting up our Edit task dialog
Now,...


