To get started with the Vue CLI GUI, let's first stop the server that was running in the previous section, using the Ctrl + C shortcut keys. The console will respond with the following message:
Terminate batch job (Y/N)?
Type Y (capitalization is irrelevant) and press the Enter key.
This will give us back the control of our current console window and allow us to type new commands.
Let's first go one level up from the current directory in our console:
cd ..
Next, let's run this command:
vue ui -h
And we'll get the following output:
Usage: ui [options]

start and open the vue-cli ui

Options:
-H, --host <host> Host used for the UI server (default: localhost)
-p, --port <port> Port used for the UI server (by default search for available port)
-D, --dev Run in dev mode
--quiet Don't output starting messages
--headless Don't open browser on start and output port
-h, --help output usage information
This time, we'll run the command without any flags:
vue ui
We'll be greeted with the following output in the console:
? Starting GUI...
? Ready on http://localhost:8000
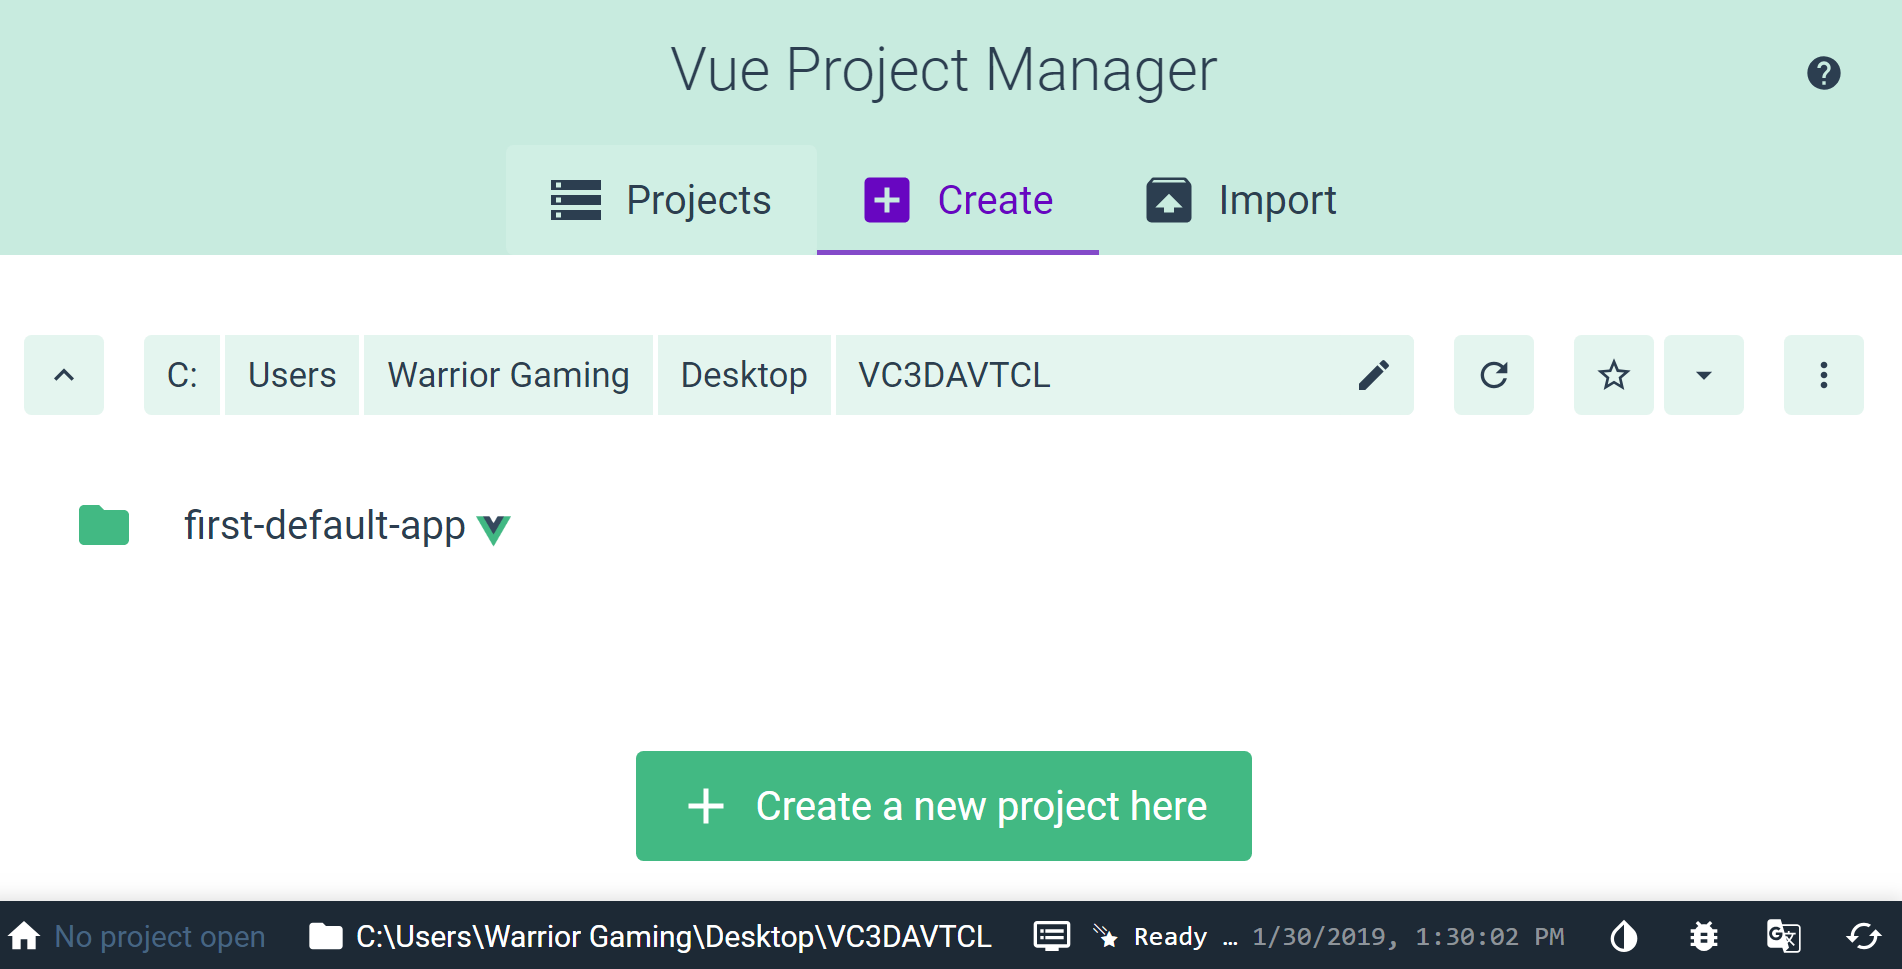
This time, we can create a project, visually. Initially, we see that there are no Vue projects in the current folder:
Let's create one by clicking the Create tab.
A new window will open, with a big button that reads Create a new project here:
As we can see in the preceding screenshot, there are also a number of other buttons and options that we can use. We will examine these in the chapters that follow; at this point, we are just getting familiar with the tool we're using:
As we can see from the previous screenshot, the Next button, at the bottom of the page, is currently disabled. To enable it, simply type the project folder name inside the top-most input. We'll call our folder second-vue-project. Now click Next.
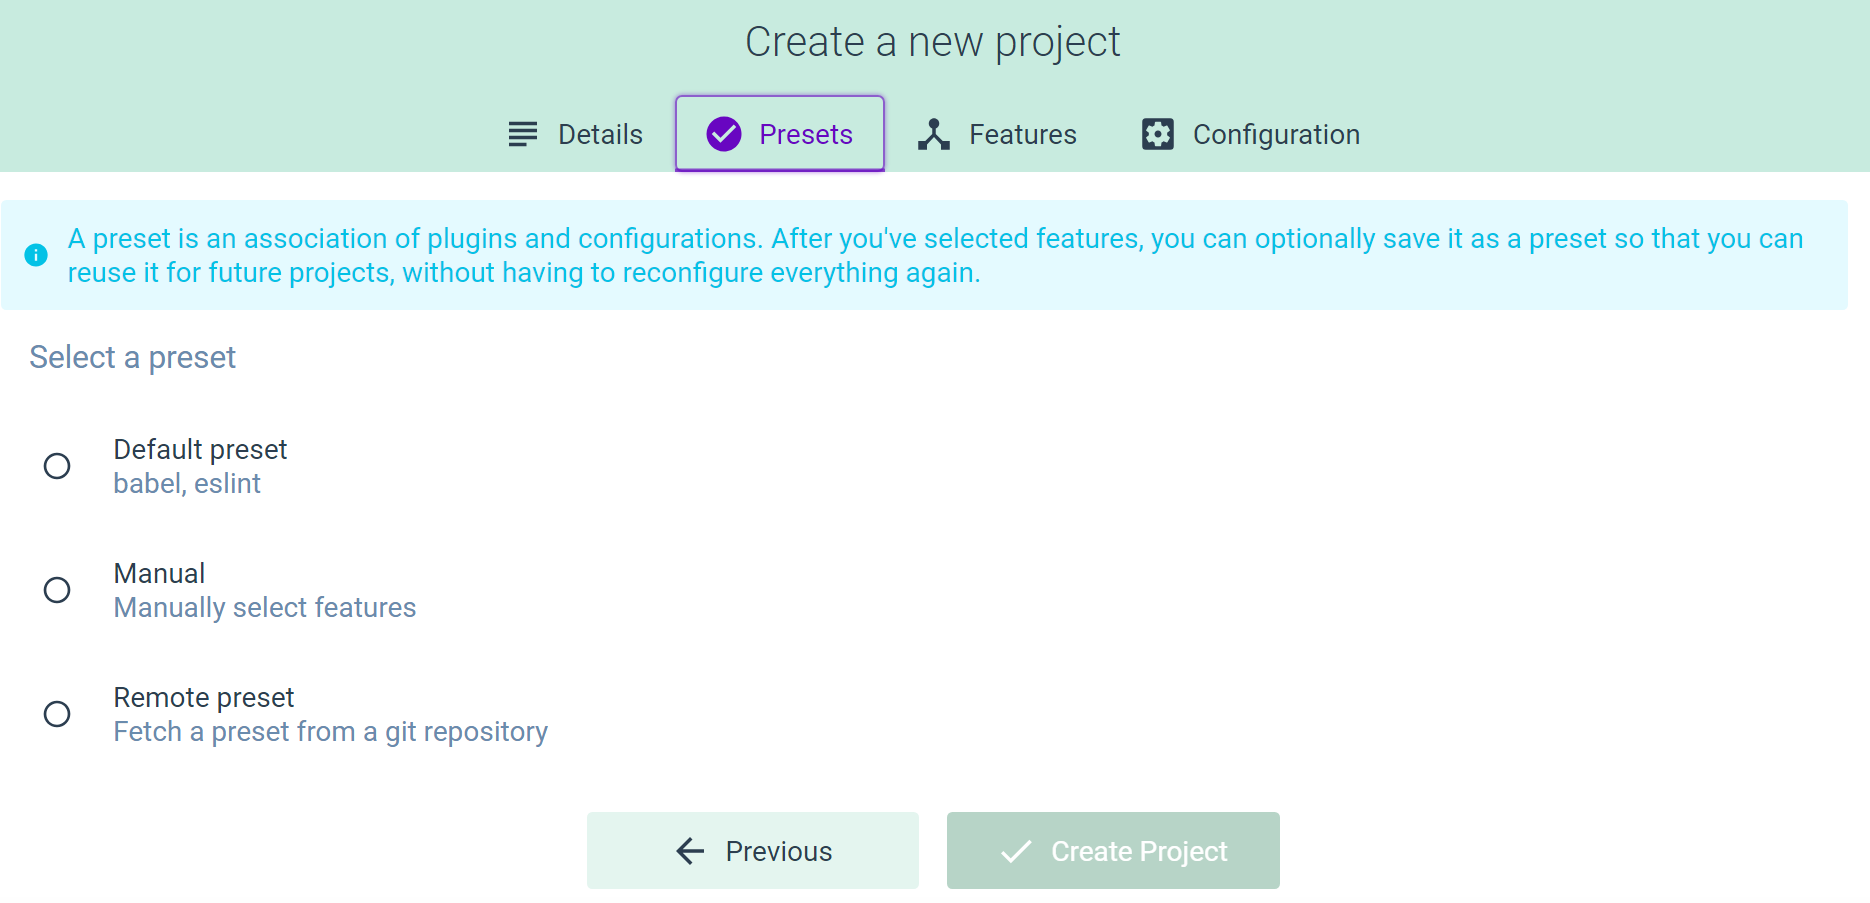
Inside the next window, you can choose a preset. Let's set it to Default preset:
Choosing a preset will make the Create Project button clickable. You'll see a loader icon in the center of the screen, with the following message:
Installing Vue CLI plugins. This might take a while...
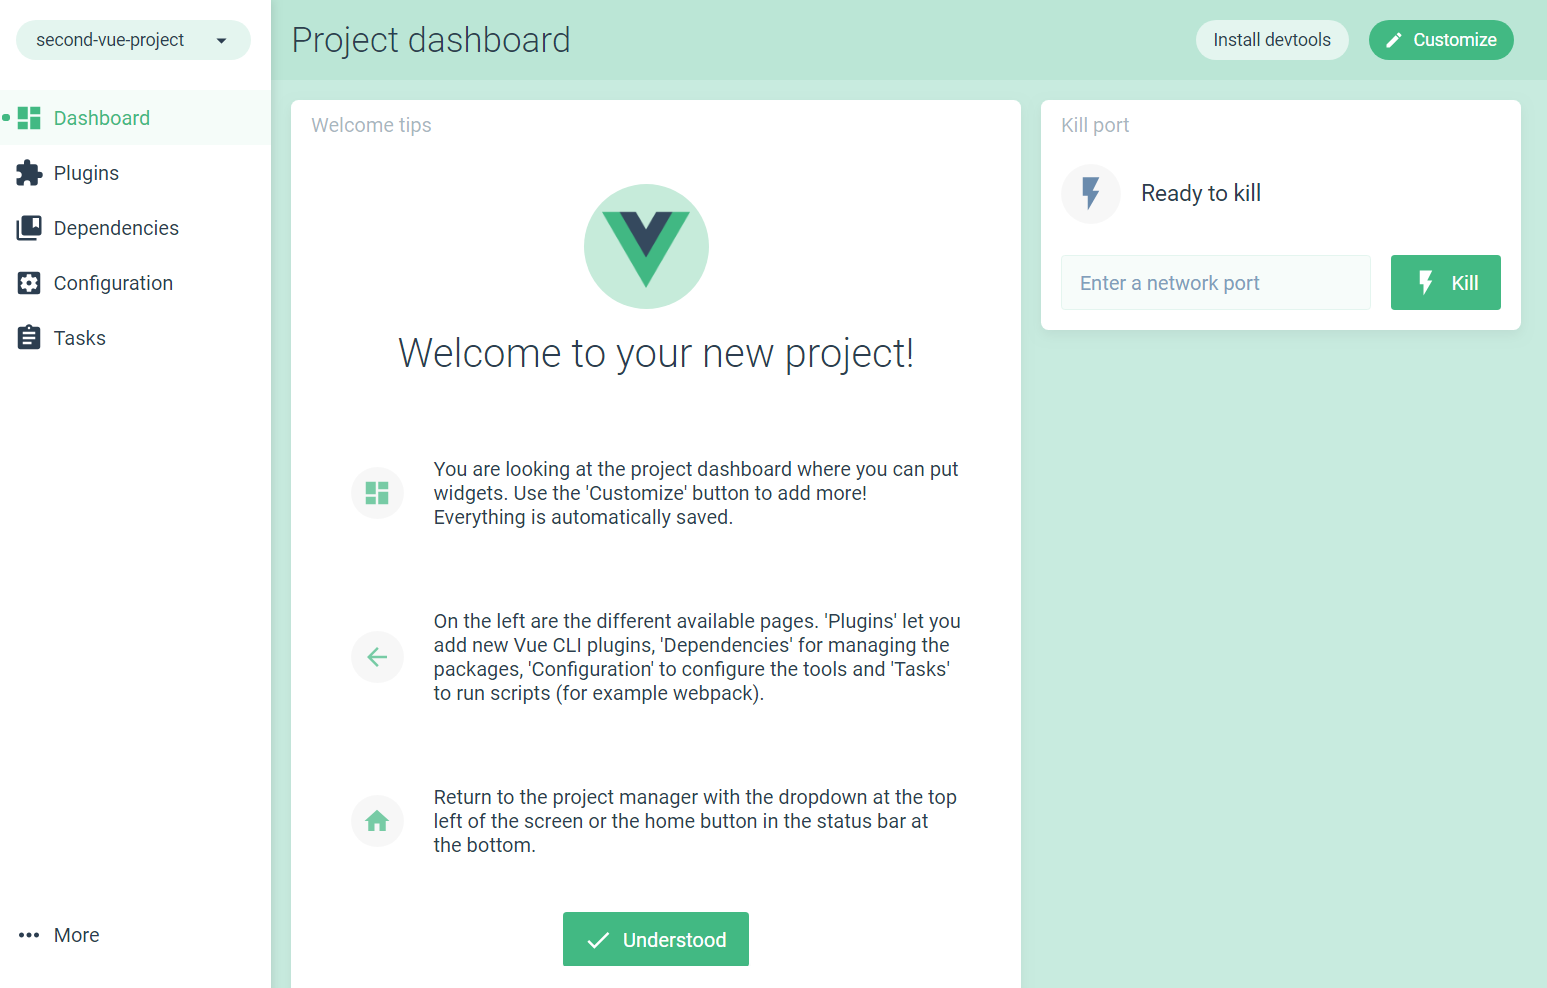
You'll see a few other messages as the installation progresses. Finally, when done, you'll be greeted with the following window:
Our project is now ready to be worked on, which we'll do in the next chapter.


