Now that we have deployed NSX Manager and taken a quick overview of it, let's go ahead and configure this manager with our vCenter server:
- Once you are logged into NSX Manager, click on Manage. Under the Components section, click on NSX Management Service:
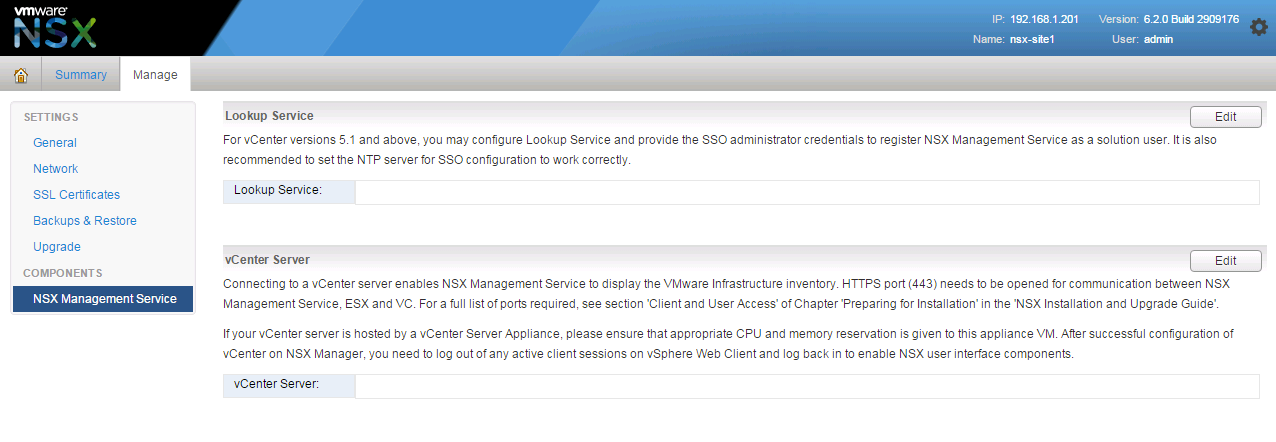
- Under the vCenter Server section click Edit. You will see the following screen:
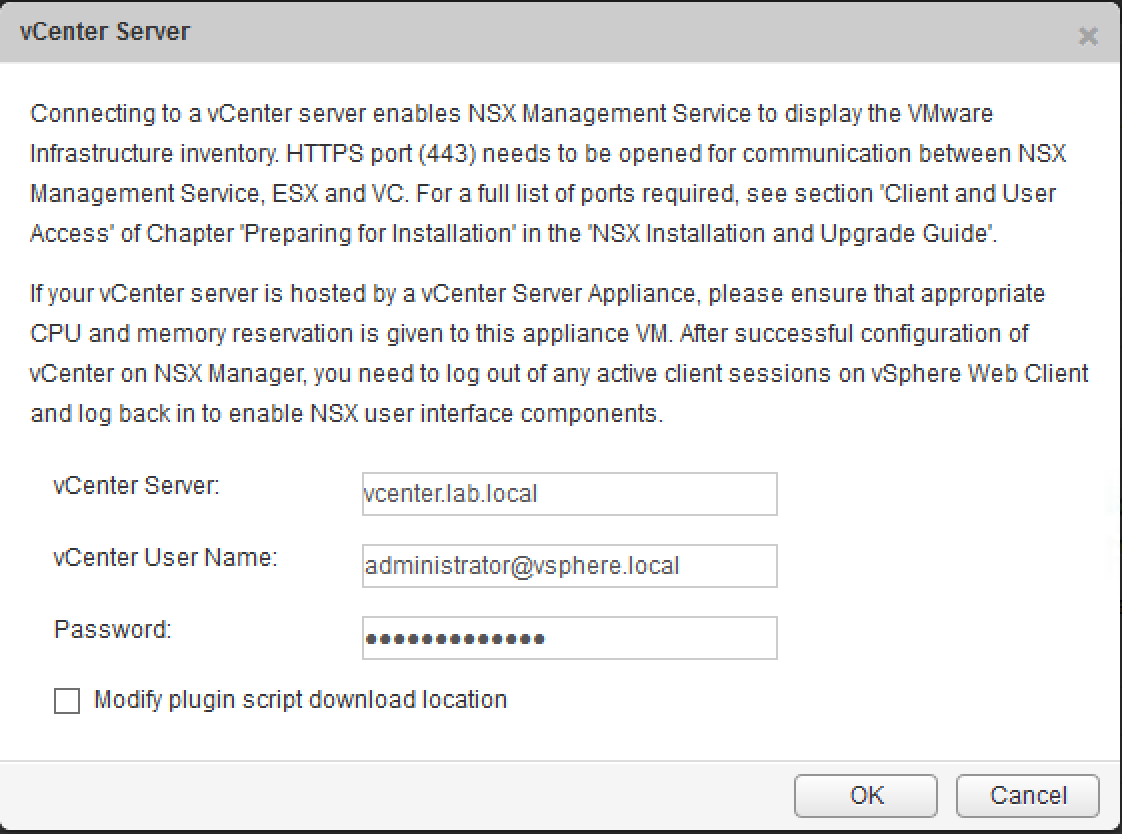
- Enter your vCenter Server FQDN and a vCenter User Name and Password. Click OK when done.
It is a best practice to create a custom user for NSX Manager. You have roles built in such as Enterprise administrator, NSX administrator, and Security administrator.
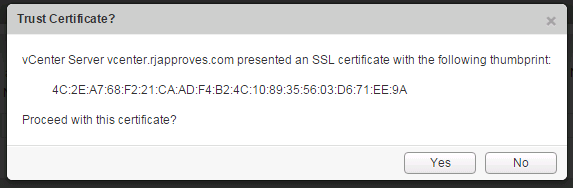
- Accept the SSL certificate by clicking Yes:
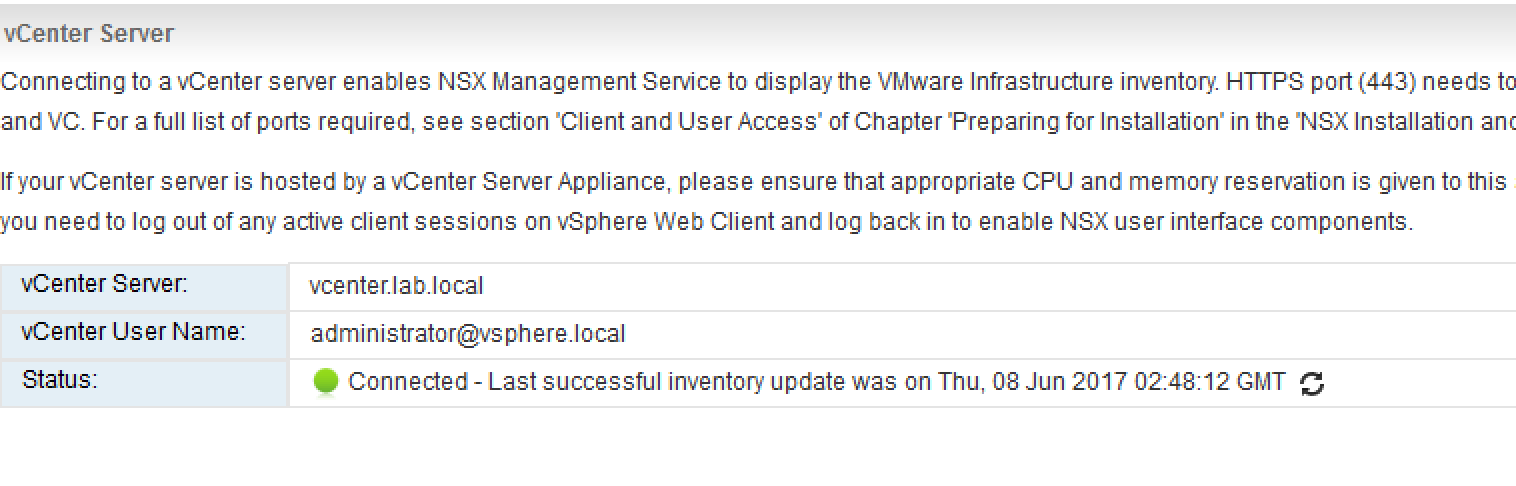
- Once connected you will see a Connected status:
- To use SSO on NSX Manager you should have the SSO service installed on the vCenter. Click on Edit in the Lookup Service section and fill out...