We will first create and configure the Data Lake Store:
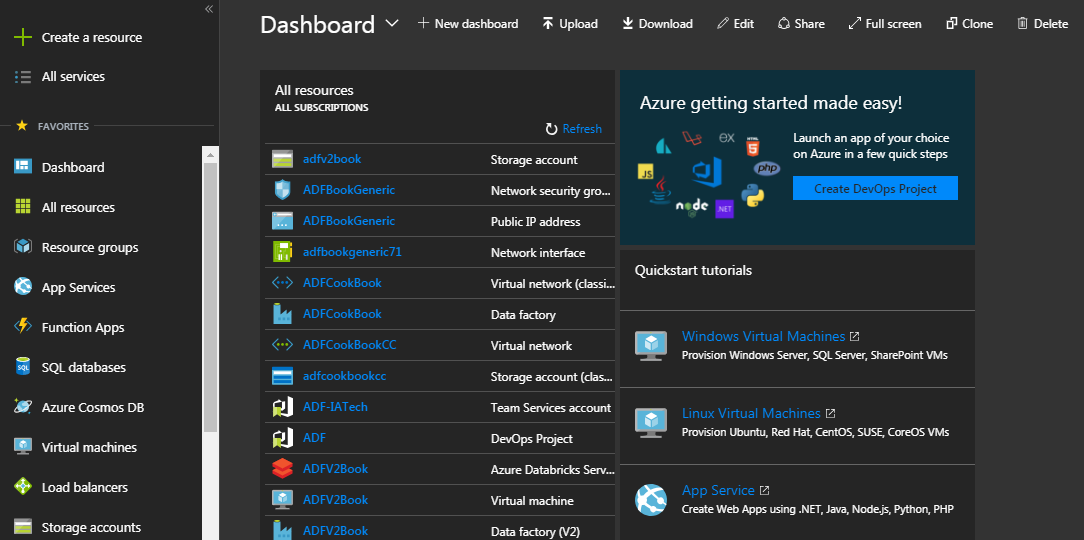
- Open the Azure Portal. If you are just starting, you will not see any resource configured under the All resources and ALL SUBSCRIPTIONS section:

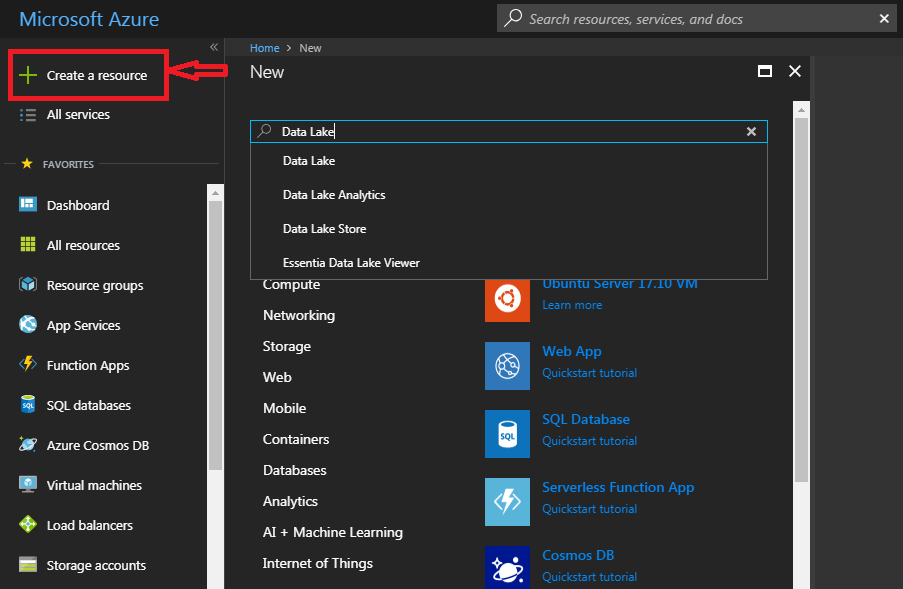
- On the top left, click on Create a resource; enter the words Data Lake in Search the Marketplace:

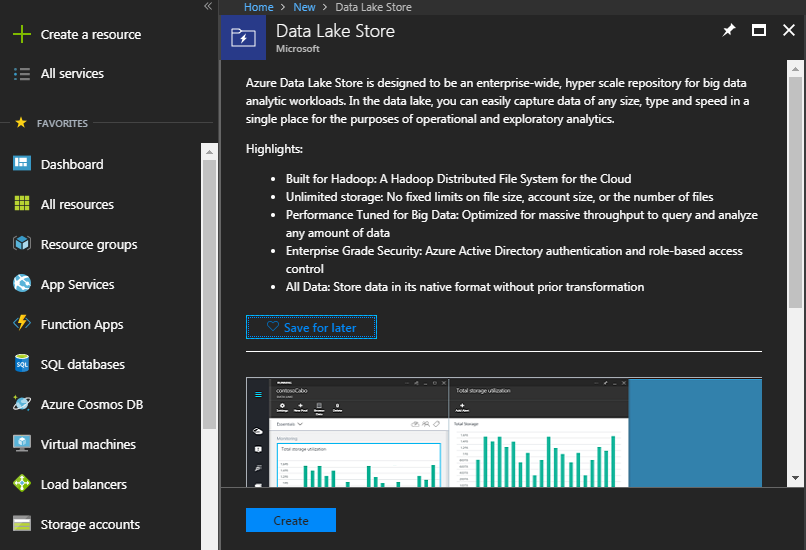
- Select Data Lake Store from the list (third option in the image) if you have no Data Lake stores yet; the following screen will open up:

- Select Create.
- Enter the details of the Data Lake. Note that the name has to be all lowercase and with no special characters. You will get a message as you type if you've entered any incorrect character. In this case, we are not using any encryption, for simplicity. Note that the default is encryption enabled. For more information about the encryption options, see Encryption...


