Step 1 – logging in to SageMaker Studio
In this section, we will cover the steps to log in and navigate inside the AWS console and SageMaker. If you are already familiar with using SageMaker, you can skip this section and move on directly to the next one.
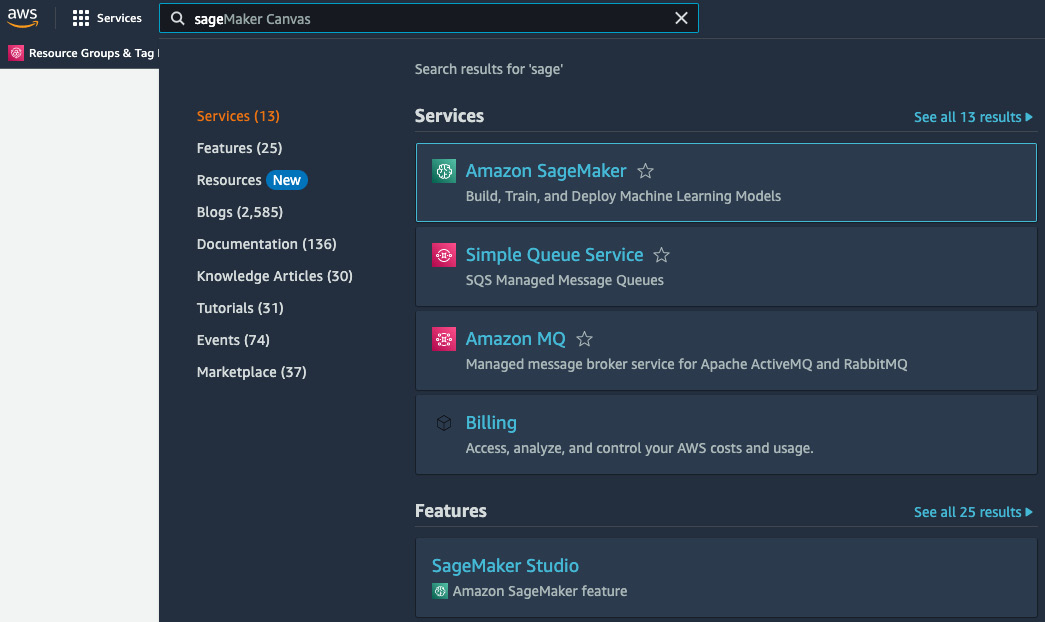
After you have created your account and set up a SageMaker Studio domain and created a user, as covered in Chapter 4, you can log in to the AWS console and choose SageMaker. You can either navigate to SageMaker in the All Services section under Machine Learning or start typing SageMaker in the search box at the top of the AWS console.

Figure 10.1: AWS console – SageMaker
Once you are on the SageMaker screen, you should see the domain you created in the prerequisite section in Chapter 4. Make sure that the status of the domain is InService before proceeding. If you do not see a domain at all, verify to make sure you are in the same region where you created your domain. Check and switch...


