Search icon CANCEL
Subscription
0
Cart icon
Your Cart (0 item)
Close icon
You have no products in your basket yet
Save more on your purchases! discount-offer-chevron-icon
Savings automatically calculated. No voucher code required.
Arrow left icon
Explore Products
Best Sellers
New Releases
Books
Videos
Audiobooks
Learning Hub
Free Learning
Arrow right icon
Arrow up icon
GO TO TOP
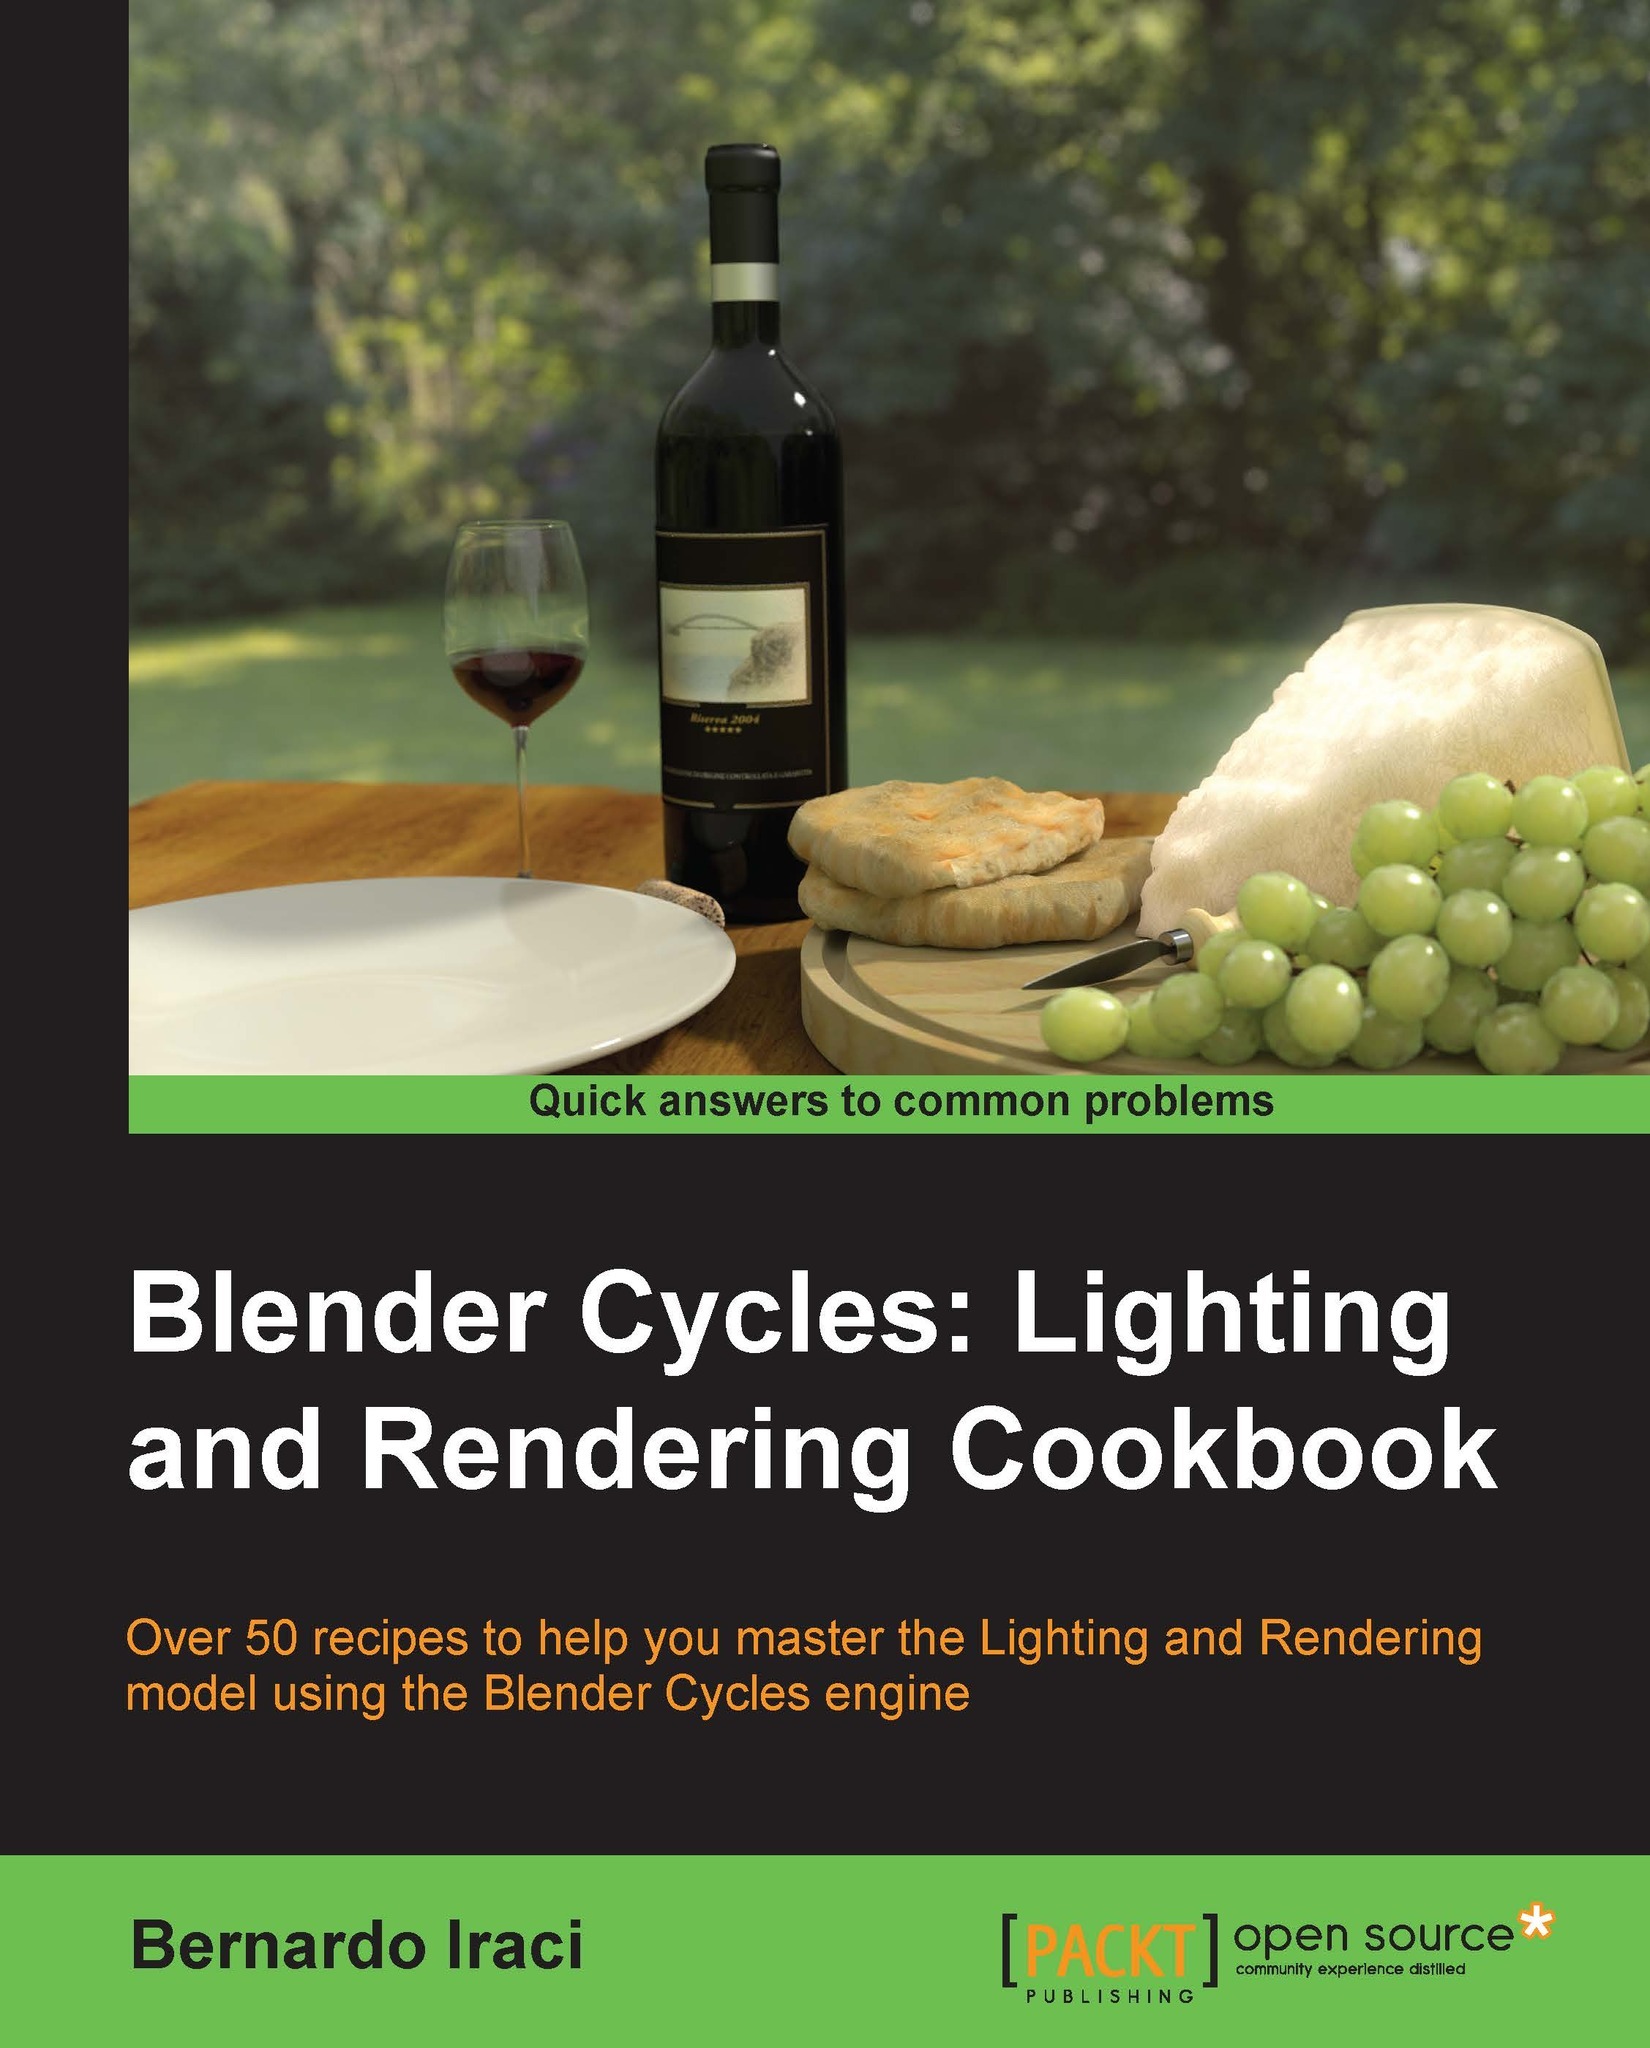
Blender Cycles: Lighting and Rendering Cookbook

You're reading from   Blender Cycles: Lighting and Rendering Cookbook If you're already au fait with Blender, this book gives extra power to your artist's elbow with a fantastic grounding in Cycles. Packed with tips and recipes, it makes light work of the toughest concepts.

Arrow left icon
Product type Paperback
Published in Dec 2013
Publisher Packt
ISBN-13 9781782164609
Length 274 pages
Edition 2nd Edition
Languages
Tools
Concepts
Arrow right icon
Toc

Table of Contents (13) Chapters Close

Preface Introduction FREE CHAPTER 1. Key Holder and Wallet Studio Shot 2. Creating Different Glass Materials in Cycles 3. Creating an Interior Scene 4. Creating an Exterior Scene 5. Creating a Cartoonish Scene 6. Creating a Toy Movie Scene 7. Car Rendering in Cycles 8. Creating a Car Animation 9. Creating an Iceberg Scene 10. Creating Food Materials in Cycles Index

Adding realism to the keys with a bump texture

In this recipe we will learn how to use bump maps to distort the surface of an object or at least create the illusion of it.

Getting ready

Now the surface of our key is reacting in a realistic way to light, but it is still missing something. Every real key has got some word or pattern on it. To obtain this effect, we are going to add a bump texture at the key material in order to add these details on the surface.

How to do it...

These are the steps we are going to follow to create the bump for our material:

  1. Let's go to our node editor and add a new node. To do this press Shift + A and go to Inputs | Texture Coordinate. This node will allow us to tell Cycles what kind of coordinate we want to use for the textures of our material. Now we need to add an Image Texture node. We will find it in the Textures section of the Add menu. Before we start to link the nodes, we need the last one. From the Vector section of the Add menu, add a Bump node.
  2. Now...
lock icon The rest of the chapter is locked
Register for a free Packt account to unlock a world of extra content!
A free Packt account unlocks extra newsletters, articles, discounted offers, and much more. Start advancing your knowledge today.
Unlock this book and the full library FREE for 7 days
Get unlimited access to 7000+ expert-authored eBooks and videos courses covering every tech area you can think of
Renews at $19.99/month. Cancel anytime
Banner background image