Search icon CANCEL
Subscription
0
Cart icon
Your Cart (0 item)
Close icon
You have no products in your basket yet
Save more on your purchases! discount-offer-chevron-icon
Savings automatically calculated. No voucher code required.
Arrow left icon
Explore Products
Best Sellers
New Releases
Books
Videos
Audiobooks
Learning Hub
Free Learning
Arrow right icon
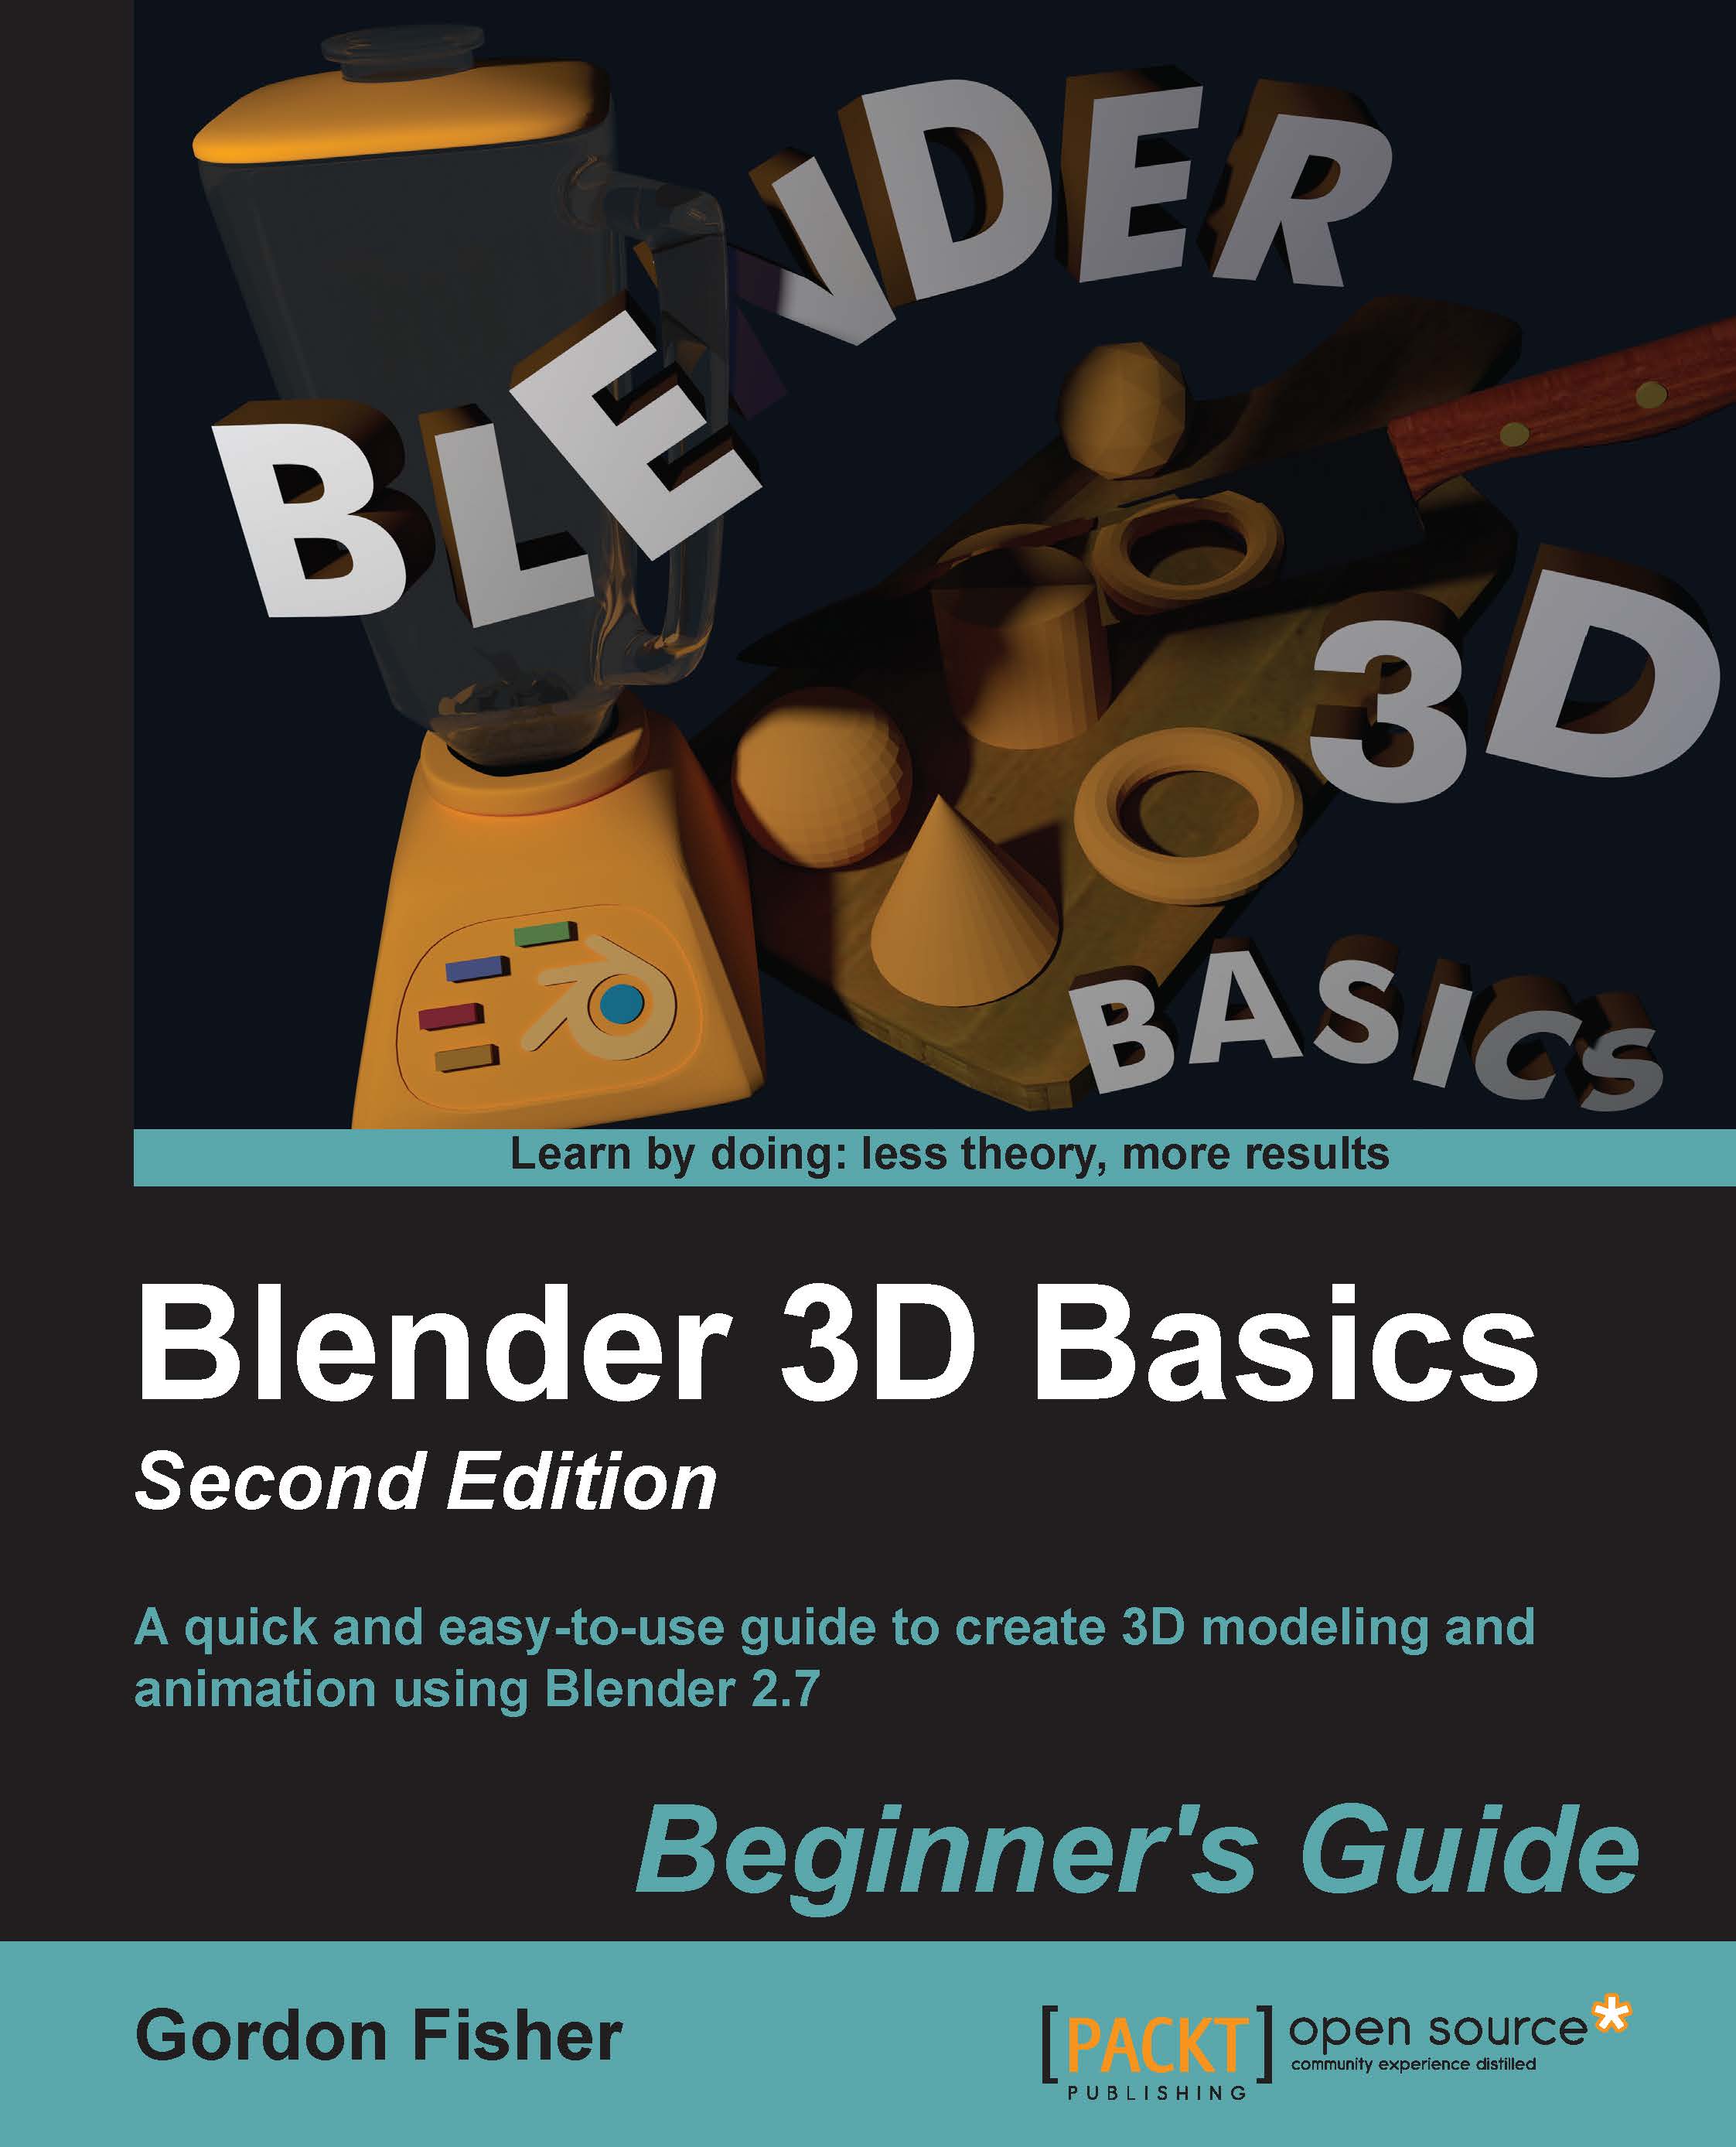
Blender 3D Basics Beginner's Guide Second Edition

Blender 3D Basics Beginner's Guide Second Edition: A quick and easy-to-use guide to create 3D modeling and animation using Blender 2.7

Arrow left icon
Profile Icon Gordon Fisher
Arrow right icon
Mex$179.99 Mex$771.99
Full star icon Full star icon Full star icon Full star icon Half star icon 4.4 (25 Ratings)
eBook Aug 2014 526 pages 1st Edition
eBook
Mex$179.99 Mex$771.99
Paperback
Mex$963.99
Subscription
Free Trial
Arrow left icon
Profile Icon Gordon Fisher
Arrow right icon
Mex$179.99 Mex$771.99
Full star icon Full star icon Full star icon Full star icon Half star icon 4.4 (25 Ratings)
eBook Aug 2014 526 pages 1st Edition
eBook
Mex$179.99 Mex$771.99
Paperback
Mex$963.99
Subscription
Free Trial
eBook
Mex$179.99 Mex$771.99
Paperback
Mex$963.99
Subscription
Free Trial

What do you get with eBook?

Product feature icon Instant access to your Digital eBook purchase
Product feature icon Download this book in EPUB and PDF formats
Product feature icon Access this title in our online reader with advanced features
Product feature icon DRM FREE - Read whenever, wherever and however you want
OR
Modal Close icon
Payment Processing...
tick Completed

Billing Address

Table of content icon View table of contents Preview book icon Preview Book

Blender 3D Basics Beginner's Guide Second Edition

Chapter 2. Getting Comfortable Using the 3D View

In the previous chapter, you had a good introduction to animation and computer animation. You learned a little about how to make an animation come alive, and discovered that the animation principles are the same whether it's made in the old-fashioned way or with a computer. Now it's time to get into Blender itself.

In this chapter, you will learn about the following topics:

  • The idea behind Blender's windowing system
  • Manipulating and resizing the Blender windows
  • 3D coordinates and measuring in 3D
  • Learn how to navigate in the 3D View window
  • Discover how computers create and use colors

Exploring the Blender 3D interface

In the early days of Blender, the developers took a different approach to their user interface, and time has proven that it is a very productive way to work. Instead of assigning fixed areas for certain tasks or creating a stack of windows, they decided on a flexible system of non-overlapping windows that could be resized interactively to give the user maximum control of their workspace.

When you start your copy of Blender as you did in Chapter 1, Introducing Blender and Animation, your screen will show a big central window surrounded by a number of boxes with text and buttons. There are five windows in total. I drew boxes around the windows so that you could see how the default Blender window is organized.

Exploring the Blender 3D interface

Breaking down the interface bit by bit will make it easy to understand. Remember, you don't have to understand how to use every single control to do a lot of great work with Blender. No one knows it all. You will go through it step by step giving...

Time for action – playing with the Blender windows

Now, we are going to discover the structure of the windows:

  1. Start Blender. In the largest Blender window, at the lower-left corner, there is a small button that looks similar to the button highlighted in the following screenshot. It has a white cube on it. This is the Current Editor Type button. Every window has this button, so you can change the type of editor that is in the window. The bar that the Current Editor Type button is on is called the Header.
    Time for action – playing with the Blender windows
  2. In the main 3D View window, click on the Current Editor Type button with the LMB, and the Editor Type menu pops up with the 17 different kinds of editors that you can display in that window, as shown in the following screenshot:
    Time for action – playing with the Blender windows
  3. Scroll up the menu, as shown previously, and select Text Editor. The window changes and it is now blank. The Text Editor is for you to enter text, such as production notes, text for text objects, python code, and other uses.
  4. Now, go down to the window below the...

Time for action – resizing windows

Notice the black line between the Blender windows. This is shown in the following screenshot:

Time for action – resizing windows

Blender windows can be resized as you need, so you can have any screen layout you want. Here is how to do this:

  1. Move the cursor over one of these lines and you will see a double-headed arrow.
  2. While the double-headed arrow is displayed, hold down the LMB and move your mouse perpendicular to the line. The windows on both sides of the line will resize.
  3. If you selected a vertical edge between windows, now try it with a horizontal edge.
  4. If you selected a horizontal edge between windows originally, now try it with a vertical edge.

What just happened?

You selected the line between two windows and moved it to resize the windows. Blender's windows do not overlap. If you make one bigger, the one next to it gets smaller. Unlike many window-based interfaces, you don't end up with a stack of windows that you have to search through to find in which window you were...

Time for action – splitting the Blender windows

In addition to controlling the size of a window, you can create new windows. Unlike other systems, you are not limited to a set number of windows or a set layout.

  1. Look at any of the windows; you will see three diagonal lines in the lower-left and upper-right corners of the window, as shown in the following screenshot. These control the creation and deletion of the window.
    Time for action – splitting the Blender windows
  2. Put the cursor over the largest window and move it over the diagonal lines at the lower-left corner of that window.
  3. Then, hold down the LMB as you move the cursor horizontally toward the center of the window, and then release the LMB when you have moved the window edge to replace one third of the old window.
  4. Put the cursor over the center window that you just made. Move the cursor to the diagonal lines at the upper-right corner of that window. Then, hold down the LMB while you move the cursor horizontally toward the center of the window. Replace another one-third of the...

Time for action – joining the Blender windows

In addition to creating new windows, you can remove any window. Blender windows are easy to remove. The steps are as follows:

  1. Bring the cursor over the upper-left window, and then the cursor over the diagonal lines at the lower-left corner of that window.
  2. Hold down the LMB while you move the cursor down towards the window below it. The window below becomes darker and there is a light gray arrow pointing into that window.
  3. Continue to hold down the LMB and move the cursor up to the original window; it becomes darker and has an arrow pointing into it, as shown in the following screenshot. Whichever window is darker and has the arrow will disappear when you release the mouse button.
    Time for action – joining the Blender windows
  4. If you find you don't want the window to disappear, just move the cursor into another window besides those two. The arrow will go away and you can release the mouse button without any changes happening.

What just happened?

To join two windows, you selected the...

Time for action – maximizing and tiling the window

Blender lets you maximize and tile the windows. The standard multiwindow display is considered tiled. Maximizing a window makes it fill the Blender window. The steps to do so are as follows:

  1. Select a blank portion of the header of any window with the RMB. The secondary pop-up menu has a option for Maximize Area, as shown in the following screenshot:
    Time for action – maximizing and tiling the window
  2. Click on Maximize Area with the LMB now. There's only one window! Don't worry. The others are not gone. The window you maximized is just given the full display.
  3. Right-click on the header again; the bottom selection will say Tile Area, and clicking on it with the LMB will show all of the windows again.
  4. Note that there is a keyboard shortcut listed in the secondary menu, and it can also be seen in the previous screenshot. You can press Ctrl + up arrow to toggle between Maximize Area and Tile Area.

What just happened?

Blender gives you a lot of flexibility. If you need to, it allows...

Exploring the Blender 3D interface


In the early days of Blender, the developers took a different approach to their user interface, and time has proven that it is a very productive way to work. Instead of assigning fixed areas for certain tasks or creating a stack of windows, they decided on a flexible system of non-overlapping windows that could be resized interactively to give the user maximum control of their workspace.

When you start your copy of Blender as you did in Chapter 1, Introducing Blender and Animation, your screen will show a big central window surrounded by a number of boxes with text and buttons. There are five windows in total. I drew boxes around the windows so that you could see how the default Blender window is organized.

Breaking down the interface bit by bit will make it easy to understand. Remember, you don't have to understand how to use every single control to do a lot of great work with Blender. No one knows it all. You will go through it step by step giving you a...

Time for action – playing with the Blender windows


Now, we are going to discover the structure of the windows:

  1. Start Blender. In the largest Blender window, at the lower-left corner, there is a small button that looks similar to the button highlighted in the following screenshot. It has a white cube on it. This is the Current Editor Type button. Every window has this button, so you can change the type of editor that is in the window. The bar that the Current Editor Type button is on is called the Header.

  2. In the main 3D View window, click on the Current Editor Type button with the LMB, and the Editor Type menu pops up with the 17 different kinds of editors that you can display in that window, as shown in the following screenshot:

  3. Scroll up the menu, as shown previously, and select Text Editor. The window changes and it is now blank. The Text Editor is for you to enter text, such as production notes, text for text objects, python code, and other uses.

  4. Now, go down to the window below the main...

Time for action – resizing windows


Notice the black line between the Blender windows. This is shown in the following screenshot:

Blender windows can be resized as you need, so you can have any screen layout you want. Here is how to do this:

  1. Move the cursor over one of these lines and you will see a double-headed arrow.

  2. While the double-headed arrow is displayed, hold down the LMB and move your mouse perpendicular to the line. The windows on both sides of the line will resize.

  3. If you selected a vertical edge between windows, now try it with a horizontal edge.

  4. If you selected a horizontal edge between windows originally, now try it with a vertical edge.

What just happened?

You selected the line between two windows and moved it to resize the windows. Blender's windows do not overlap. If you make one bigger, the one next to it gets smaller. Unlike many window-based interfaces, you don't end up with a stack of windows that you have to search through to find in which window you were working.

Time for action – splitting the Blender windows


In addition to controlling the size of a window, you can create new windows. Unlike other systems, you are not limited to a set number of windows or a set layout.

  1. Look at any of the windows; you will see three diagonal lines in the lower-left and upper-right corners of the window, as shown in the following screenshot. These control the creation and deletion of the window.

  2. Put the cursor over the largest window and move it over the diagonal lines at the lower-left corner of that window.

  3. Then, hold down the LMB as you move the cursor horizontally toward the center of the window, and then release the LMB when you have moved the window edge to replace one third of the old window.

  4. Put the cursor over the center window that you just made. Move the cursor to the diagonal lines at the upper-right corner of that window. Then, hold down the LMB while you move the cursor horizontally toward the center of the window. Replace another one-third of the original...

Time for action – joining the Blender windows


In addition to creating new windows, you can remove any window. Blender windows are easy to remove. The steps are as follows:

  1. Bring the cursor over the upper-left window, and then the cursor over the diagonal lines at the lower-left corner of that window.

  2. Hold down the LMB while you move the cursor down towards the window below it. The window below becomes darker and there is a light gray arrow pointing into that window.

  3. Continue to hold down the LMB and move the cursor up to the original window; it becomes darker and has an arrow pointing into it, as shown in the following screenshot. Whichever window is darker and has the arrow will disappear when you release the mouse button.

  4. If you find you don't want the window to disappear, just move the cursor into another window besides those two. The arrow will go away and you can release the mouse button without any changes happening.

What just happened?

To join two windows, you selected the diagonal lines...

Time for action – maximizing and tiling the window


Blender lets you maximize and tile the windows. The standard multiwindow display is considered tiled. Maximizing a window makes it fill the Blender window. The steps to do so are as follows:

  1. Select a blank portion of the header of any window with the RMB. The secondary pop-up menu has a option for Maximize Area, as shown in the following screenshot:

  2. Click on Maximize Area with the LMB now. There's only one window! Don't worry. The others are not gone. The window you maximized is just given the full display.

  3. Right-click on the header again; the bottom selection will say Tile Area, and clicking on it with the LMB will show all of the windows again.

  4. Note that there is a keyboard shortcut listed in the secondary menu, and it can also be seen in the previous screenshot. You can press Ctrl + up arrow to toggle between Maximize Area and Tile Area.

What just happened?

Blender gives you a lot of flexibility. If you need to, it allows any window to use...

Time for action – flipping the window header


As you have seen, the header is that bar at the top or bottom of each of the window. It has the Current Editor Type button on the left side and some other buttons, as you can see in the following screenshot:

You have seen the header positioned at the bottom and the top of a window. While some types of windows have top or bottom by default, you can set the header for any window the way you prefer. The steps are as follows:

  1. Click the RMB on an empty area of the header of the main window. A menu will pop up that says Header. There is a secondary menu that says Flip to Top.

  2. Select Flip to Top with the LMB.

  3. Go to the header at the top. Select it with the RMB.

  4. Select Flip to Bottom.

What just happened?

The header can be at the top or the bottom of the window. If it is at the bottom, you can flip it to the top. If it is at the top, you can flip it to the bottom. Set it the way you prefer.

Exploring the 3D View window – the heart of Blender


Finally, it's time to focus on the 3D View as shown in the following screenshot. It's the primary window where you will do most of your work.

Keep your eye on the cursor. Whatever window the Blender cursor is over is the active window. For example, if you want to work in the 3D View, the cursor must be over the 3D View window; if you want to work in the Timeline, the cursor must be over the Timeline window.

Time for action – discovering your tools


The 3D View has three major control panels: the Header, which we have examined; the Tool Shelf on the left side, which says Transform at the top and has some tabs on the left; and the Properties Panel, which is hidden by default:

  1. Close Blender and open it again.

  2. With your mouse over the 3D View, press the N key. The Properties Panel appears. It has controls to change the location, rotation, and scaling of objects.

  3. Press the N key again. The Properties Panel disappears.

  4. Press the T key. The Tool Shelf disappears.

  5. Press the T key again. The Tool Shelf reappears and contains many controls used when building objects.

  6. When you have closed the Tool Shelf or the Properties Panel, note the small gray tab on the side of the 3D View window. If you click on that, the panel will reopen.

What just happened?

You looked at the Tool Shelf and Properties Panel, as shown in the following screenshot. You also learned how to toggle the Tool Shelf and the Properties Panel on...

Time for action – rotating the scene in 3D View


When modeling or animating, you frequently want to see differing angles of what you are working on. Rotating your view is often the best way to do this, try it by following the given steps:

  1. Move the cursor over the cube in the 3D View. Press the MMB and move the mouse left and right.

  2. Now try it again; start with the cursor near the center of the screen, press the MMB, and move the cursor up and down.

What just happened?

That isn't too difficult. Pressing the MMB and moving the mouse revolves your view around the origin.

Time for action – zooming the scene in 3D View


If you need to get a better overview of the scene or get a closer view, then zooming is what you need:

  1. Move the cursor over the 3D View and push the Ctrl key.

  2. Then, press the MMB and move the mouse up and down.

What just happened?

To zoom in and out of the 3D View, you press the Ctrl key and hold down the MMB while you move the cursor up and down over the 3D View.

Time for action – panning the scene in 3D View


The final way to move within the scene is panning, moving your view up and down and right and left. It helps you look at different parts of the scene. The steps are as follows:

  1. Move the cursor over the 3D View, then press the Shift key. Press the MMB and move the mouse up and down.

  2. Move the cursor over the 3D View, then push the Shift key. Press the MMB and move the mouse left and right.

  3. Move the cursor over the 3D View, then push the Shift key. Press the MMB and move the mouse around as you like.

What just happened?

Pressing the Shift key and holding down MMB while you move the cursor in the 3D View pans the 3D View. Panning is moving your viewpoint horizontally or vertically. Very good; now you know how to navigate in the 3D View.

Have a go hero – navigating the scene in the 3D View

Now, try and maneuver the cube and grid into different angles. Try for dynamic-looking or weird angles, get a close up of the corner, or look along the edges. Use...

Time for action – seeing the top view, front view, and right-side view


You will start by returning Blender to its default setup. To go back to the default scene. You don't have to quit as you did at the start of this chapter; there is another way. The steps are as follows:

  1. Move your cursor to the upper-left corner of the Blender window as shown in the previous screenshot. Left-click on File. A menu will drop down. Left-click on New. Another menu will appear asking you to Reload Start-Up File. Click on that and the default Blender file will be loaded.

  2. Press the 7 key on the NumPad. This gives you the Top view.

  3. Press the 1 key on the NumPad. This gives you the Front view.

  4. Press the 3 key on the NumPad. This gives you the Right side view.

What just happened?

You loaded a fresh copy of the default Blender scene and then used the NumPad to control from which direction you were viewing the scene. When you pressed the 7 on the NumPad, Blender displayed the Top view. When you pressed the 1 on the NumPad...

Time for action – seeing the bottom view, and back view


Sometimes, you also need to look at an object or scene from the bottom, from behind, or from the left. The following keys will help you:

  1. Press the Ctrl key and the 7 key on the NumPad. This gives you the Bottom view.

  2. Press the Ctrl key and the 1 key on the NumPad. This gives you Back view.

  3. Press the Ctrl key and the 3 key on the NumPad. This give you the Left view.

  4. Now, press the 1, 3, and 7 keys on the NumPad, then press them while holding down the Ctrl key.

What just happened?

You know how to use the 1, 3, and 7 keys on the NumPad to change views. To see from the opposing angle of a view, you can press the Ctrl key and the number for the view on the NumPad. Pressing the Ctrl + 7 key shows the Bottom view. Pressing the Ctrl + 1 key shows the Back view and Ctrl + 3 shows the Left view.

Seeing what the camera sees

Unlike some other systems, Blender only renders what a camera sees. You can find out what the camera is seeing by pressing the...

Time for action – verifying the Camera view


It's time to take a look at the Camera view and compare it with what the camera renders. Do you notice any differences?

  1. Press the NumPad 0 key to get the Camera view.

  2. Press the F12 key to render the scene so you can see it.

  3. Press the Esc key to close the rendering window.

  4. Press the F11 key to see the previously rendered view.

  5. Press the Esc key again.

  6. Alternate pressing the F11 and the Esc keys and make sure that the Camera view is the same as the rendered scene. Do you notice any difference?

What just happened?

Just to be sure, after pressing the NumPad 0 key, you tried doing a test render to compare what is rendered in the camera with the Camera view. Of course, they looked the same. However, you also discovered that if you want to see a previously rendered image, then you press the F11 key. Did you notice the difference in the shading between the 3D View and the rendering as shown in the previous screenshot? The lamp is to the right side of the camera...

Time for action – rotating the view with the NumPad


In addition to displaying the scene from particular axes, Blender lets you use the NumPad to revolve around the center. The steps are as follows:

  1. Press the 7 key on the NumPad to get the Top view.

  2. Press the 4 key on the NumPad several times to rotate the view negatively on the Z axis.

  3. Press the 6 key on the NumPad several times to rotate the view positively on the Z axis.

  4. Press the 1 key on the NumPad to get the Front view.

  5. Press the 4 key on the NumPad several times to rotate the view negatively on the Z axis.

  6. Press the 6 key on the NumPad several times times to rotate the view positively on the Z axis.

What just happened?

Pressing the NumPad 7 key shifted your view to the Top view. This let you see how pressing the NumPad 4 key rotates the view counter-clockwise around the Z axis. Pressing the NumPad 6 key rotates the view clockwise. This is useful when you want to inspect an object carefully. It lets you rotate around the scene in 15 degree...

Left arrow icon Right arrow icon

Key benefits

  • Explore Blender's unique user interface and unlock Blender's powerful suite of modeling and animation tools
  • Learn how to use Blender, and also the principles that make animation, lighting, and camera work come alive
  • Start with the basics and build your skills through a coordinated series of projects to create a complex world

Description

This book teaches you how to model a nautical scene, complete with boats and water, and then add materials, lighting, and animation. It demystifies the Blender interface and explains what each tool does so that you will be left with a thorough understanding of 3D. This book starts with an introduction to Blender and some background on the principles of animation, how they are applied to computer animation, and how these principles make animation better. Furthermore, the book helps you advance through various aspects of animation design such as modeling, lighting, camera work, and animation through the Blender interface with the help of several simple projects. Each project will help you practice what you have learned and do more advanced work in all areas.

Who is this book for?

This book is for 3D Artists and Designers who want to learn efficient building of 3D Animations. Knowledge of 3D Modeling is essential but no prior experience with Blender is required.

What you will learn

  • Use the Blender user interface for building and animating projects
  • Build objects using Box Modeling, Subdivision Surfaces, and NURBS Curves
  • Create landscapes and trees with Blender s powerful procedural modeling plugins
  • Use movie lighting theory to make your images pop
  • Manipulate cameras for dramatic effect
  • Make entertaining animations with keyframes and motion curves
  • Connect graphics nodes to create stereo 3D animation from two separate image streams

Product Details

Country selected
Publication date, Length, Edition, Language, ISBN-13
Publication date : Aug 26, 2014
Length: 526 pages
Edition : 1st
Language : English
ISBN-13 : 9781783984916
Vendor :
Blender Foundation
Tools :

What do you get with eBook?

Product feature icon Instant access to your Digital eBook purchase
Product feature icon Download this book in EPUB and PDF formats
Product feature icon Access this title in our online reader with advanced features
Product feature icon DRM FREE - Read whenever, wherever and however you want
OR
Modal Close icon
Payment Processing...
tick Completed

Billing Address

Product Details

Publication date : Aug 26, 2014
Length: 526 pages
Edition : 1st
Language : English
ISBN-13 : 9781783984916
Vendor :
Blender Foundation
Tools :

Packt Subscriptions

See our plans and pricing
Modal Close icon
$19.99 billed monthly
Feature tick icon Unlimited access to Packt's library of 7,000+ practical books and videos
Feature tick icon Constantly refreshed with 50+ new titles a month
Feature tick icon Exclusive Early access to books as they're written
Feature tick icon Solve problems while you work with advanced search and reference features
Feature tick icon Offline reading on the mobile app
Feature tick icon Simple pricing, no contract
$199.99 billed annually
Feature tick icon Unlimited access to Packt's library of 7,000+ practical books and videos
Feature tick icon Constantly refreshed with 50+ new titles a month
Feature tick icon Exclusive Early access to books as they're written
Feature tick icon Solve problems while you work with advanced search and reference features
Feature tick icon Offline reading on the mobile app
Feature tick icon Choose a DRM-free eBook or Video every month to keep
Feature tick icon PLUS own as many other DRM-free eBooks or Videos as you like for just Mex$85 each
Feature tick icon Exclusive print discounts
$279.99 billed in 18 months
Feature tick icon Unlimited access to Packt's library of 7,000+ practical books and videos
Feature tick icon Constantly refreshed with 50+ new titles a month
Feature tick icon Exclusive Early access to books as they're written
Feature tick icon Solve problems while you work with advanced search and reference features
Feature tick icon Offline reading on the mobile app
Feature tick icon Choose a DRM-free eBook or Video every month to keep
Feature tick icon PLUS own as many other DRM-free eBooks or Videos as you like for just Mex$85 each
Feature tick icon Exclusive print discounts

Frequently bought together


Stars icon
Total Mex$ 3,220.97
Blender 3D By Example
Mex$1004.99
Blender 3D Basics Beginner's Guide Second Edition
Mex$963.99
Blender 3D Cookbook
Mex$1251.99
Total Mex$ 3,220.97 Stars icon
Banner background image

Table of Contents

14 Chapters
1. Introducing Blender and Animation Chevron down icon Chevron up icon
2. Getting Comfortable Using the 3D View Chevron down icon Chevron up icon
3. Controlling the Lamp, the Camera, and Animating Objects Chevron down icon Chevron up icon
3. Controlling the Lamp, the Camera, and Animating Objects
Placing lamps in the scene
Time for action – moving the lamp
Time for action – moving the lamp close to the cube
Time for action – moving the lamp far away
Time for action – observing how the lighting looks without rendering
Time for action – adding color to Lamp
Time for action – adding a second lamp
Time for action – setting colors
Saving your work
Time for action – saving a file
Always have a backup file
Controlling the camera
Time for action – using the global axis and local axis
Time for action – moving an object in one plane in the global mode
Time for action – moving an object in one plane in the local mode
Time for action – setting up Blender so you can see what the camera sees
Time for action – investigating the camera composition guides
Making an animation
Time for action – loading a file
Time for action – making a simple animation with keyframes
Time for action – rendering the animation
Time for action – exploring Graph Editor
Time for action – working with a Bézier curve
Time for action – adding squash and stretch to the animation
Time for action – refining the use of the Bézier curve handles
Time for action – adding keyframes in Graph Editor
Time for action – controlling the F-Curves with the Channel Selection Panel
Time for action – controlling channel display with the header
Time for action – copying and pasting keyframes
Time for action – keyframes for lights
Revisiting the commands
Summary
4. Modeling with Vertices, Edges, and Faces Chevron down icon Chevron up icon
4. Modeling with Vertices, Edges, and Faces
Using Object Mode and Edit Mode
Time for action – going into Edit Mode
Investigating vertices, edges, and faces
Time for action – choosing the best display mode
Time for action – working with vertices, edges, or faces
Time for action – pressing A to select all
Time for action – pressing B for border selection
Time for action – pressing C for circle selection
Time for action – pressing Ctrl + LMB for Lasso Selection
Creating Blender's primitives
Time for action – making a primitive object
Making precise selections
Time for action – making back-facing geometry accessible
Time for action – controlling the visibility of vertices
Time for action – selecting vertex by vertex
Time for action – fine-tuning the circle selection tool
Time for action – hiding the vertices you aren't working on
Time for action – modifying objects made by other people
Time for action – fixing Suzanne's eye
Organizing your work by grouping
Time for action – grouping vertices
Time for action – scaling and rotating groups of vertices
Controlling the center of scaling and rotation
Time for action – controlling the center of scaling
Understanding what lies behind vertices, edges, and faces
Building vertices, edges, and faces from scratch
Time for action – making faces out of vertices and edges
Time for action – making a face from an edge
The key-function table
Summary
5. Building a Simple Boat Chevron down icon Chevron up icon
6. Making and Moving the Oars Chevron down icon Chevron up icon
7. Planning Your Work, Working Your Plan Chevron down icon Chevron up icon
8. Making the Sloop Chevron down icon Chevron up icon
8. Making the Sloop
Modeling with Subdivision Surfaces
Time for action – making a simple Subdivision Surface
Time for action – turning a reference block into a sloop
Time for action – making selection easy with Edge Loops and Edge Rings
Time for action – creating the shape of the sloop from the top
Time for action – giving the hull a hull shape
Time for action – flattening the transom
Time for action – making the bow sharper
Time for action – finishing the hull
Time for action – making the boat simpler
Modeling the hull as a mesh
Time for action – converting the surface to a mesh
Time for action – making the cockpit
Time for action – making the cabin
Time for action – creating objects for use in Boolean operations
Using Boolean modifiers to cut holes in objects
Time for action – detailing the cabin using the Boolean modifier
Time for action – applying the Boolean modifier
Adding materials and textures to the sloop
Time for action – coloring and texturing the sloop hull
Time for action – using the same materials for two objects
Making the ship's wheel with the Spin tool and DupliVerts
Time for action – using the Spin tool to make the rim of the ship's wheel
Time for action – making the hub
Time for action – making the circle
Time for action – making the spoke
Time for action – assembling the ship's wheel
The key-function table
Summary
9. Finishing Your Sloop Chevron down icon Chevron up icon
10. Modeling Organic Forms, Sea, and Terrain Chevron down icon Chevron up icon
11. Improving Your Lighting and Camera Work Chevron down icon Chevron up icon
12. Rendering and Compositing Chevron down icon Chevron up icon
A. Pop Quiz Answers Chevron down icon Chevron up icon
Index Chevron down icon Chevron up icon

Customer reviews

Top Reviews
Rating distribution
Full star icon Full star icon Full star icon Full star icon Half star icon 4.4
(25 Ratings)
5 star 56%
4 star 32%
3 star 4%
2 star 8%
1 star 0%
Filter icon Filter
Top Reviews

Filter reviews by


Mrs. J. Jarvis Jan 04, 2015
Full star icon Full star icon Full star icon Full star icon Full star icon 5
Excellent book and great for what we needed it for.
Amazon Verified review Amazon
Yates Feb 06, 2015
Full star icon Full star icon Full star icon Full star icon Full star icon 5
Great book to learn from!
Amazon Verified review Amazon
Wayne Norman Jan 20, 2015
Full star icon Full star icon Full star icon Full star icon Full star icon 5
This book is a great read the layout is nice and simple to read, the chapters are great for beginner's and experienced user alike.I do amit I haven't finished the book yet but the chapters I have read are well thought out for a new user of blender and would be a must have for any hobbyist and student learning 3d modelling
Amazon Verified review Amazon
Sydney L. Cuthbert Oct 13, 2014
Full star icon Full star icon Full star icon Full star icon Full star icon 5
This is the tome I've been looking for. It has an informal, take you by the hand and ease you in approach that'll help you get to know Blender's distinctive interface and get up to speed as quickly as possible. In addition, it's structured much like an actual class you might attend, with sections after each exercise that explain further "What Just Happened" as well as giving a short quiz after each section to help you retain what you've learned. Short of having an actual teacher living with you, I found this book to be an excellent way to ease into the more advance online videos and other tutes by giving you a solid background to build on. It's also geared to the latest version, the 2.7x release, so everything you learn will be as up-to-date as it's possible to get with printed material.
Amazon Verified review Amazon
Amazon Customer Jan 23, 2016
Full star icon Full star icon Full star icon Full star icon Full star icon 5
Covers vast majority of Blender. Great flow. Good chapter reviews. This is my winter project
Amazon Verified review Amazon
Get free access to Packt library with over 7500+ books and video courses for 7 days!
Start Free Trial

FAQs

How do I buy and download an eBook? Chevron down icon Chevron up icon

Where there is an eBook version of a title available, you can buy it from the book details for that title. Add either the standalone eBook or the eBook and print book bundle to your shopping cart. Your eBook will show in your cart as a product on its own. After completing checkout and payment in the normal way, you will receive your receipt on the screen containing a link to a personalised PDF download file. This link will remain active for 30 days. You can download backup copies of the file by logging in to your account at any time.

If you already have Adobe reader installed, then clicking on the link will download and open the PDF file directly. If you don't, then save the PDF file on your machine and download the Reader to view it.

Please Note: Packt eBooks are non-returnable and non-refundable.

Packt eBook and Licensing When you buy an eBook from Packt Publishing, completing your purchase means you accept the terms of our licence agreement. Please read the full text of the agreement. In it we have tried to balance the need for the ebook to be usable for you the reader with our needs to protect the rights of us as Publishers and of our authors. In summary, the agreement says:

  • You may make copies of your eBook for your own use onto any machine
  • You may not pass copies of the eBook on to anyone else
How can I make a purchase on your website? Chevron down icon Chevron up icon

If you want to purchase a video course, eBook or Bundle (Print+eBook) please follow below steps:

  1. Register on our website using your email address and the password.
  2. Search for the title by name or ISBN using the search option.
  3. Select the title you want to purchase.
  4. Choose the format you wish to purchase the title in; if you order the Print Book, you get a free eBook copy of the same title. 
  5. Proceed with the checkout process (payment to be made using Credit Card, Debit Cart, or PayPal)
Where can I access support around an eBook? Chevron down icon Chevron up icon
  • If you experience a problem with using or installing Adobe Reader, the contact Adobe directly.
  • To view the errata for the book, see www.packtpub.com/support and view the pages for the title you have.
  • To view your account details or to download a new copy of the book go to www.packtpub.com/account
  • To contact us directly if a problem is not resolved, use www.packtpub.com/contact-us
What eBook formats do Packt support? Chevron down icon Chevron up icon

Our eBooks are currently available in a variety of formats such as PDF and ePubs. In the future, this may well change with trends and development in technology, but please note that our PDFs are not Adobe eBook Reader format, which has greater restrictions on security.

You will need to use Adobe Reader v9 or later in order to read Packt's PDF eBooks.

What are the benefits of eBooks? Chevron down icon Chevron up icon
  • You can get the information you need immediately
  • You can easily take them with you on a laptop
  • You can download them an unlimited number of times
  • You can print them out
  • They are copy-paste enabled
  • They are searchable
  • There is no password protection
  • They are lower price than print
  • They save resources and space
What is an eBook? Chevron down icon Chevron up icon

Packt eBooks are a complete electronic version of the print edition, available in PDF and ePub formats. Every piece of content down to the page numbering is the same. Because we save the costs of printing and shipping the book to you, we are able to offer eBooks at a lower cost than print editions.

When you have purchased an eBook, simply login to your account and click on the link in Your Download Area. We recommend you saving the file to your hard drive before opening it.

For optimal viewing of our eBooks, we recommend you download and install the free Adobe Reader version 9.