


Installing react-native-camera on iOS
There are three steps to install react-native-camera and to include it in our CameraScreen. From the command line, navigate to the ReactNotes directory and run the following command:
npm install react-native-camera@0.3.8 --save
If you take a look at the node_modules directory in the ReactNotes project you'll see a new directory named react-native-camera, which contains both the JavaScript and native source code of the module. In the ios subdirectory, you'll notice a file called RCTCamera.xcodeproj, as shown in the following screenshot:

We need to add this file to our Xcode project's library. In the Xcode project navigator, right-click on Libraries and choose Add Files to ReactNotes:
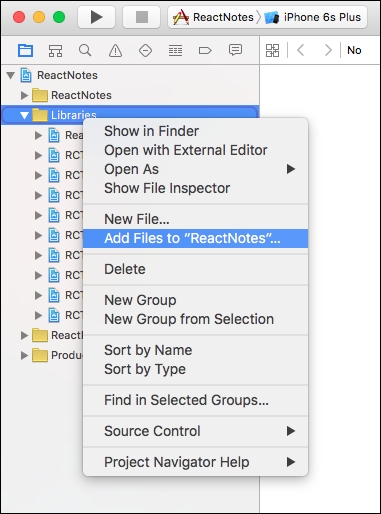
In the Finder window that appears, navigate to ReactNotes | node_modules | react-native-camera | ios, select RCTCamera.xcodeproj and click Add:

Take a look at the Libraries folder in the project navigator and you should see RCTCamera.xcodeproj in the list.
Next, select ReactNotes...