Creating the first application
In this section, we'll create a Free Tier account on Amazon Honeycode and then quickly create a to-do application.
Creating an account on Amazon Honeycode
To create an account on Amazon Honeycode, let's follow these steps:
- We will start by using our browser to navigate to www.honeycode.aws and click on the Try for free button at the top-right corner of the page. Provide your details in the form, verify the email, and complete the signup.
- On the first login, you will be greeted with a Welcome to Honeycode! popup. It is up to you whether you want to provide the requested data review the content of the popup or skip it. In our next chapter, we'll cover in detail the information provided on the pop-up screens:
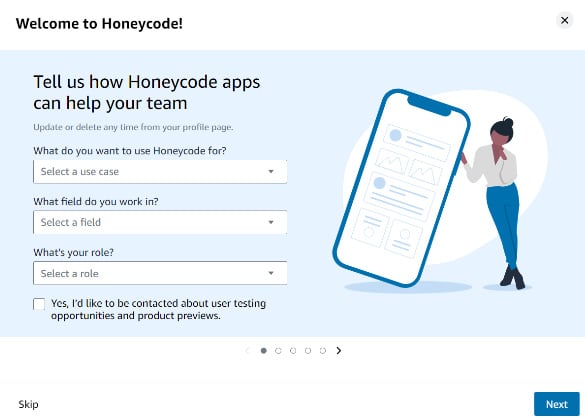
Figure 1.1 – The first Welcome to Honeycode! pop-up screen
- After logging in and skipping through the popups and nudges, we land on a screen that is called DASHBOARD (there'll be more on the dashboard in Chapter 2, Introduction to Honeycode), which is the place where we'll start creating our To-Do application:
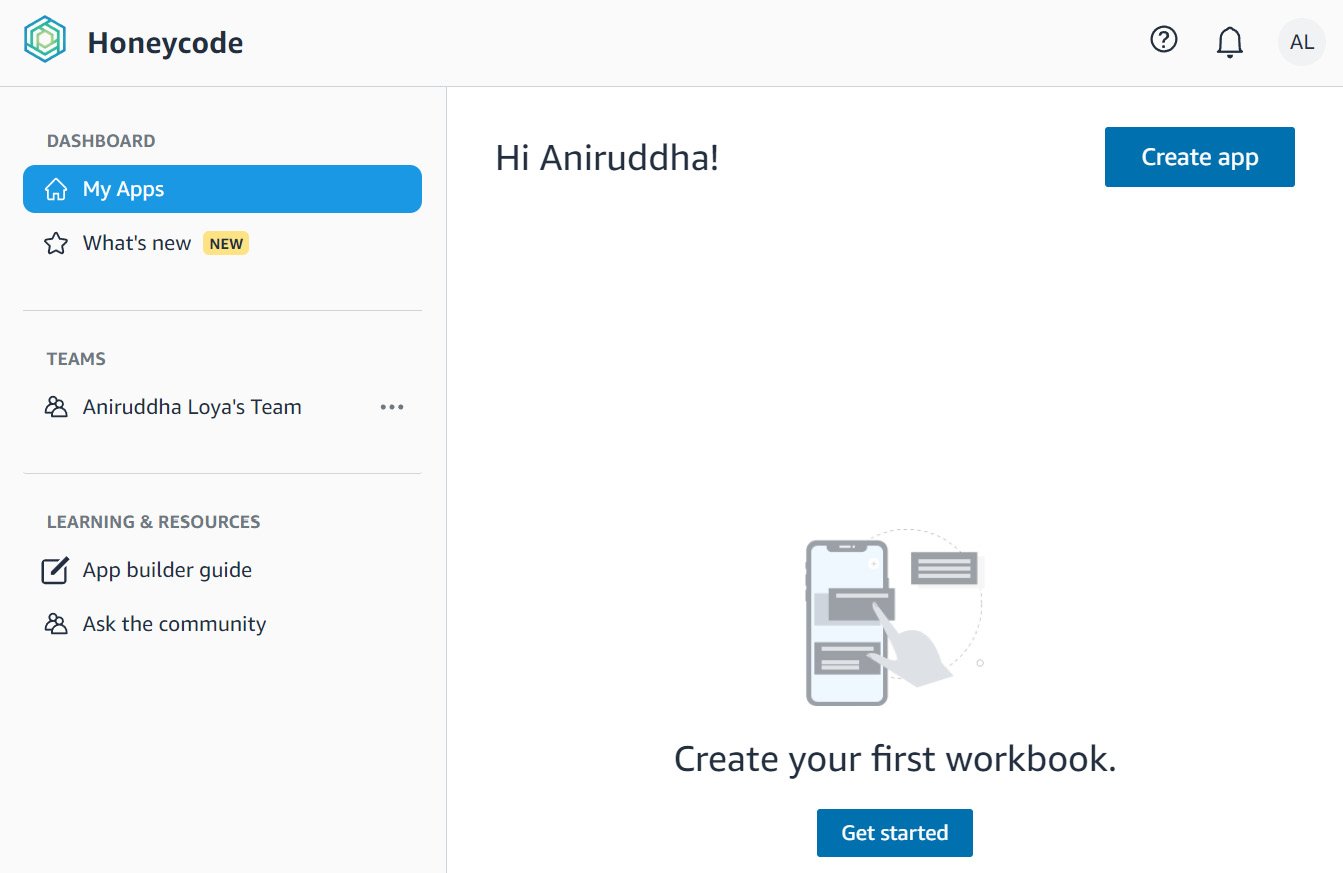
Figure 1.2 – An empty dashboard on the first login
Creating a To-Do application
Let's understand how to create a To-Do application with the following steps:
- On the DASHBOARD screen, locate the Create app button in the top-right corner and click it.
- This loads a popup with quite a number of options for us. Under the USE A TEMPLATE header, locate a tile with the Simple To-Do label and click it:
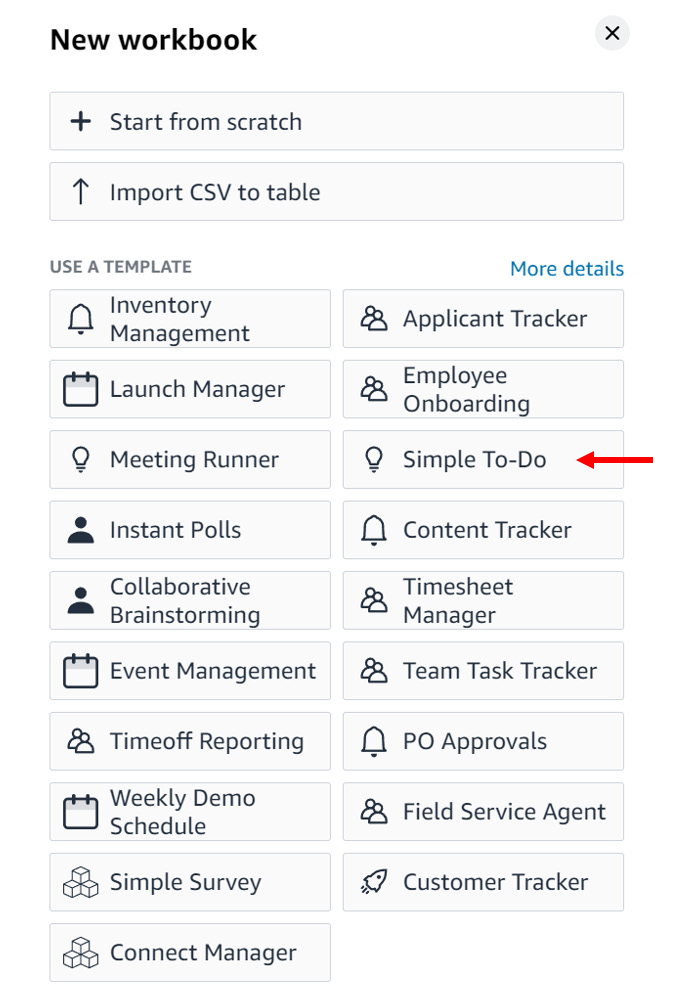
Figure 1.3 – Selecting the Simple To-Do application template
- Next comes a popup to name the workbook and choose a team. For now, let's leave the default values and click on the Create button:
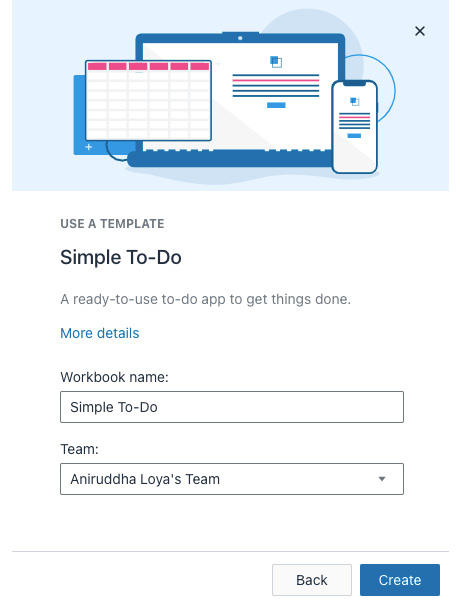
Figure 1.4 – Providing a workbook name and team details to create the workbook
- This creates and loads our Simple To-Do workbook and, given it is our first time using it, another set of popups with links and information about the components of the workbook.
It is up to you whether you want to review the links and follow the popups or skip them.
- After reviewing or skipping the popups, click on the Honeycode icon in the top left, which navigates back to the dashboard.
- Your Honeycode dashboard now has the newly created Simple To-Do app:
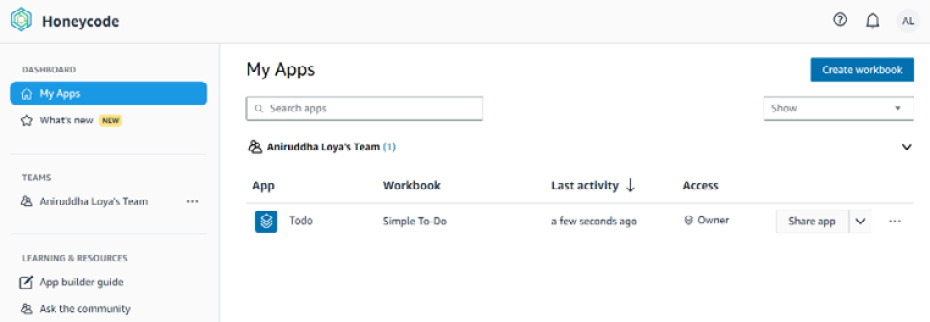
Figure 1.5 – The dashboard showing the newly created application
And that's it. In six simple steps, you have created your first Honeycode application that is ready to be used. In the next section, we'll learn how to start using this application through browsers and mobile devices.


