To follow along with the recipes in this book, you will need to set up an AWS account. Follow all of these steps to learn how to create an account that you will securely access with an IAM user and a Multi-Factor Authentication (MFA) device.
Signing up for an AWS account
How to do it...
Follow these steps to create an AWS account:
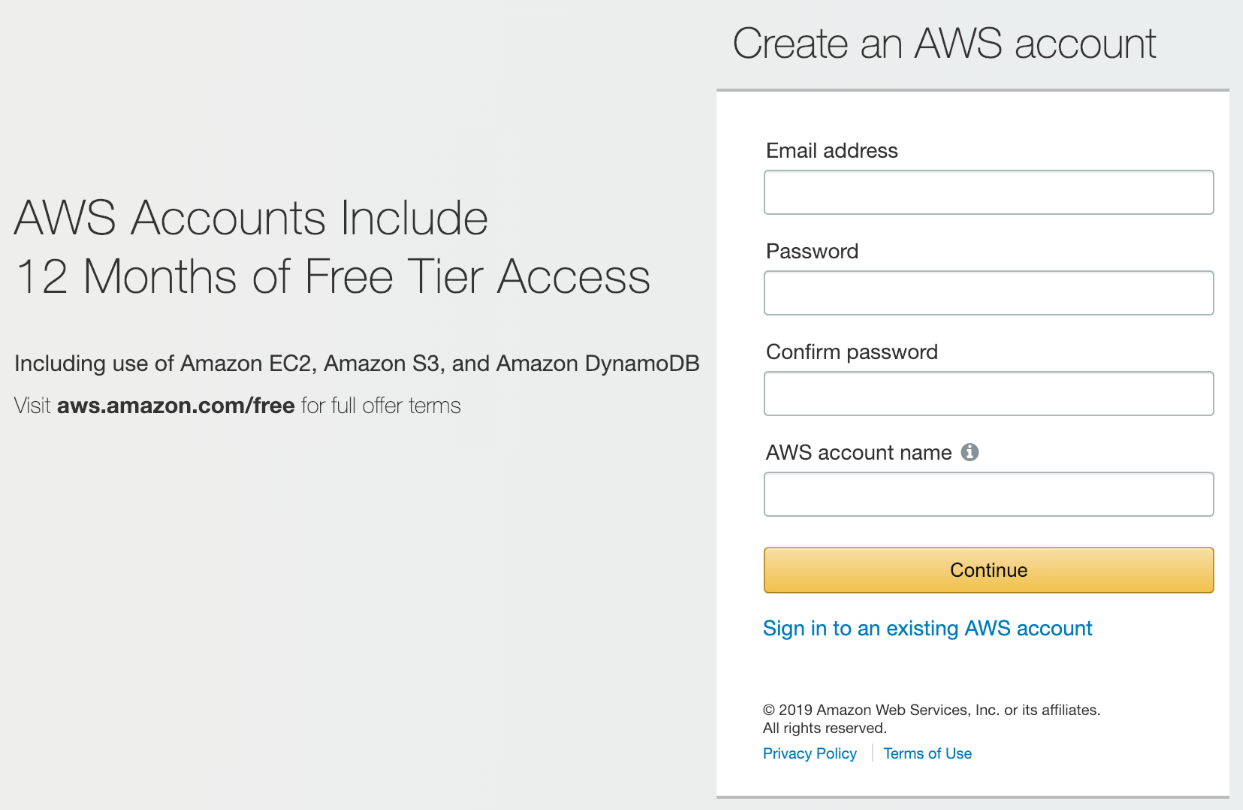
- Create an account at https://aws.amazon.com/ by clicking on the Sign Up button and entering your details:
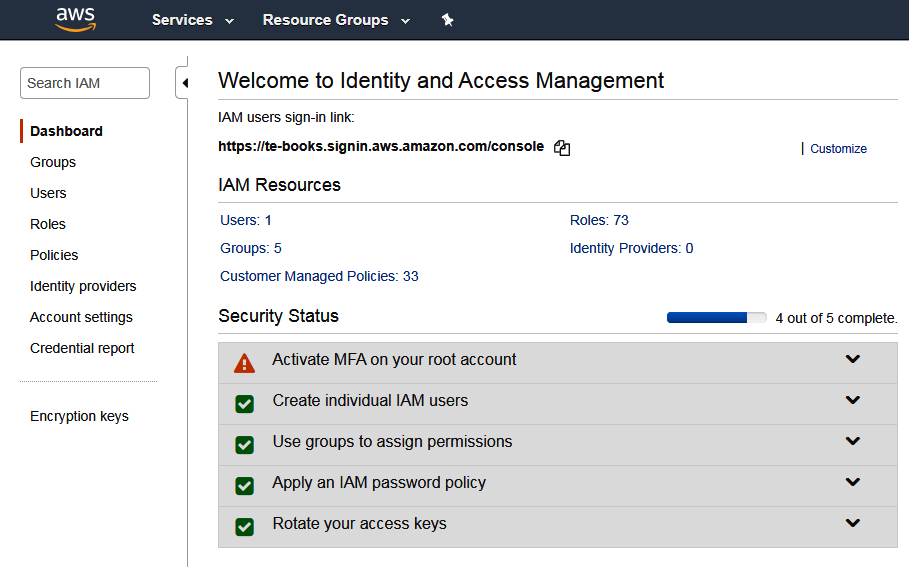
- Before we get started using that shiny new account, let's go over some best practices regarding basic account security. The very first thing you should do as the owner of an AWS account is enable MFA on the root login:
https://www.okta.com/identity-101/why-mfa-is-everywhere/.
- As you can see, when you first visit the IAM console, AWS recommends that you Activate MFA as the next step to improve your security status. Expand the Activate MFA section and click through it to get to your security credentials screen:
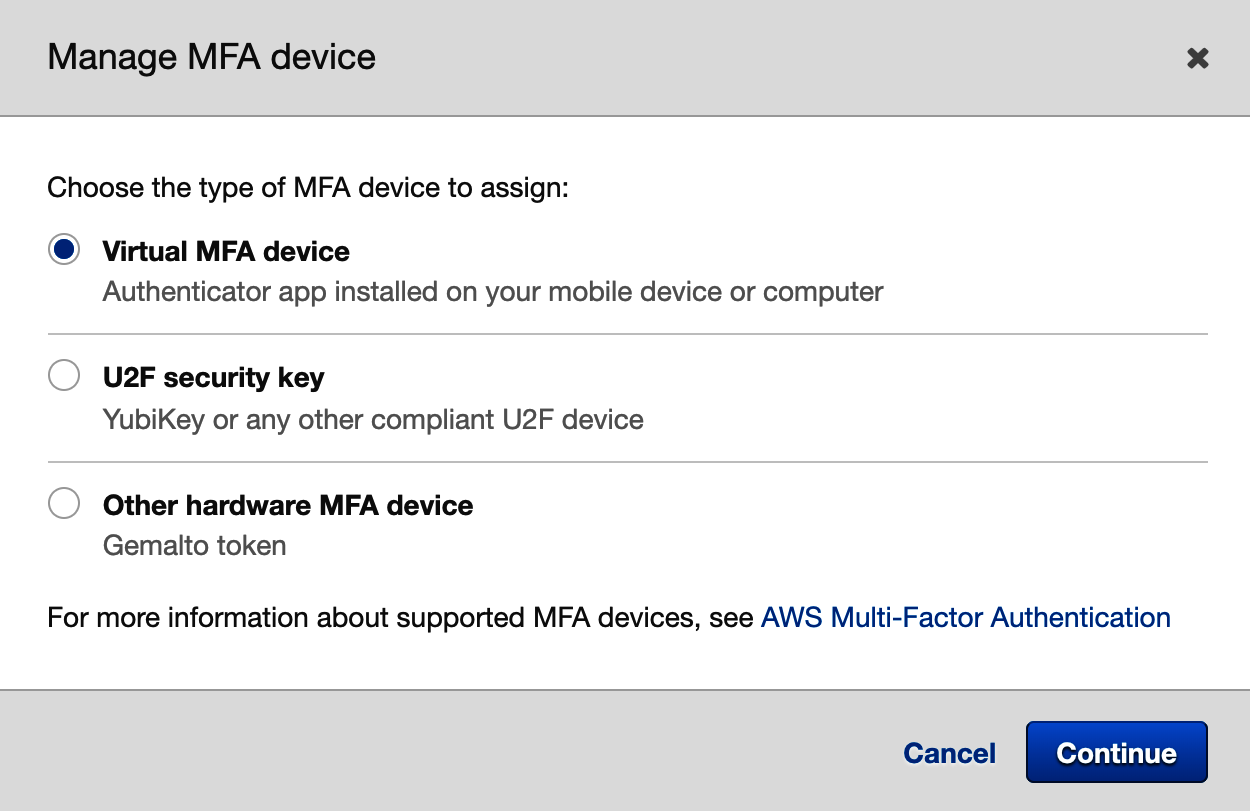
- Choose the type of MFA device you prefer and complete the setup. If you choose to use a virtual device, note how the app on your phone saves your data. Some apps, such as Google Authenticator, don't back up your data to the cloud, so, if you lose your phone, you will no longer be able to log in to your account. Try apps such as Authy or LastPass Authenticator if you want your MFA device to be synced with an online account.
MFA is an essential extra layer of security that you should apply to all of your online accounts, not just AWS. Now that you have protected your root login with MFA, it's time to take your account security to the next level by creating an IAM account for routine access. Let's get started:
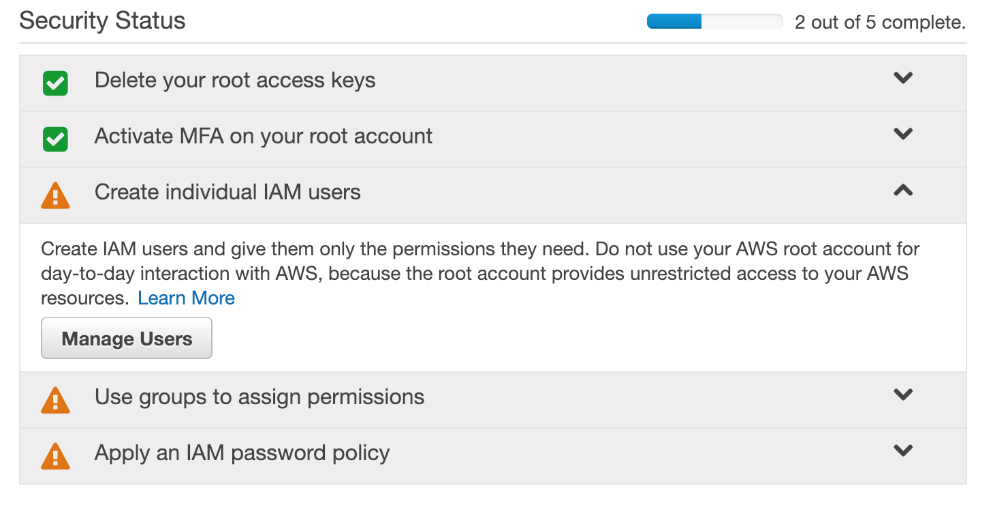
- Expand the Create individual IAM users section and click Manage Users:
- Add a new user account:
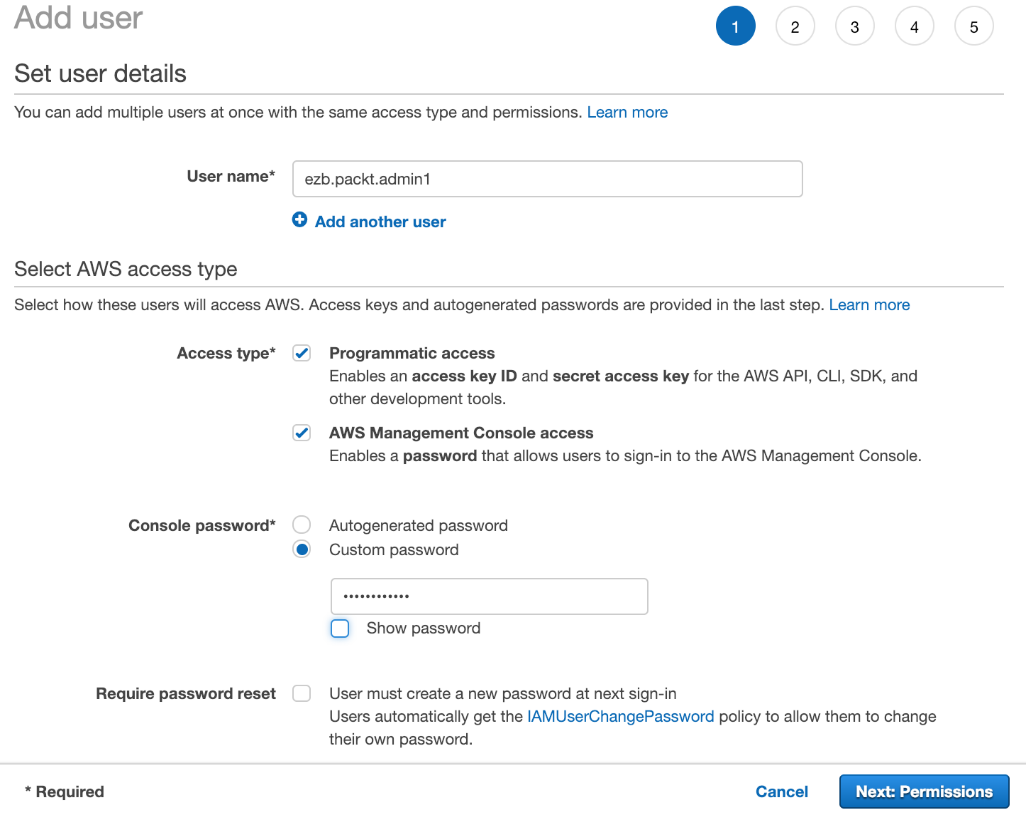
This will be the user account that you use to complete the exercises in this book. On the next screen, you will be asked to create a group for this user.
- Create a group called Admins and select AdministratorAccess:
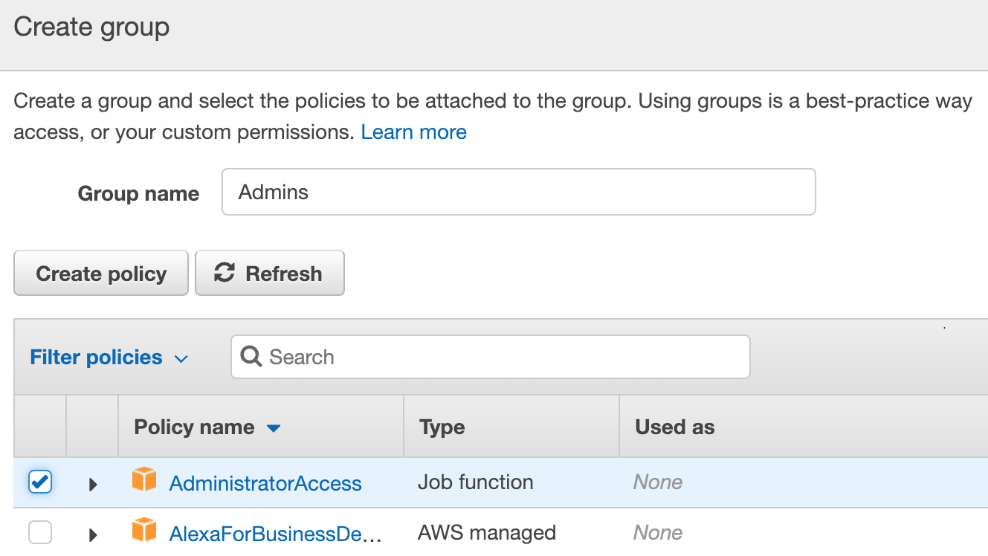
Once you have finished creating the new IAM user, make sure that you save these credentials so that you can access the CLI later.
- One last thing we will do before logging out of the root is apply a password policy to the account so that all the users are required to have strong passwords:
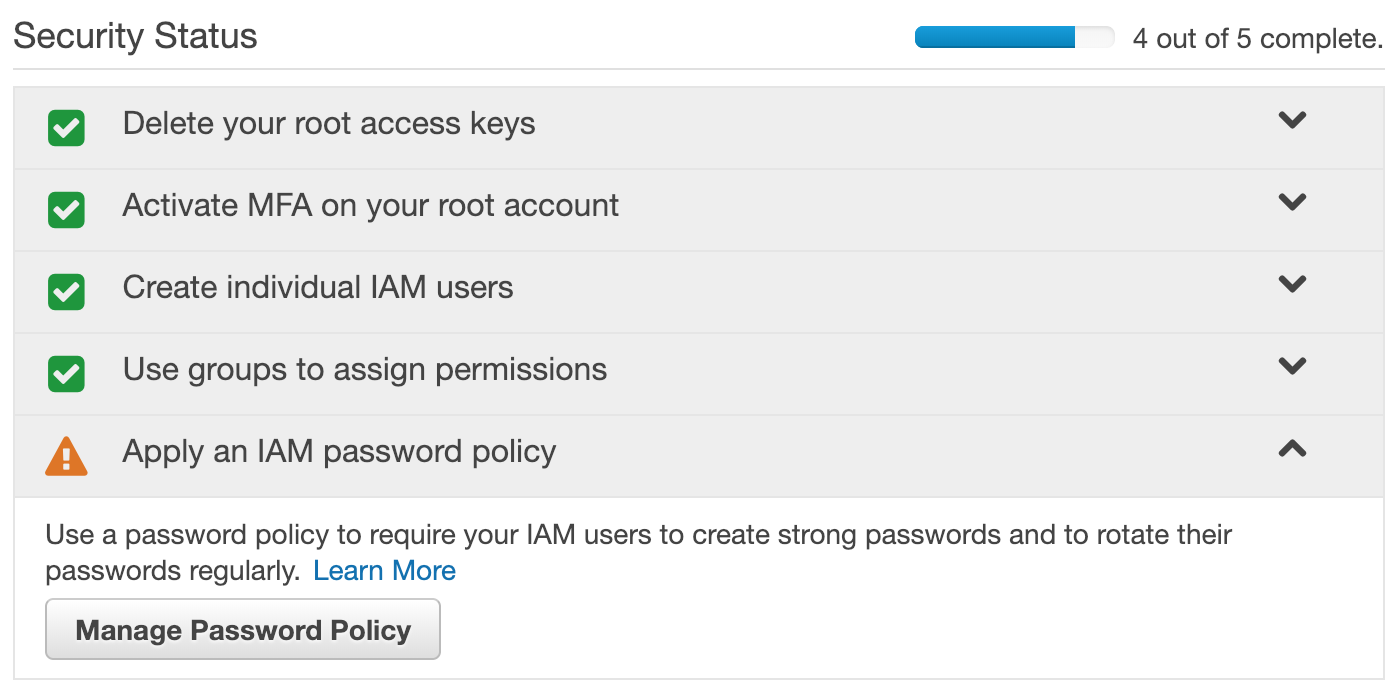
- Once you have done this and see five green checkboxes under Security Status, log out of the root user and log back in as your newly created user.
How it works...
When you create an IAM user within your AWS account, you are addressing authentication, which answers the question, Who is this user? By itself, a user has no rights to accomplish anything in your account. Access management, or authorization, determines what the principal identities within your account can do. Authorization answers the question, What is this user allowed to do? In AWS, you create policies that define what those principals are allowed to do. Policies are attached to users, roles, and groups.
There's more...
Keep in mind that changes that are made to users, groups, and roles need to be consistent eventually. This means that those changes might not be immediately available across your entire account. AWS recommends that you do not include IAM changes in latency-sensitive code.
See also
- Check out the AWS Organizations and AWS Control Tower recipes in Chapter 2, Account Setup and Management, for an in-depth look at setting up multiple accounts for your company's cloud-based applications


