Smoothing the mesh with modifiers
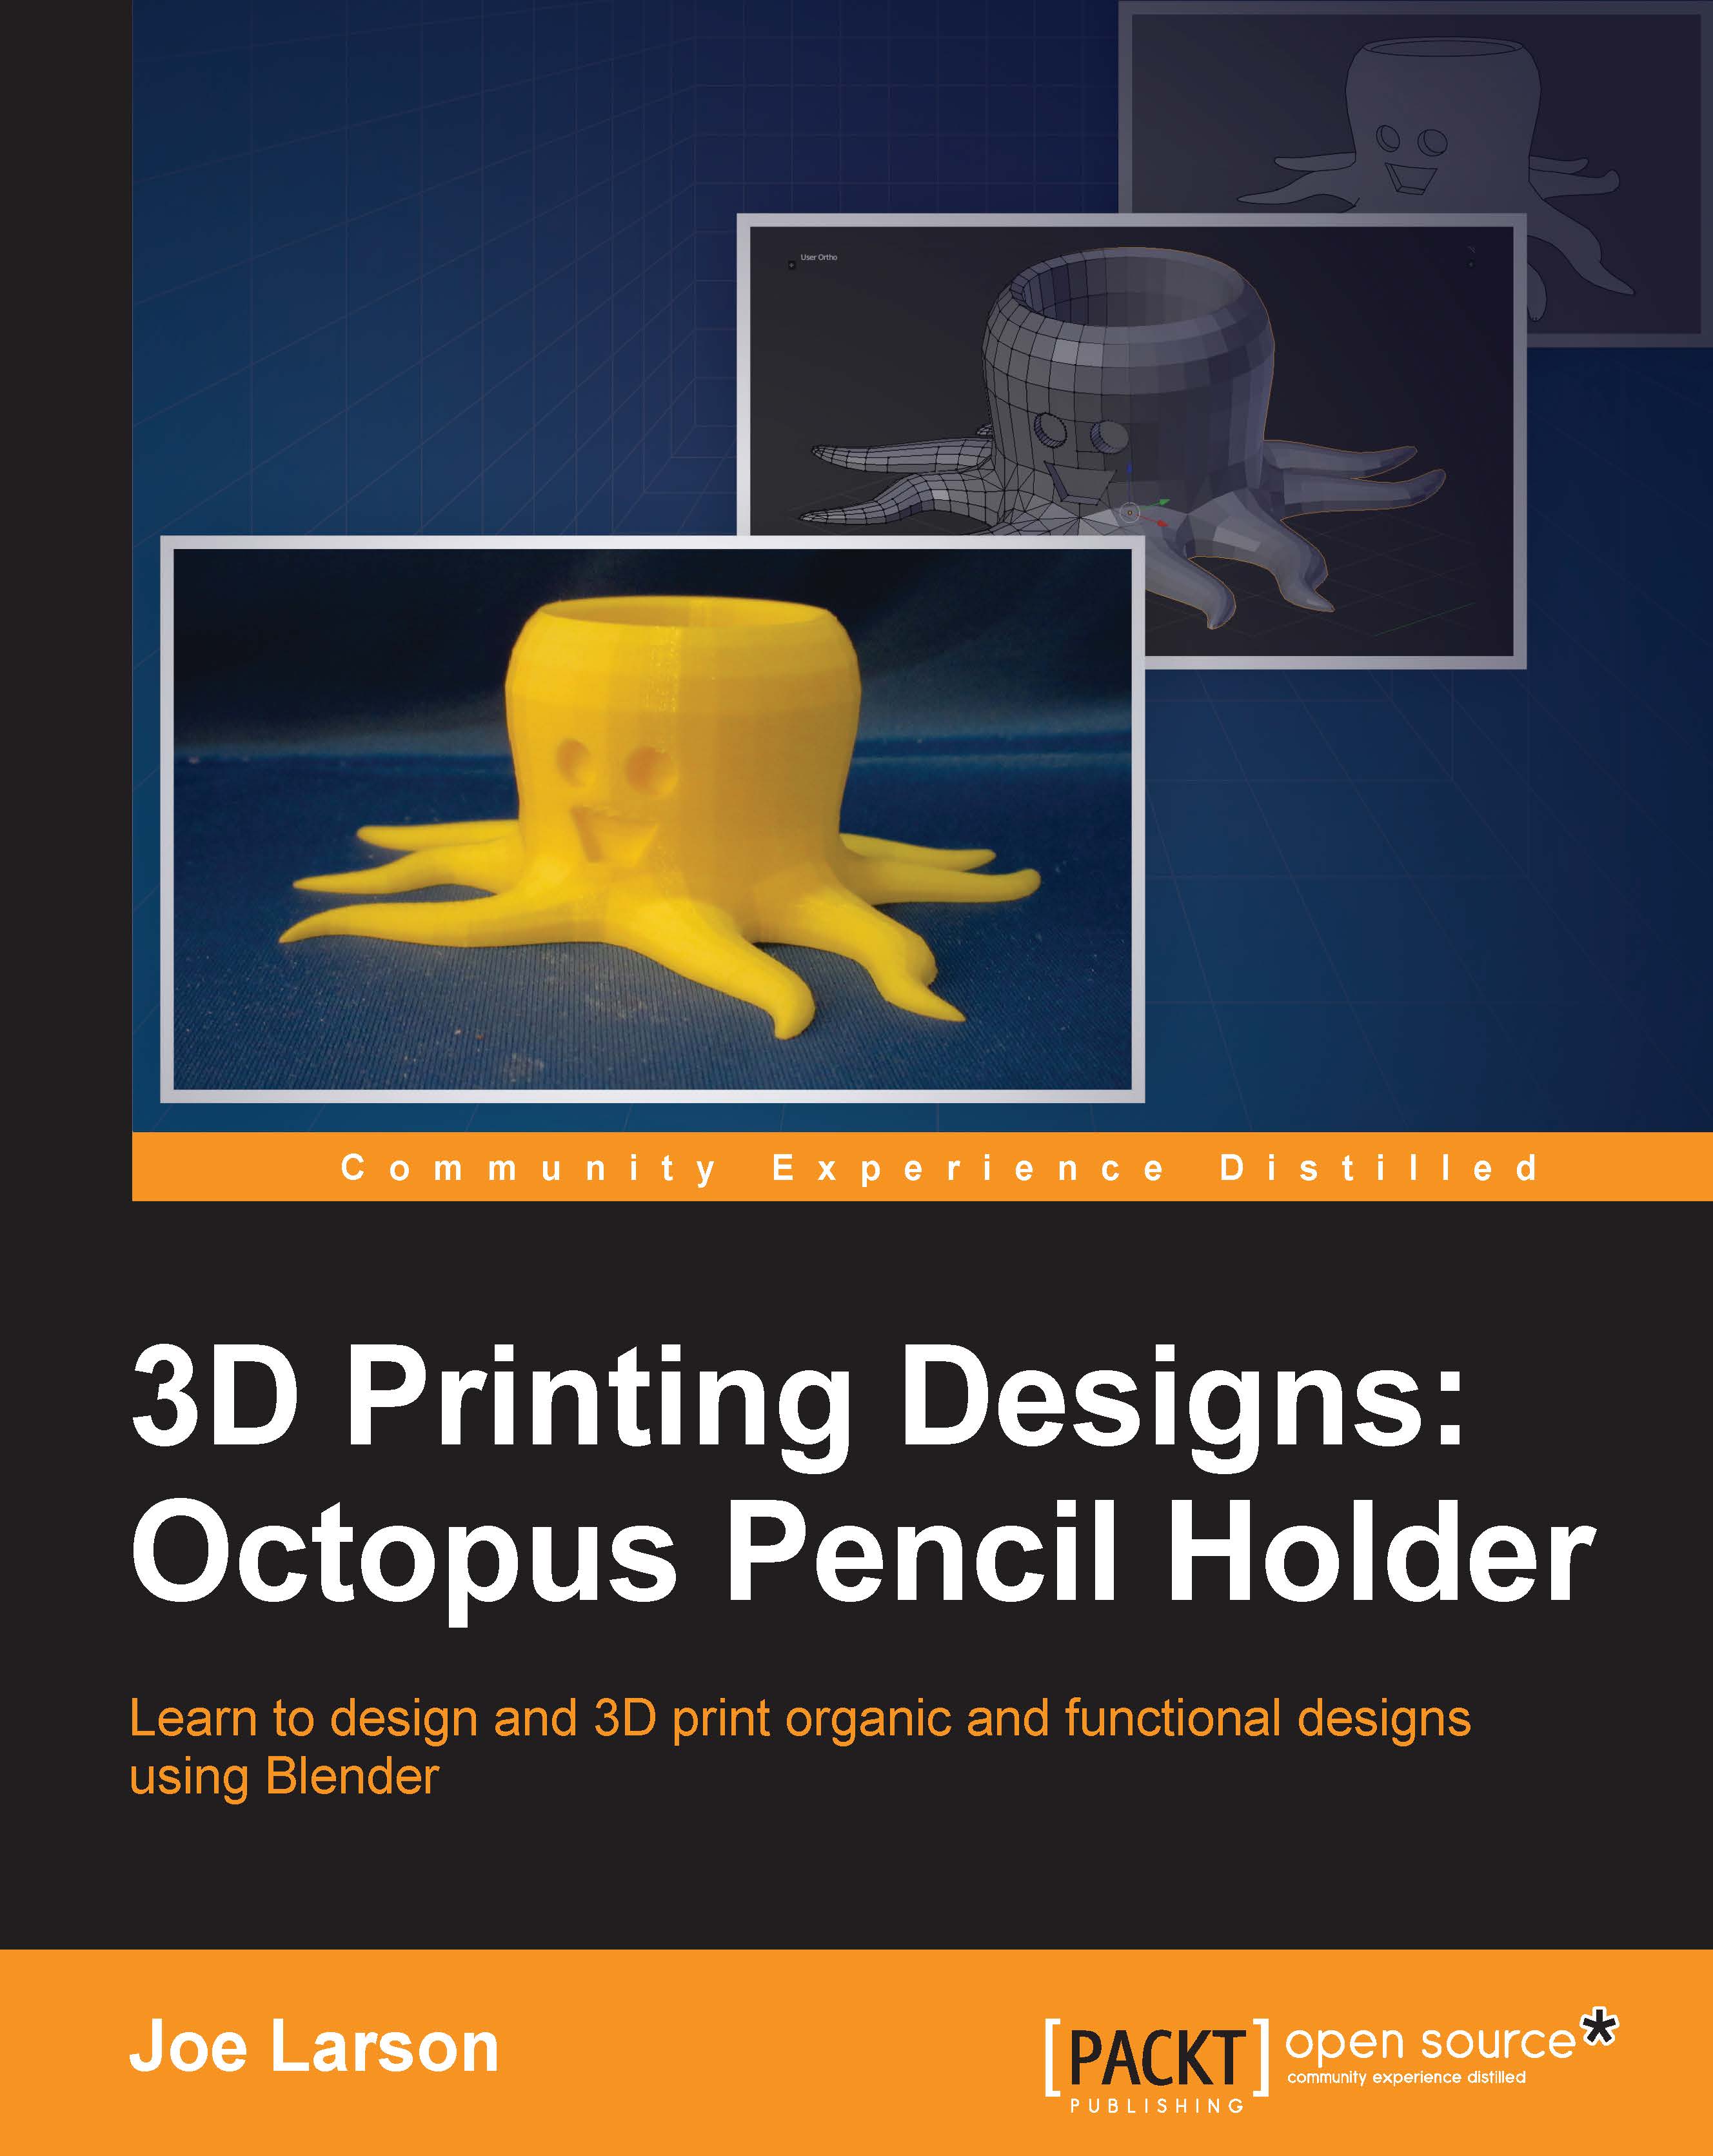
This blocky octopus is fine for editing, but it needs to be much smoother for the final result. Fortunately, there's a way to increase the smoothness of the model while retaining the simple geometry, which is easy to edit. This is done by adding a Subdivision Surface modifier to the object:
- To add a Subdivision Surface modifier, click on the Modifiers tab in the Properties panel (the one that looks like a wrench):

- Click on the Add Modifier button, and in the menu that appears, choose Subdivision Surface from the list:

With the Subdivision Surface modifier, the shape looks much smoother. While in the edit mode, it's clear that the original geometry is still there and acts as sort of a cage that defines the shape of the smoothed mesh. As long as the modifier isn't applied, the simple geometry can be kept for editing.
Tip
Changing the View setting in the modifier will affect how smooth the mesh will be. Higher values will create more complex geometry that will look smoother, but they will slow down the computer more. There comes a point where increasing this setting won't have any noticeable effect. Generally, it's best to keep this setting high enough to have a good effect on the shape but low enough to not slow down the computer.
- For now, set View to
2; then, the object will look like what's shown in the following screenshot:
This isn't the final form, but it will get better. If looking at the smoothed mesh while working on the simpler mesh is confusing, the modifier can be temporarily turned off by pressing the eyeball icon on the modifier.


