Time for action—adding a select menu
To do this, we need to install a plugin called Responsive Select Menu. First, we will install that plugin via the Plugins screen in the WordPress admin, and activate it. We will then perform the following steps:
1. The plugin can be configured via a screen, which we access by clicking on Appearance and then Responsive Select, as shown in the following screenshot:

2. There are a number of options we can change, but for the Carborelli's site, we're just going to change one—the text displayed in our select box. In the First Item Name field, we will type Menu.
3. Finally, we will click on Save all Settings to save our changes.
Note
Find out more about the Responsive Select Menu plugin at http://wordpress.org/extend/plugins/responsive-select-menu/.
What just happened?
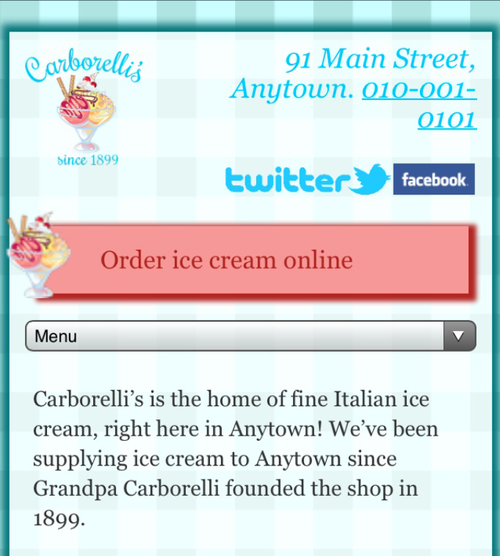
We installed a plugin to convert all of our navigation menus into select boxes. Let's see what the top menu looks like now, as shown in the following screenshot:

When we tap on that menu, it looks like...


