Connecting to Tableau Server or Tableau Cloud
Both Tableau Server and Tableau Cloud can be thought of as different flavors of the same online service: they enable organizations to securely host, organize, share, and edit Tableau-specific data sources and visualizations, usually through a web browser. Tableau Server and Cloud will be covered in more detail in Chapter 8, Publishing and Managing Content. In short, Tableau Server is managed independently by an organization with the skills and resources to do so, whereas Tableau Cloud is an out-of-the-box solution hosted and maintained by Tableau, and is therefore more accessible.
Both services can be accessed on Tableau Desktop through the Tableau Server button at the top of the Data pane, or through the Server tab at the top of the window.

Figure 1.6: The Tableau Server Sign In window
Note that if Tableau Server is selected, you will be prompted to enter the URL for a Tableau Server or Cloud instance.
If the URL is recognized, the following window will prompt you to authenticate. Tableau Desktop will open a new tab in the default web browser with a login screen. If a valid username and password are provided, a connection to Tableau Server will be established.
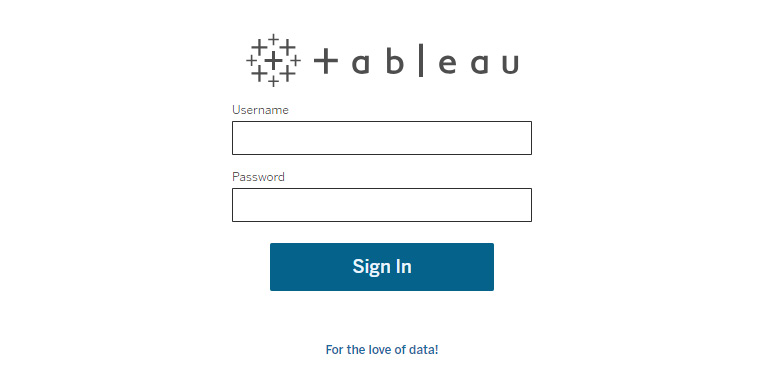
Figure 1.7: Tableau Server login window
When connecting to Tableau Server, the user will be prompted to choose a site to connect to. Sites are described fully in Chapter 8, Publishing and Managing Content, but in brief, they can be thought of as a folder; they are the highest level and the strictest way to separate and organize content, as sites cannot communicate with each other.
Figure 1.8: Tableau Server site selection
Note that this screen does not appear for Tableau Cloud instances, as Tableau Cloud only permits a single site on which all content must be stored. An entirely new instance of Tableau Cloud must be spun up if content requires strict separation.
Connecting to a File
Connecting to a file will require a file location on a local machine or a network that the machine can access, such as SharePoint or GDrive. These kinds of files have different ways in which they are brought into Tableau. This section will go into detail on how to connect to each file type.
CSV and Excel Files
When Tableau Desktop is open and is asking to connect to data, it is likely that the developer will choose to use an Excel or CSV file. Note that .csv is a text file, so it is accessible under the Text File button under Connect > To A File.
In this selection, the Data pane will be populated with tables that exist in the files. From this point, the developer will need to identify the main table and then bring it into the main view. Then, the developer can establish the relationships of other tables and create their data model for analysis.
Tableau is intelligent enough to be able to automatically identify the data type of the fields for Excel files, but it is likely that for CSV, the developer will need to assign the data types for the fields.
.hyper or .tde Files
One type of file to connect to is called a .hyper file, the successor to the .tde file that was deprecated in 2023. This kind of file is a Tableau extract that is a local copy of the data that can be shared and has an improved performance.
This extract is very simple to connect to. Select the More...option in the To A File option and locate the extract in the file directory.
These two files are important as they are considered the main type of files to create extracts. This is likely to come up in the exam.
JSON
A JSON file is a formatted text file that stores data in pairs or arrays. To use this kind of file requires the user to select a schema level, in which Tableau then flattens this information for the schema.
The following is an example of connecting to a JSON file and the window that opens that allows the user to select the schema.
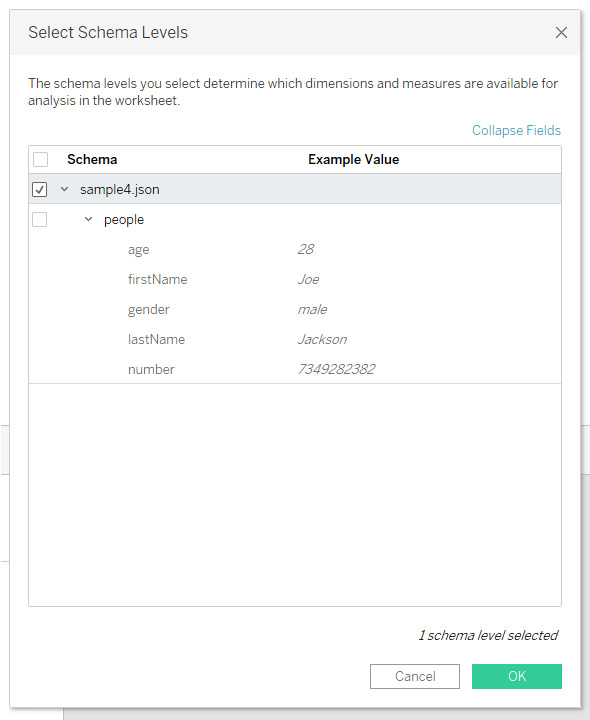
Figure 1.9: Example of a JSON file connection
Once the schema has been selected, the data will be opened for preview and then the user can prepare the data for analysis.
Tableau will be able to scan a PDF file to allow the user to access the data. When selecting the PDF, the user will be prompted to select what areas Tableau can scan through.
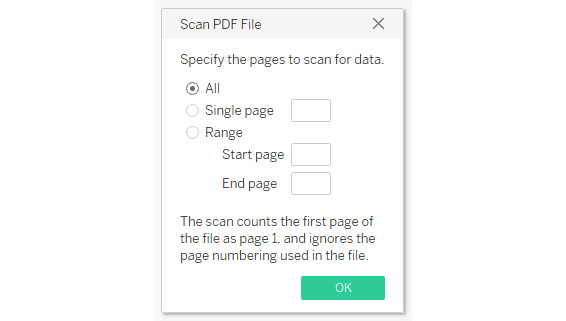
Figure 1.10: Scan PDF File selector
Depending on how the PDF is set up, a user can simply scan the whole file, or find the specific page on which the table is located.
Once the file has been established, the data connection pane will be populated with tables that exist in the sheets. The user can then union the tables together to get a complete set.
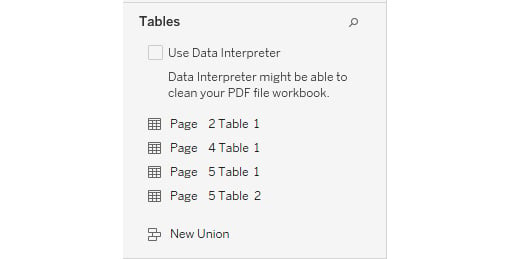
Figure 1.11: Data connection pane
Note that there is a chance the data will not be clean and may need some preparation, which can be done in Tableau Prep.
Spatial Files
Spatial files can be used to create maps or plot out geographical areas such as the counties in the United Kingdom, but there are several considerations that need to be taken into account before connecting to one. In the local file directory where the spatial file is saved, it is important to note that each type of spatial file will require supporting files for it to work in Tableau.
For KML, GeoJSON, and TopoJSON files, there only needs to be one file. For the other types, Esri, Esri geodatabases, and MapInfo tables, the folder should include other files to allow the tables to work.
In the London Datastore, there are spatial files of London boroughs that can be downloaded for use.
Once the file has been located and established, there will be a dataset that includes a Geometry column.

Figure 1.12: Example of a spatial file and a Geometry column
Note that the fields use Polygon, which is what created the shape of the border for each London borough. When creating a new sheet, double-clicking or dragging the Geometry field will create a singular shape of the map.
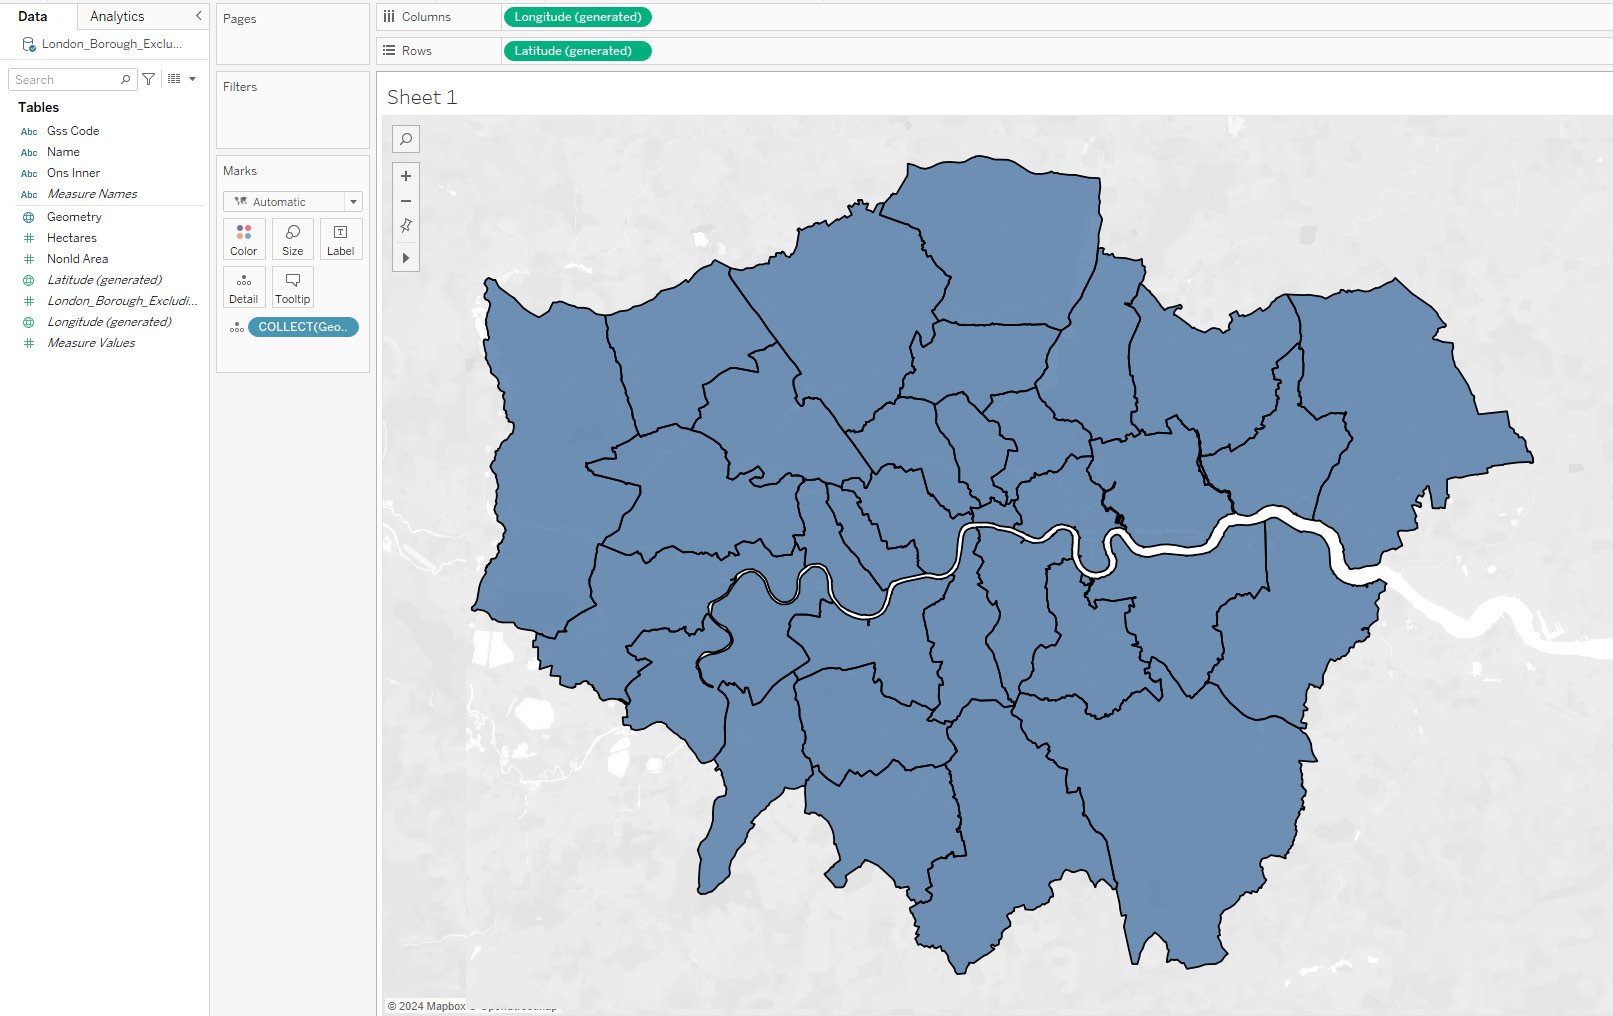
Figure 1.13: Tableau Geometry field showing a map of London boroughs
Notice that the whole map has been highlighted as one. To be able to get each separate borough, the developer will need to drag in the detail that will pinpoint which space belongs to the borough.
Statistical Files
For the use of statistical files, Tableau can connect to Statistical Analysis System (SAS), Statistical Package for the Social Sciences (SPSS), and R data files. These kinds of files are straightforward to connect to. There are only a few items to note:
- The statistical file does not accept values as label headers
- These connections only allow for one table per file
- If more than one table is present in an R file, then Tableau will take the first one
Now that the types of files have been described, take some time to find examples of these files and connect to them. Explore how the different types connect and what is required to do so. There will be a Tableau data extract and an Excel file available in the Datasource folder located in the Tableau repository folder. The other files can be created or found online.


