
App permissions are set and it's ready to run, so let's add an icon for our app:
- Download an icon file that you like and that best suits your phone call app.
- Go to Solution Explorer and add the downloaded file to the drawable folder under Resources.
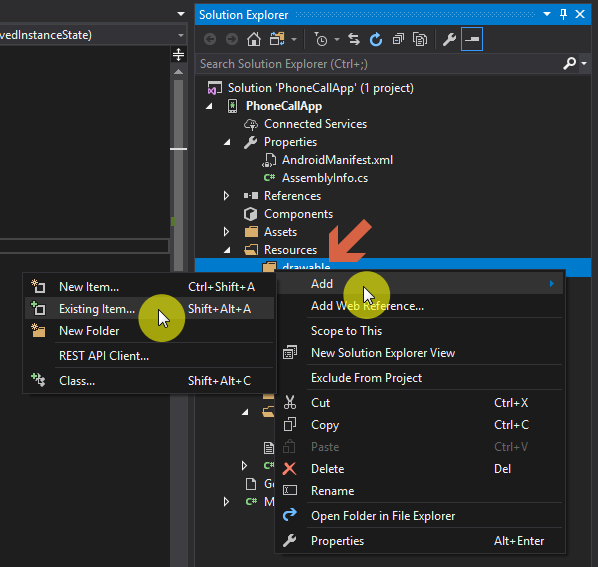
- Right-click on drawable | Add | Existing Item, as shown in the following screenshot:
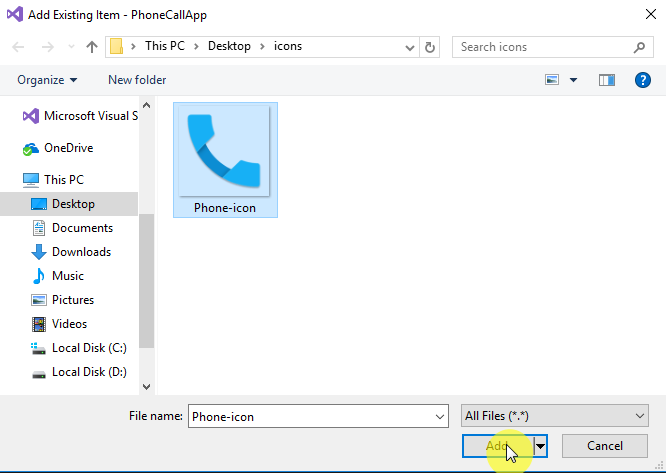
- A File Explorer window will open. Navigate to the icon file location, select the icon file, and click Add:
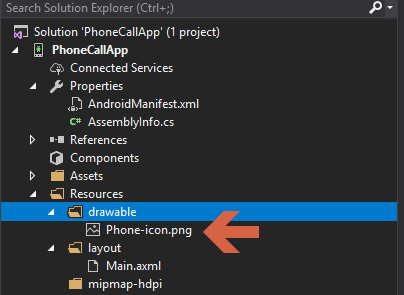
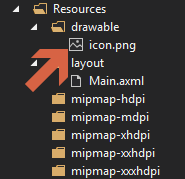
- The icon should now be added to the drawable folder of the project:
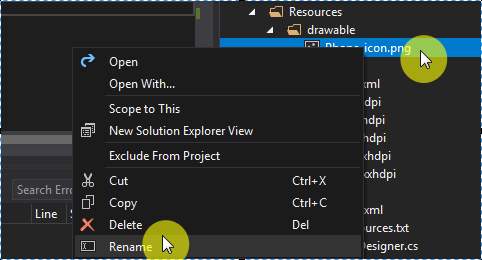
- Rename the icon file to icon.png by right-clicking on the file and then clicking Rename:
- After renaming the file, rebuild the project like we did in the previous steps.
- Once the rebuild is done successfully, let's add the icon to the application's Manifest file.
- Double-click on Properties from Solution Explorer...